DIY Pinball
By Andrew Gregory. Posted
This article was originally published as part of HackSpace magazine, which has since been incorporated into Raspberry Pi Official Magazine.

As we're still a new magazine, we've not yet managed to build up a fully stocked games room. In order to help make plans, we spoke with Matt Brailsford to find out how he built a pinball machine. Here's what he had to say:
By day, I run my own digital agency called Outfield Digital. However, I’m also the main organiser behind Barnsley.IO, the maker group in my home town in South Yorkshire, as well as co-organiser of The Things Network Barnsley, a community group bringing free IOT connectivity to the area. Oh, and I also like to hack retro tech for fun.
For the pinball build, I went with a LattePanda board. I would have prefered to go with a Raspberry Pi, as it’s what I’m familiar with, but there were a couple of reasons the LattePanda made more sense. The first and main reason was that there just weren’t many pinball emulators to choose from on the Linux platform. All the main pinball emulators seemed to be Windows-based, which the LattePanda is. Secondly, the LattePanda natively supports dual monitors, as you can use the official 7” display that attaches via ribbon cable to a dedicated connector, plus a regular HDMI monitor via the HDMI port, and it just works. For both these reasons it just made most sense to go with the LattePanda for this build.
Right now, I’ve just loaded three games onto it to test it out, but there are whole heaps of them available online, so I’ll definitely be filling it up when I get the chance. For now, I’m kinda digging the Terminator 2 table I have on there, which is a pretty fun one.
The main screen uses the official 7” display for the LattePanda, with the second ‘back glass’ display being just one of those cheap 5” HDMI displays you can find on Amazon or your friendly online auction site. The speakers are from Pimoroni and were a lesson in perfect timing as they just got released as I started the project, and they were just perfect for it. In addition, I’m using an Adafruit 3.7 W stereo amp, and some arcade buttons from Arcade World. In terms of hardware used to create it, it was all designed by hand in Inkscape, and cut out on my laser cutter with a few small elements created on my 3D printer (such as the little feet).
All in all, the build took a little over a month. I try to make my builds go pretty quickly, as I like to ride the wave of motivation and I know if I stall, I’ll end up putting it on a shelf and not finishing it.

Features Editor Andrew trawls the internet for Cool Stuff while keeping the magazine running smoothly.
Subscribe to Raspberry Pi Official Magazine
Save up to 37% off the cover price and get a FREE Raspberry Pi Pico 2 W with a subscription to Raspberry Pi Official Magazine.
More articles
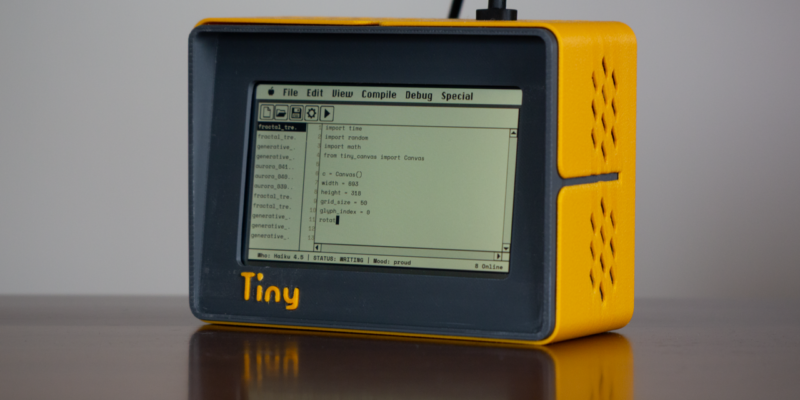
TinyProgrammer
Want a coding companion? TinyProgrammer lets you watch as it tinkers with Python all day. Sean McManus finds out how it works
Read more →
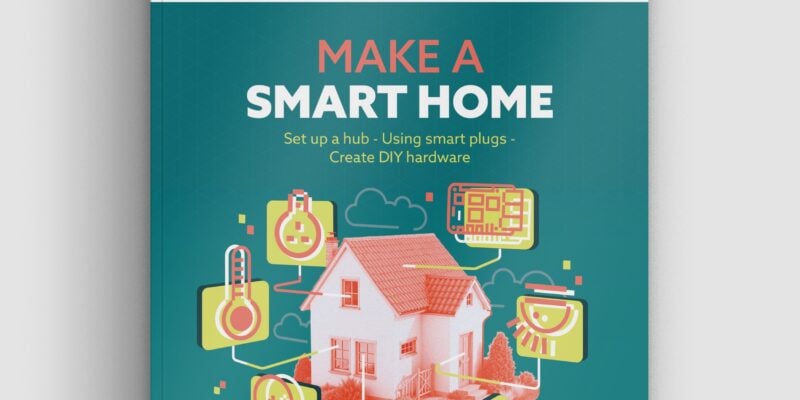
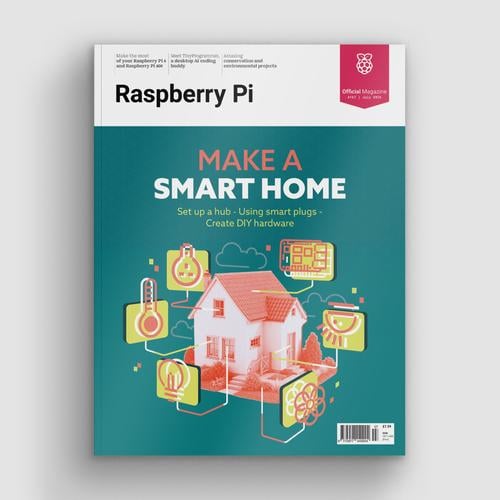
Make a Smart Home in Raspberry Pi Official Magazine issue 167
The dream of smart, connected devices controlling your home automatically, is especialy appealing on a lazy day when we’re trying to get work done in a heatwave. Maybe this will be the year we finally integrate temperature sensors with fans and a drinks dispenser to keep us cool, or maybe not, but we do know […]
Read more →
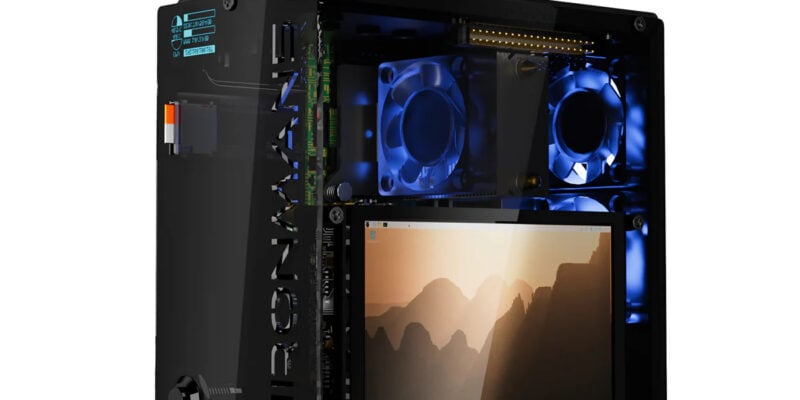
Win 1 of 3 Pironman 5 Pro Max cases!
Transform your Raspberry Pi with this amazing case
Read more →