Control a motor with the AIY projects Voice HAT
By Russell Barnes. Posted

In our recent AIY Projects tutorials, we’ve looked at how to move beyond using the Voice Assistant, and towards using your Voice HAT with basic electronics.
If you’ve been following our tutorials, you will have discovered how to connect the Voice HAT hardware to simple circuits. So far we’ve looked at how to control LED lights and servo motors, but in this tutorial we’ll look at something a little more complex: using the AIY Projects Voice HAT to control a motor.
You’ll need
- DC motor
- 4×AA battery pack
- Breadboard and jumper wires
- Utility/Stanley knife
STEP-01 Cut the power
The first thing you need to do is isolate the Raspberry Pi’s power supply from the power on the Voice HAT board. This will prevent the DC motor from draining too much power and shorting out your Raspberry Pi. Locate the external power solder jumper marked JP1 (just to the left of Servos 5 on the Voice HAT board). Use a utility knife to cut the connection in the jumper (you can always re-solder this joint if you wish to share the power between the board and the motor again).
STEP-02 Power off
Make sure your Raspberry Pi and Voice HAT board are powered off. Now connect the positive leg of the DC motor to the middle pin on Drivers 0. Notice that at the bottom of the Driver pins is a ‘+’ symbol.
STEP-03 Wire for power
Next, connect the negative wire of the motor to the ‘-’ pin on Drivers 0 (the pin on the right). You may have noticed that we’re not connected to the GPIO Pin on the left (which is GPIO4); this doesn't matter as it also controls the negative ‘-’ pin that we have just connected to. This allows us to turn the motor on and off.
STEP-04 Power up
Finally, connect the 4×AA battery pack to the +Volts and GND pins at the lower left-hand corner of the Voice HAT. This pack will ensure that the motor has enough power when you are using the Voice HAT, which will prevent your Raspberry Pi from crashing. Connect the power and turn on the battery pack.
STEP-05 Turn on the Pi
Now turn on the Raspberry Pi and boot into the AIY Projects software. Enter the code from motor.py to test the circuit. We are using PWMOutputDevice from GPIO Zero to control the motor. This enables us to manage the speed of the motor. We can use the .on() and .off() methods to start and stop our motor. Alternatively, we can set the value instance variable to a value between 0.0 and 1.0 to control the speed. Both techniques are shown in the motor.py code. You can also use pwm.pulse() to pulse the motor on and off.
STEP-06 Hook it up to the Voice Assistant
Now that we’ve seen how to control the motor using GPIO Zero, it is time to integrate it with the Voice Assistant. Enter the code from addtoaction.py to the relevant sections of
/home/pi/voice-recognizer-raspi/src/action.py and run src/main.py. Push the button on your Voice HAT board and say “motor on” to start the motor running; push the button again and say “motor off” to stop it.
Code listing
motor.py
from gpiozero import PWMOutputDevice
from time import sleep

pwm = PWMOutputDevice(4)
while True:
  pwm.on()
  sleep(1)
  pwm.off()
  sleep(1)
  pwm.value = 0.5
  sleep(1)
  pwm.value = 0.0
  sleep(1)
addtoaction.py
# =========================================
# Makers! Implement your own actions here.
# =========================================

from gpiozero import PWMOutputDevice

class MotorMove(object):
  def __init__(self):
    self.pwm = PWMOutputDevice(4)

  def run(self, voice_command):
    if 'on' in voice_command:
      self.pwm.on()
    elif 'off' in voice_command:
      self.pwm.off()

  # =========================================
  # Makers! Add your own voice commands here.
  # =========================================
  actor.add_keyword('motor', MotorMove())

  return actor

Russell runs Raspberry Pi Press, which includes The MagPi, Hello World, HackSpace magazine, and book projects. He’s a massive sci-fi bore.
Subscribe to Raspberry Pi Official Magazine
Save up to 37% off the cover price and get a FREE Raspberry Pi Pico 2 W with a subscription to Raspberry Pi Official Magazine.
More articles
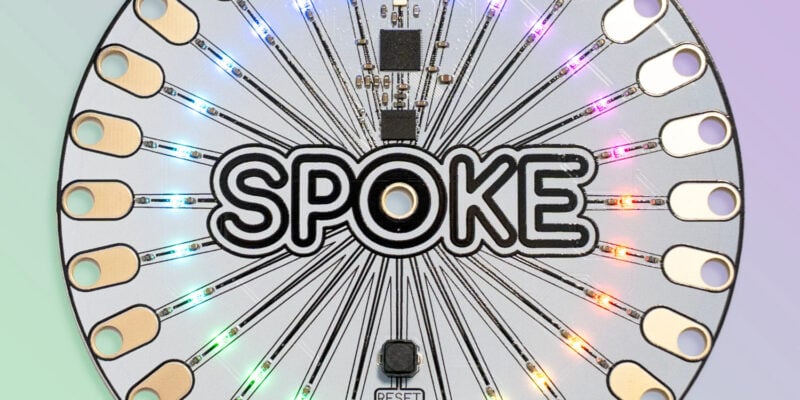
SPOKE review – programmable MIDI controller
An RP2040-powered touch controller for music and a lot more.
Read more →
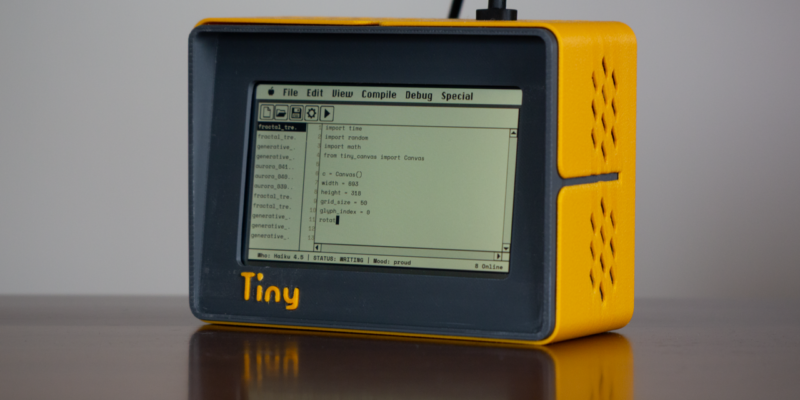
TinyProgrammer
Want a coding companion? TinyProgrammer lets you watch as it tinkers with Python all day. Sean McManus finds out how it works
Read more →
Make a Smart Home in Raspberry Pi Official Magazine issue 167
The dream of smart, connected devices controlling your home automatically, is especialy appealing on a lazy day when we’re trying to get work done in a heatwave. Maybe this will be the year we finally integrate temperature sensors with fans and a drinks dispenser to keep us cool, or maybe not, but we do know […]
Read more →