Fallout 4 Working Terminal built with Raspberry Pi
By Russell Barnes. Posted
Power Up Props video shows how they built a working Fallout 4 terminal using a Raspberry Pi
Take back control of your online data, with Raspberry Pi.
Fallout 4 is a rich source of inspiration for The MagPi readers. Its style of retro-futurism is ideal for building stage props with screens and computer data.
In fact, the Pip-Boy 3000 from Fallout 4 made the top 50 of our reader's favourite projects last year. Following that, we can't wait to see what they make of this great terminal project from the Fallout universe.
The Working Terminal is built by Power Up Props, a three-man team of makers from Minnesota/North Dakota. They play video games, make replica props and, their video tells us, they pet puppies (which makes them alright in our book).
Building a Fallout 4 Terminal
The Fallout 4 Terminal project video they've put together displays a time-lapse of the build. So we can decipher the process.
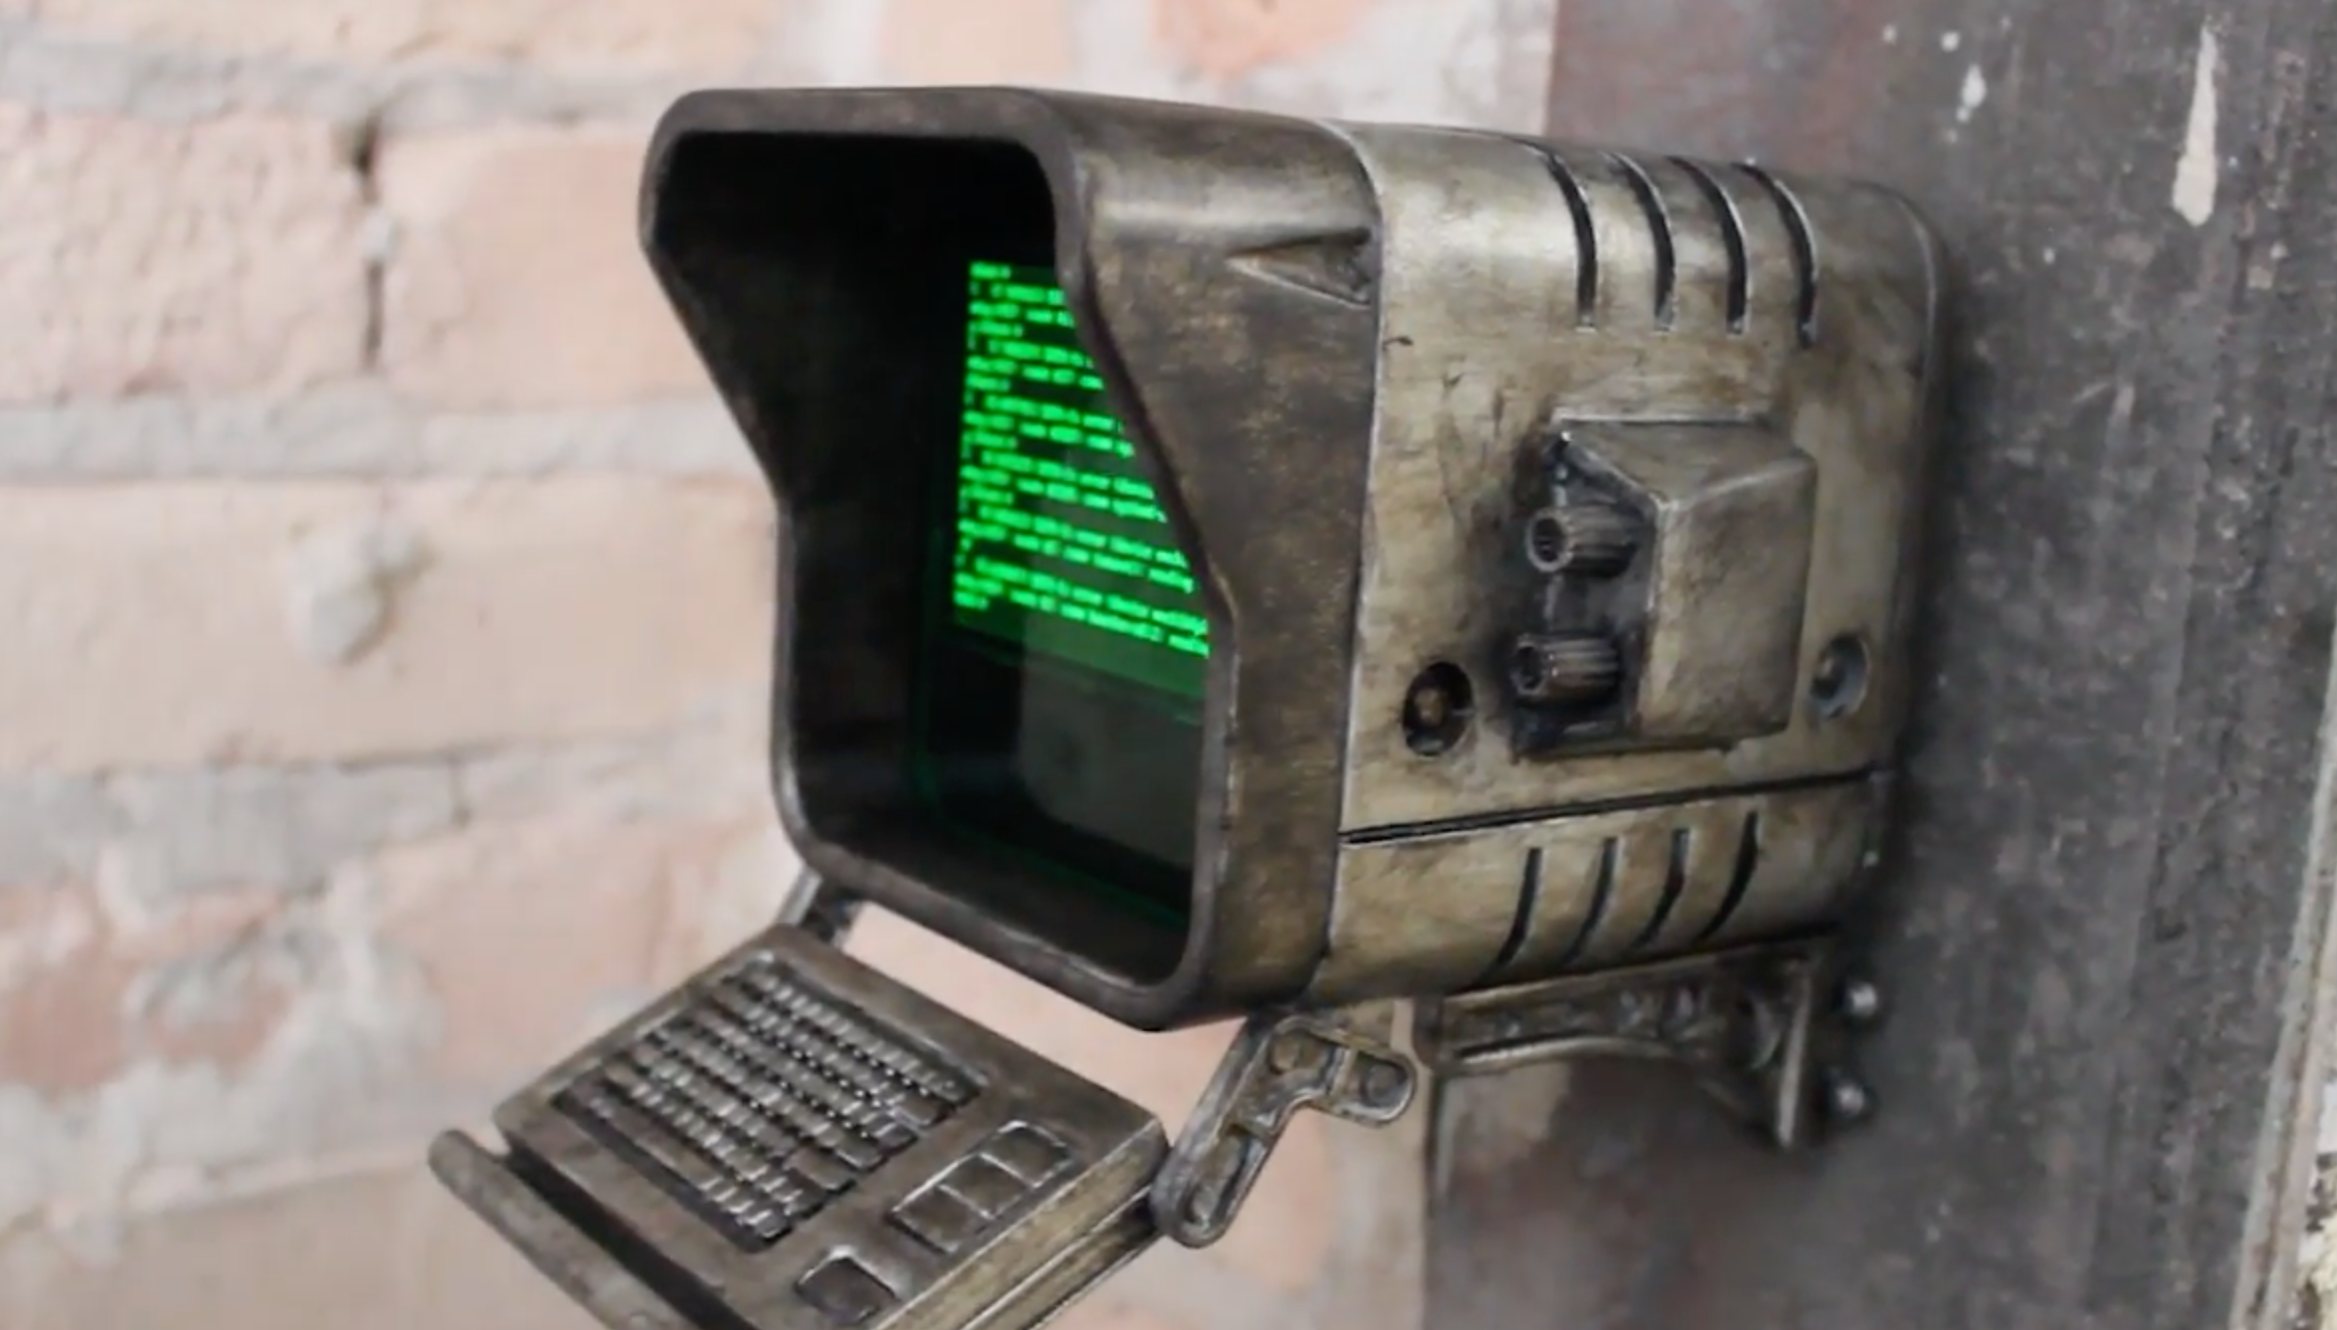
The case is 3D printed and painted to look weathered (like the terminal in the game). Inside is placed a TFT screen and a green translucent acrylic sheet. This replicates a green screen cathode ray tube (CRT) that the terminal in the game is based on.

A Raspberry Pi 3 is connected to the screen. The Raspberry Pi board then runs a simulation of the Fallout 4 Terminal screen.
Power Up Props are selling the 3D printed case on their Etsy shop. But you'll have to whether the case and fit the parts.

The Etsy store provides a little more information about the build:
If you’re interested in the individual parts, we will let you know what we used! If you’re interested in having us send you all of the electronic components needed, message us for details. We can do that at an added cost.
Included: (12) 3d printed parts – printed with PLA, colors may vary. The “screen” is printed with a natural colored PLA that is partially transparent and can be back lit with LEDs. LEDs not included. (“Pi Mounts” option adds the Pi Mount, Screen Mount, mounting screws, and green acrylic for the screen)
Size (when assembled): 5 Inches Wide x 7 Inches Deep x 6 Inches Tall.

Russell runs Raspberry Pi Press, which includes The MagPi, Hello World, HackSpace magazine, and book projects. He’s a massive sci-fi bore.
Subscribe to Raspberry Pi Official Magazine
Save up to 37% off the cover price and get a FREE Raspberry Pi Pico 2 W with a subscription to Raspberry Pi Official Magazine.
More articles
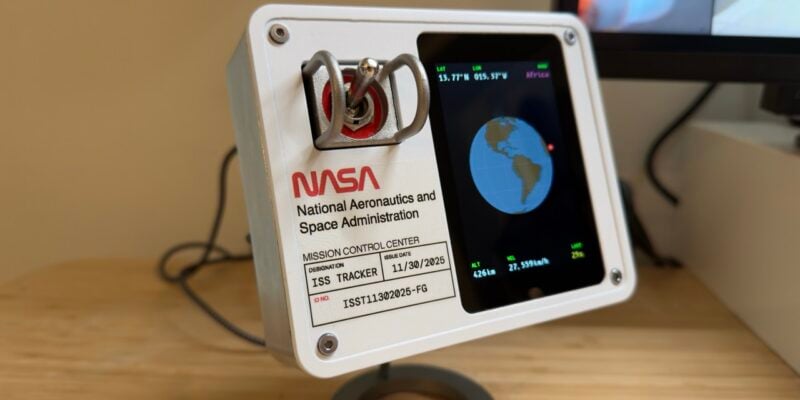
ISS Tracker
Space age is no longer a synonym for futuristic; space age means things that originated in the last millennium.
Read more →

V Hunter Adams interview
An ever-curious lecturer helps his students embrace their creativity with RP2040 and RP2350.
Read more →
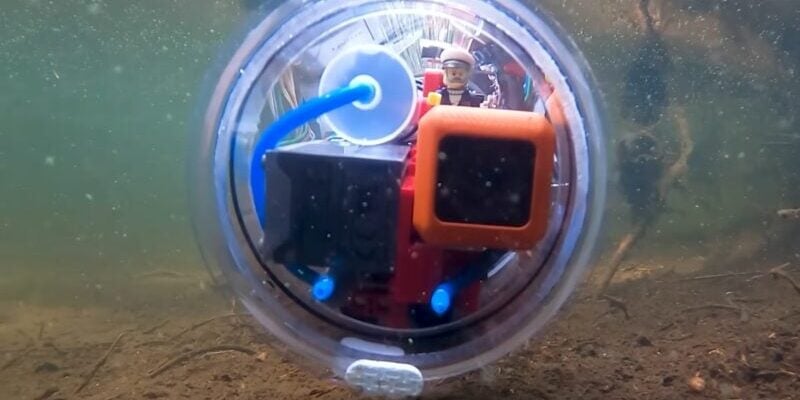
10 amazing Waterborne projects
Raspberry Pi can safely get wet, as a treat.
Read more →