Make a Raspberry Beret
By Russell Barnes. Posted
We’ll add some wearable electronics to our hat: music, lights, camera, and some 3D prints in a digital homage to Prince

Take back control of your online data, with Raspberry Pi.
For some people hearing about the Raspberry Pi for the first time, a certain song entered their head. This earworm turned out to be the eighties classic Raspberry Beret. It’s now become more poignant with the untimely departure in April 2016 of legendary musician Prince.
As far back as August 2011 in the forum, there was even a merchandising suggestion of a Raspberry (Pi) Beret. Since nothing came of it, we’re going to hack our hat for some fun – adding colour, sound, and vision.
The full article can be found in The MagPi 47 and was written by Alan McCullagh
You’ll need
A hat – ideally a beret
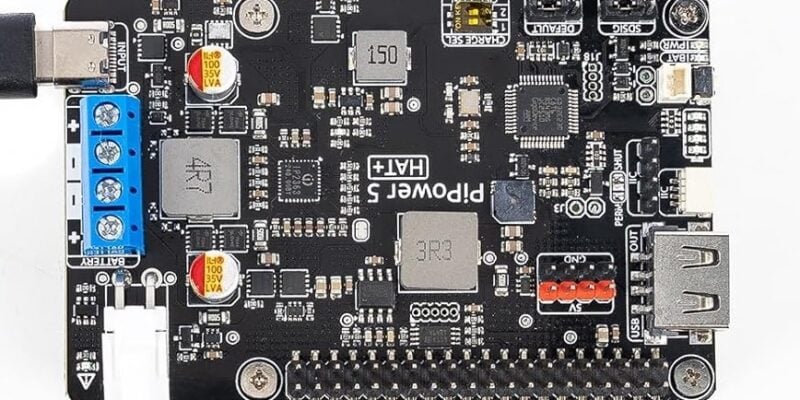
Battery packs (5V for Pi; 5-9V for NeoPixels)
Camera Module
Pisoundo package, originally from onebeartoe
Rpi_ws281x library from jgarff
STEP-01 Prepping the Pi
We start out with a fresh installation of Raspbian. Use the WiFi dongle to connect to the network. Make sure everything is up to date:
sudo apt-get update && sudo apt-get upgrade
Take note of the Pi’s IP address:
hostname –I
We’ll then be able to work remotely via SSH, and later point our smartphone or web browser at the Pi. You could also find the IP via the graphical interface, a smartphone app (such as Fing), Bonjour via Mac, via a router admin page, or a tool such as Nmap.
STEP-02 Making the sign (of the times)
If you have access to a 3D printer, you can creatively spruce up the hat with some colourful 3D prints. Prince famously became associated with a shape, later known as the ‘Love symbol’, even replacing his name at one time. We easily found a vector graphic (SVG) online, as created by onebeartoe. Bringing the file into Tinkercad, via Import URL, giving it a height in the process, allows us to generate a 3D printing file. We rescale it so our NeoPixels shine and our camera can shoot through it. We must then generate our final ‘G-Code’ file to be printed.

STEP-03 What it sounds like when piezos cry
The piezo is no simple buzzer. Much like phones of old, we can program it to play very basic tunes, although don’t expect quality – it’s more like a novelty musical Christmas tie than high-fidelity.
First, check the version of Java (it should be 1.8):
java –version
If needed, install/upgrade via:
sudo apt-get install oracle-java8-jdk
The latest JAR package of our Raspberry Beret version of Pisoundo should be downloaded and copied to the Pi.
If you’ve already hooked up the piezo as in the schematic, you can launch the application via :
sudo java -jar pisoundo-0.0.1-Raspberry-Beret.jar
From the network, we then point a browser at http://[IPaddressof_Pi]:2111/ui/index.html and choose a tune from the list. Alternatively, it’s possible to inject your own musical code by clicking on the On‑the-Fly link on the page.
STEP-04 Add some lights
Having hooked up our individual NeoPixels, as per the diagram, we need to carry out the following commands to get our lights on and flashing.
sudo apt-get install build-essential python-dev git scons swig
https://github.com/jgarff/rpi_ws281x.git
cd python
sudo python setup.py install
In the example given, we see three NeoPixels, but you can choose to add as few or as many as you want (individual, rings, or strands). To configure this, type:
cd examples/
sudo nano strandtest.py
Then adjust the following line to suit your setup:
LED_COUNT = 3 # Number of LED pixels
Finally, to launch our program, use:
sudo python ./strandtest.py
Our LEDs should start to flicker, dance, and change colour.
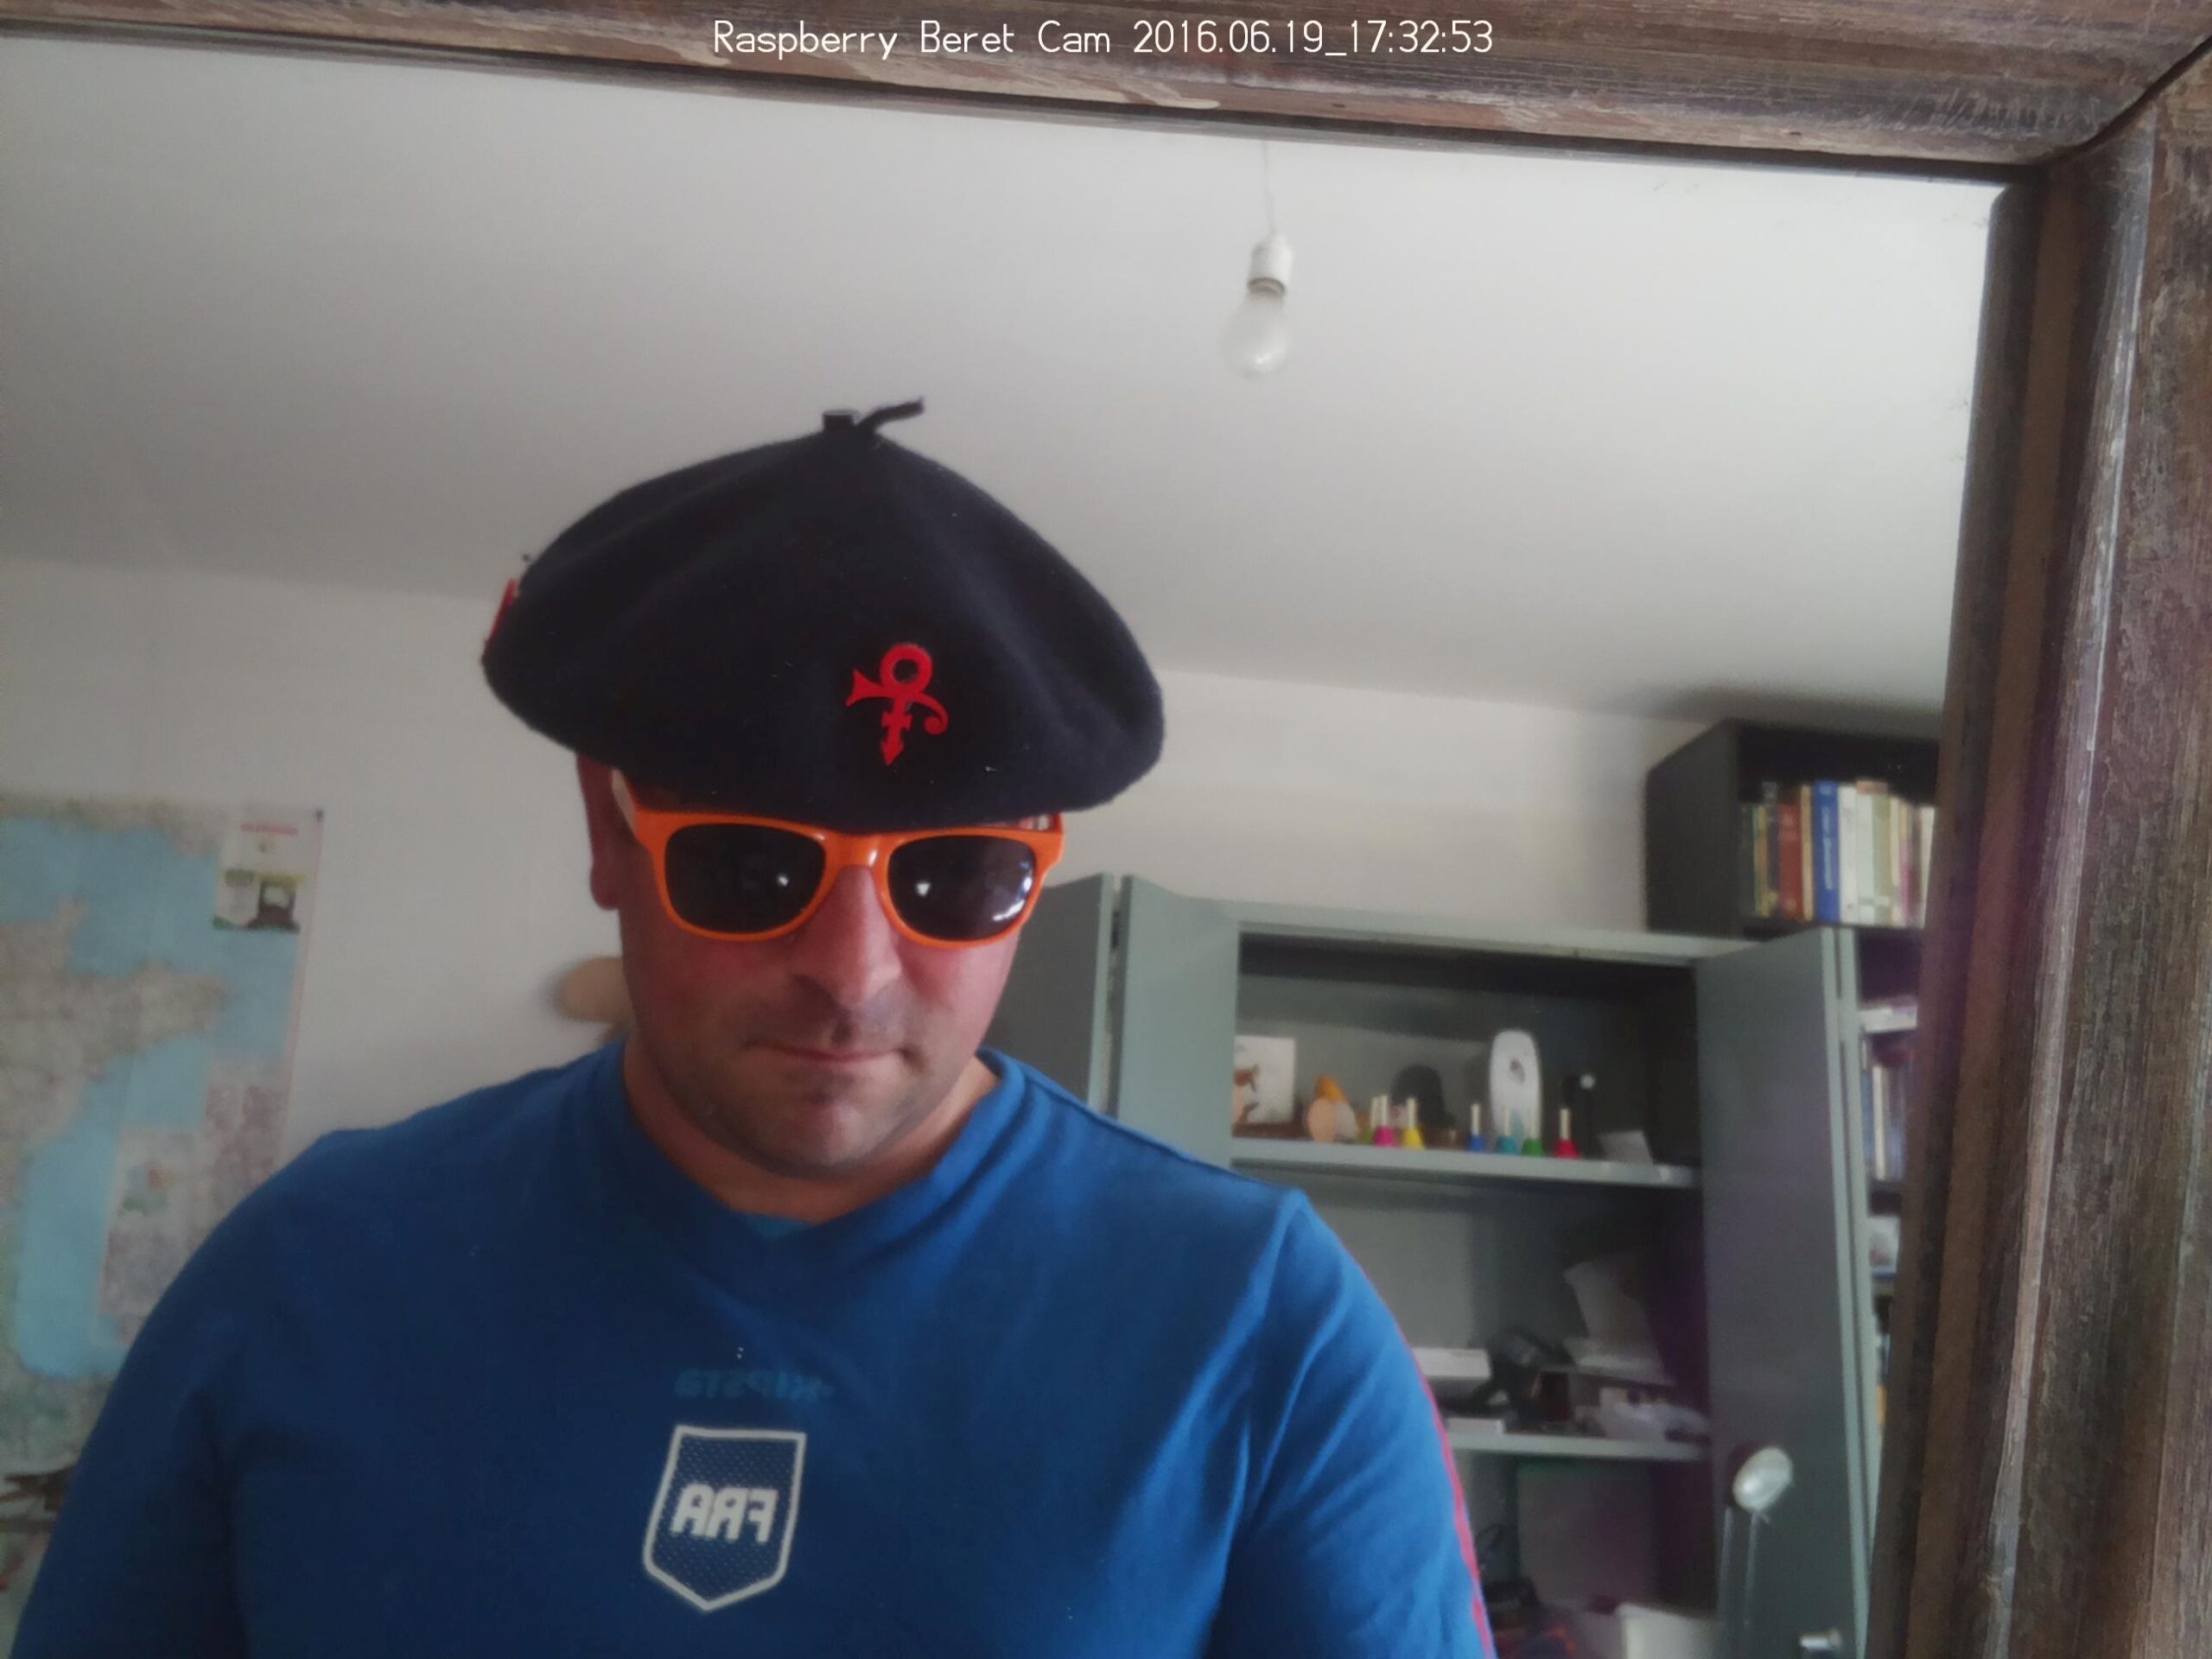
STEP-05 Cameras, action…
A final step is to hook up our Camera Module to take photos or even broadcast a live video stream. One of the easiest ways is with the RPi Cam Web Interface. Don’t forget to activate the camera via the Configuration menu on the Interfaces tab. Here’s a simple installation method:
git clone https://github.com/silvanmelchior/RPi_Cam_Web_Interface.git
cd RPi_Cam_Web_Interface
chmod u+x *.sh
./install.sh
Once we’ve set this up, all we need to do is point a web browser at the IP address of our Pi to access the RPi Cam Control.
STEP-06 Explore the possibilities
If you tested out this project on a breadboard to get it working, it’s now time to install all the electronics inside our hat. Use your imagination to modify and make it better. Hack the hat. What else could we add to our chapeau?
So now we have a Raspberry Beret – the kind you wouldn’t find in a second-hand store. The code for everything is located on the GitHub repo.

Russell runs Raspberry Pi Press, which includes The MagPi, Hello World, HackSpace magazine, and book projects. He’s a massive sci-fi bore.
Subscribe to Raspberry Pi Official Magazine
Save up to 37% off the cover price and get a FREE Raspberry Pi Pico 2 W with a subscription to Raspberry Pi Official Magazine.