REVIEW: PGA2040
By Jo Hinchliffe. Posted
This article was originally published as part of HackSpace magazine, which has since been incorporated into Raspberry Pi Official Magazine.

The PGA2040 (£6.90) from Pimoroni is a tiny RP2040 breakout board squashed down to just 21 mm square. In terms of functionality, it’s pretty much identical to a Pico but, actually, despite its stamp-like status, it has more I/O pins broken out for use! In case you haven’t come across the RP2040 specification, in a nutshell, this PGA2040 features a dual-core Arm Cortex-M0+ which can run up to a speedy 133MHz. There’s 265kB of SRAM on board, I2C, SPI, and UART, plus USB support – more on that later. There are 30 GPIO pins featuring PIO that can be used to create custom hardware interfaces, which are proving a popular approach for some amazing projects in the Pico community.
Take back control of your online data, with Raspberry Pi.
The PGA in PGA2040 stands for Pin Grid Array and was a pretty common integrated circuit package standard with lots of the big chip companies a few decades ago. It’s a robust standard in that it uses common 2.54 mm spacing (therefore suitable for common header pins) and can pack a lot of pins into a small area. It’s distinctly retro-looking and, with its PGA layout, the PGA2040 should catch the attention of those wanting to make vintage-looking boards and projects. We’d love to see a vintage operating system emulated with this board. It’s not just nostalgia, however: the PGA layout makes a lot of sense as it’s a small and mechanically strong board for your project ideas. Of course, you can also find all kinds of PGA standard prototyping boards, and all manner of PGA sockets out there to incorporate into your ideas. Whilst we are on aesthetics, although this board is tiny, close inspection reveals some beautiful silkscreen design and a very pretty approach to pin labelling.

Just like the Raspberry Pi Pico, the PGA2040 is firmware agnostic and can be happily programmed in MicroPython, C, or CircuitPython and, as such, there is a wealth of support and documentation out in the wild. Anything you’ve already created on a breadboard with a Pico is likely to work perfectly, as are established projects written by others with the PGA2040, albeit with its different hardware footprint. The observant will notice there’s no on-board USB port! To connect a USB, you only need to connect to four pins, plus one more momentarily. Brilliantly, all the pins for the USB are all along one side of the PGA2040, so you have the choice of adding just one row of headers rather than fully populating the entire board with header pins should you not want to. You may also want to create a project that doesn’t require a USB socket permanently connected, so we wanted to explore a non-header-pin approach to working with the board. For a hardware USB socket, we picked up a Pololu Micro-B Breakout Board, also stocked by Pimoroni, and soldered the pin headers to it to make it breadboard-compatible. We were then able to use our breadboard DuPont cables, together with some miniature claw-type test hooks, to connect up to the PGA2040.

Wiring it up is pretty straightforward, connecting the V-Bus, GND, and Data lines + and – on the PGA2040 to the same pins on the USB connector. As our PGA2040 had never been used before, we needed to connect it to a computer in BOOTSEL mode. On a standard Pico this is achieved by holding down the BOOTSEL button whilst connecting the Pico via USB. The BOOTSEL button on a Pico just connects the BOOTSEL pin to ground and, as such, you can emulate this by simply wiring the BOOTSEL pin on the PGA2040 to connect to ground on the USB connector whilst you plug in the device. Once it appears on your computer as a drive, you can disconnect that pin. When connected, opening the Thonny editor on our machine saw the PGA2040 recognised as already attached. The usual prompt to install the MicroPython firmware flashed up on screen and the ensuing installation process all ran perfectly. Within seconds we were up and running, with the REPL awaiting our commands.

If you are new to Pico, you might want to look through the many tutorials and examples we have had in previous issues of the magazine or, alternatively, you could work through the examples in the Raspberry Pi book Get Started with MicroPython on Raspberry Pi Pico, written by Gareth Halfacree and our very own Ben Everard.
Once you are up and running with some Pico knowledge, the PGA2040 is a great way for you to make your projects smaller and potentially with a vintage aesthetic.
Verdict
9/10
An excellent Pico-compatible product that is easy to use and makes tiny projects possible.

Maker, talker, and passionate about all things DIY space
Subscribe to Raspberry Pi Official Magazine
Save up to 37% off the cover price and get a FREE Raspberry Pi Pico 2 W with a subscription to Raspberry Pi Official Magazine.
More articles
Take Back Your Clound in Raspberry Pi Official Magazine 165
We’re all-too accustomed to the feling of being watched on the internet. A search for any product leads to adverts, emails, and goodness knows how many bots tracking you. It feels weird and intrusive, and we aren’t being paranoid – they really are watching us. Luckily you don’t have to reply on online services that […]
Read more →
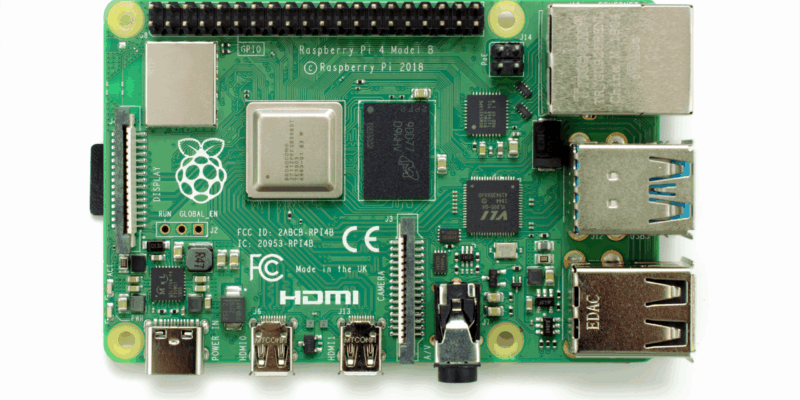
Win one of three Raspberry Pi 4 with 3GB RAM!
Raspberry Pi 4 is still a powerful piece of kit, and this new 3GB version is great for projects and builds that need slightly more than 2GB of RAM but don’t quite need 4GB. We have three to give away and you can enter below. Win 1 of 3 Raspberry Pi 4 3GB
Read more →
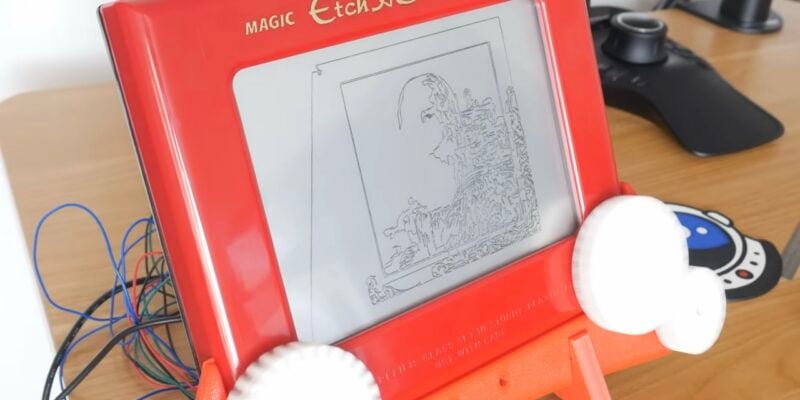
Etch A Sketch CNC machine
The software controlling the Etch A Sketch logs the image, turns it into vectors, turns the vectors into G-code, then sends the G-code to the Etch A Sketch – and it was all written by AI
Read more →