Arduino Controlled Photo Booth
By Poppy Mosbacher. Posted
This article was originally published as part of HackSpace magazine, which has since been incorporated into Raspberry Pi Official Magazine.

Photo booths are a fun way to create mementos from weddings and Christmas parties, but they’re expensive to hire. It’s possible to make your own using an Arduino Nano that can trigger the shutter release function on a DSLR camera.
“The guests just press the giant arcade button and the photo booth guides them through their own photoshoot sequence,” explains the creator, DIY Machines.
Program a robot arm, with Raspberry Pi and Python code
“The photos are displayed after each shot on the large screen.” By setting the camera’s Image Review option to Hold, the latest photo is visible until the next photo is taken. “High-quality copies of the photos are saved onto the camera memory card for retrieval after the party.”
The housing is made from wooden panels and the mounts for the camera, monitor and arcade button are all 3D printed.
Full instructions are available here and lots more DIY projects can be found on their YouTube channel.
Poppy is a maker and writer. She loves getting tech into the hands of people who do traditional crafts. She is helping set up a makerspace in Devon and was a director of BuildBrighton makerspace.
Subscribe to Raspberry Pi Official Magazine
Save up to 37% off the cover price and get a FREE Raspberry Pi Pico 2 W with a subscription to Raspberry Pi Official Magazine.
More articles

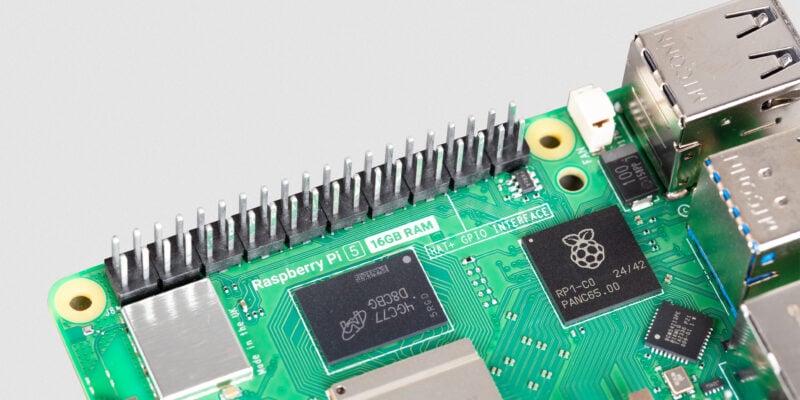
Win a Raspberry Pi 5 16GB!
Fancy getting a very fancy Raspberry Pi 5 with 16GB of RAM? Then we have the competition for you – just scroll down to enter… Win a Raspberry Pi 5 16GB
Read more →

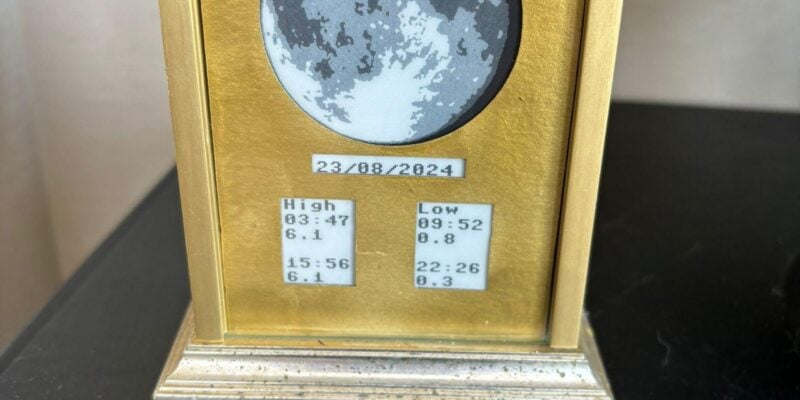
Moon and tide clock
A thoughtful retirement gift for the surfer in your life.
Read more →

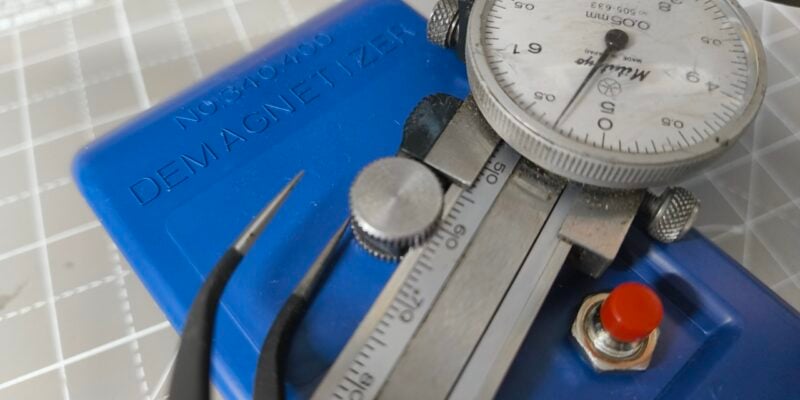
Unusual tools: degaussing tool
In the simplest form, a degaussing tool is a coil of wire that generates an alternating magnetic field that demagnetises ferrous metals.
Read more →
