Beginner’s Guide to NOOBS
By Russell Barnes. Posted

The easiest way to set up a Raspberry Pi with Raspbian and other operating systems, is to use the NOOBS installer
Take back control of your online data, with Raspberry Pi.
One of the things we love about the Raspberry Pi is just how easy it is to get started. A lot of this is down to a custom simple-to-use installer called NOOBS.
NOOBS (or "New Out Of the Box Software" to give it its full name) is a unique installation image. With NOOBS loaded on an SD Card you can install a wonderful range of operating systems for your Raspberry Pi.
https://www.raspberrypi.org/magpi/install-noobs-raspberry-pi/
More importantly, you can speedily set up a new Raspberry Pi with Raspbian, the official operating system. NOOBS is an essential tool for newcomers.
When you start up a Raspberry Pi with NOOBS for the first time, you the option to install the Raspbian Operating system. Connect the Raspberry Pi to a network and you'll also get a bunch of other operating systems to choose from.
From there it's just a matter of picking the OS you want, and letting NOOBS do its thing. The NOOBS installer wipes the Micro SD card and sets up the operating system.
When the Raspberry Pi restarts you'll no longer see NOOBS but your operating system.
In this tutorial we're going to help absolute newcomers install Raspbian Jessie with PIXEL (the official operating system). But don't forget you can use NOOBS to experiment with other operating systems. NOOBS isn't just great for beginners, it's also ideal for exploring what other operating systems have to offer.
Step 1: Download NOOBs

Open your web browser and visit raspberrypi.org/downloads/noobs/. Click on Download ZIP under NOOBS Offline and network install. Save the zip file to your Downloads folder and extract its contents
Step 2: SD Card

Download SD Card Formatter from sdcard.org and open the program (click Yes in User Account Control alert on Windows). Attach your Micro SD card and the card will appear in Drive. Enter "SD CARD" in the Volume Label so you can identify it in the next step. Click Format (enter your password on a Mac). Answer OK to the alerts.
Step 3: Copy the files

Return to your downloads and open the folder containing the NOOBS files. Make sure you are looking at the files inside the folder, and not the folder itself. Select all the files in the NOOBS folder and drag them to the SD Card folder (in the sidebar).
Step 4: Power up

Eject the Micro SD card from your computer. Place it into your Raspberry Pi and power it up. You'll be greeted by the NOOBS v1.9 screen. If you have not connected to the Internet you'll see just a single option: Raspbian [RECOMMENDED]
Step 5: Connect to network

To access more operating system options, connect the Raspberry Pi to a network. Attach an Ethernet cable or click Wifi networks. Choose your wireless network and enter the Password. Click OK. You'll now see a wider range of options (as shown in the main image opposite).
Step 6: Install Raspbian

We're going to go with Raspbian, so place a tick next to Raspbian [RECOMMENDED] and click Install. Click Yes in the alert window. The NOOBs software is copied to the Micro SD Card. NOOBS displays "OS(es) Installed Successfully" when the software is installed. Click OK and the Raspberry Pi will restart and boot into the operating system.

Russell runs Raspberry Pi Press, which includes The MagPi, Hello World, HackSpace magazine, and book projects. He’s a massive sci-fi bore.
Subscribe to Raspberry Pi Official Magazine
Save up to 37% off the cover price and get a FREE Raspberry Pi Pico 2 W with a subscription to Raspberry Pi Official Magazine.
More articles
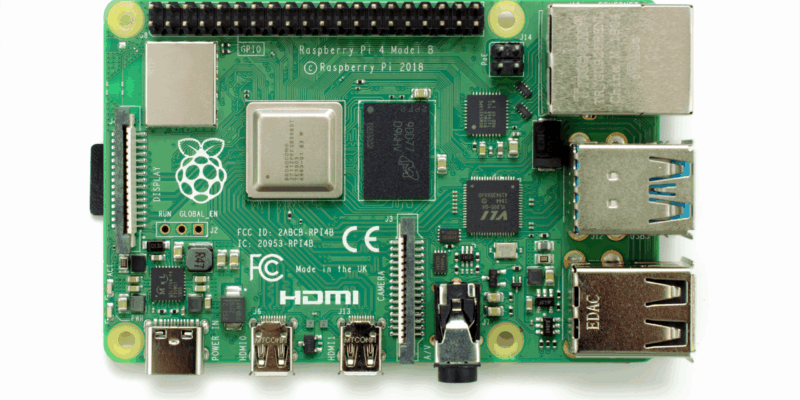
Win one of three Raspberry Pi 4 with 3GB RAM!
Raspberry Pi 4 is still a powerful piece of kit, and this new 3GB version is great for projects and builds that need slightly more than 2GB of RAM but don’t quite need 4GB. We have three to give away and you can enter below. Win 1 of 3 Raspberry Pi 4 3GB
Read more →
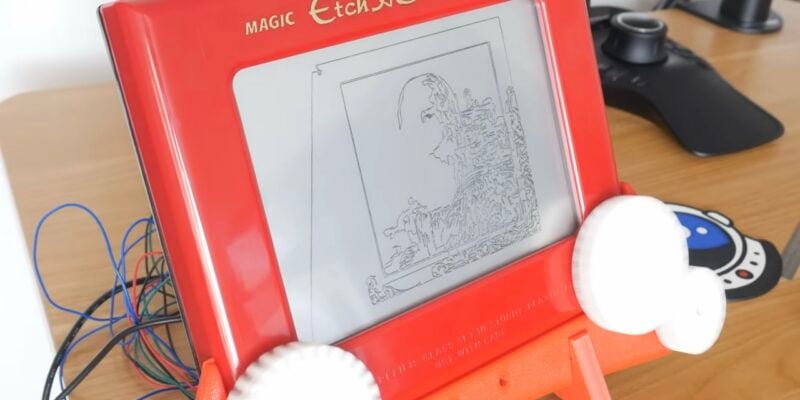
Etch A Sketch CNC machine
The software controlling the Etch A Sketch logs the image, turns it into vectors, turns the vectors into G-code, then sends the G-code to the Etch A Sketch – and it was all written by AI
Read more →
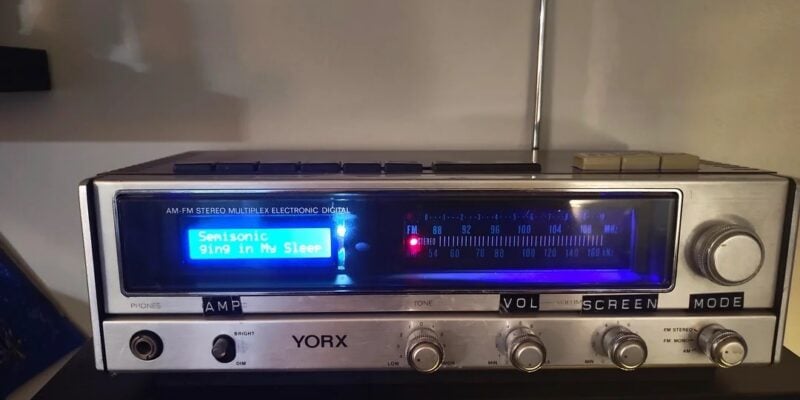
Vintage Radio Plex Server
There’s an antenna sticking up on this build, but it’s just for show
Read more →