Breadboard Pi Bridge review
By Lucy Hattersley. Posted

Couple a breadboard to your Pi with GPIO ports in numerical order. By Phil King
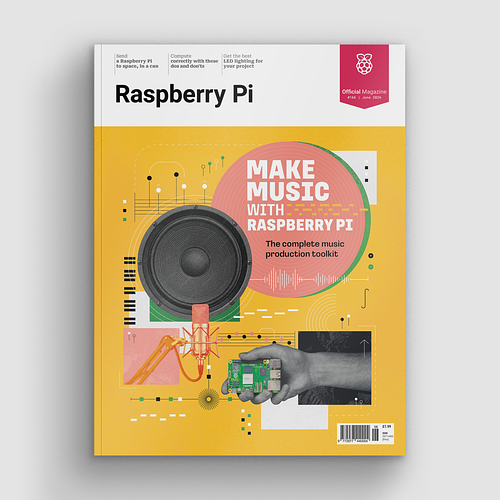
Make beautiful beats with the complete Raspberry Pi music production toolkit.
Aimed at making electronic circuit prototyping neater and easier, the Breadboard Bridge Pi (£12/$16) integrates a half‑size breadboard (included) and Raspberry Pi into one unit, while arranging the GPIO pins in handy numerical order.
Coming in kit form, it requires the soldering of a female 40-pin GPIO header to the linking PCB, along with 28 male pins for 26 GPIO ports, 3V3 power, and GND. You’ll then need to assemble the frosted black Perspex pieces to secure the breadboard and Raspberry Pi with nylon screws and standoffs. There’s also the option of placing a Perspex cover over the Pi, with a breakaway corner to allow room for the PoE four-pin header on the 3B+.
Breadboard Pi: No messy wiring
With assembly complete, you can start placing components on the breadboard, each of its near-side rows being connected to a numbered – and therefore easily identified – GPIO port on the PCB. Using the supplied five 10 mm LEDs and resistors, it soon becomes apparent how easy this makes it to create simple circuits with hardly any wiring. With the LEDs spanning the breadboard gutter and the resistors connecting them to the far ground rail, all you need is a single wire (supplied) to connect the latter to the other, near-side ground rail.
This arrangement does have a few limitations. Since all the near-side breadboard rows are already connected to GPIO pins, you can’t place components sideways – they’ll need to span the gutter, or be placed on the unconnected near rows (to one side) or on the far side and connected with jumper wires. Even so, for basic circuits, it should make it much easier for physical computing newcomers to get started.

Breadboard Pi: Specs
- Headers: Female 2×20-pin, male 30-pin
- Breadboard: Half-size – 400 points
- Components: 5 × 10mm LEDs, 5 × resistors, GND wire
Verdict: While the automatic connection of breadboard rows to GPIO pins reduces component placement flexibility, the Bridge is a neat solution to making circuit building easier for newcomers. Ideal for classroom use.

Lucy is Editor of Raspberry Pi Official Magazine.
Subscribe to Raspberry Pi Official Magazine
Save up to 37% off the cover price and get a FREE Raspberry Pi Pico 2 W with a subscription to Raspberry Pi Official Magazine.
More articles

Learning to code in an AI age
A new Raspberry Pi Foundation course helps young people learn to code.
Read more →

Poor man’s Polaroid camera
There’s something really big and chunky about this build that we find reassuring
Read more →

Raspberrarium terrarium
Control the seasons and phases of the moon with your own tiny ecosystem
Read more →