DIY Illuminated Waterways Map
By Andrew Gregory. Posted
This article was originally published as part of HackSpace magazine, which has since been incorporated into Raspberry Pi Official Magazine.
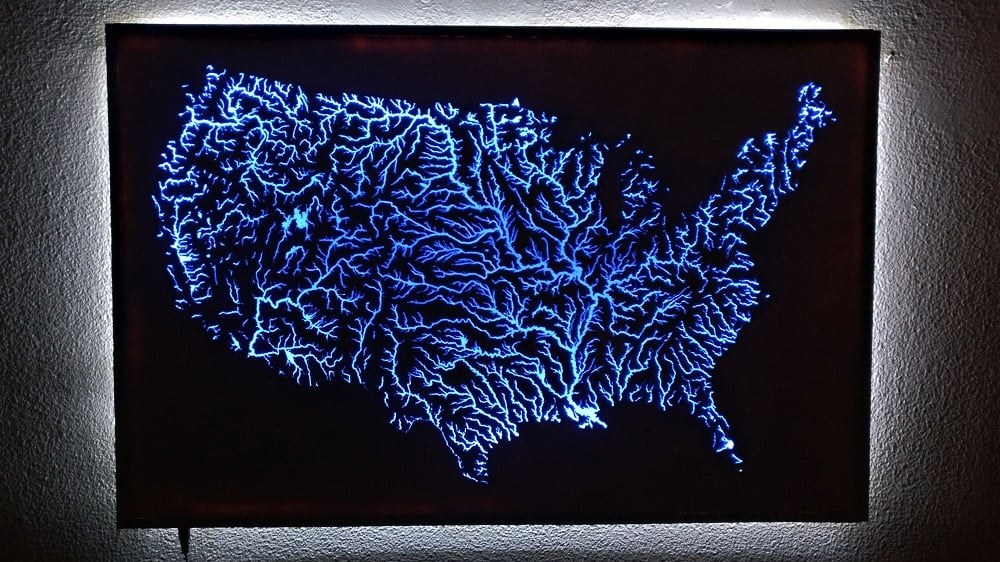
Rivers aren't just big streams, they map the environment by showing the path downhill from any point to the see. They show off the moutains, valleys and plains. What better way to get to know your country than mapping our the various waterways? That's exactly what Instructables user AlexT9 did. Here's how they did it.

"I had just discovered my local makerspace, and was immediately drawn to the laser cutters. I have always enjoyed looking at unique maps, so I knew I wanted to do a map-related project. At some point, I got the idea to fill in laser-etched wood with opaque-coloured epoxy. The idea grew and became way more complex (as most projects always do…) into fully cutting through the wood and backlighting the epoxy. I used Photoshop and Illustrator to convert a high-resolution waterways map into the vector format needed by the laser cutter. After cutting the wood, I used a blue pigment powder with two-part epoxy resin to fill in the waterways. Standard LED strip-lighting provides the backlight for the resin. I think the coolest aspect of the map is being able to easily visualise different river basins. The Mississippi river basin is huge!"
You can see the full process at hsmag.cc/WwpRCq

Features Editor Andrew trawls the internet for Cool Stuff while keeping the magazine running smoothly.
Subscribe to Raspberry Pi Official Magazine
Save up to 37% off the cover price and get a FREE Raspberry Pi Pico 2 W with a subscription to Raspberry Pi Official Magazine.
More articles
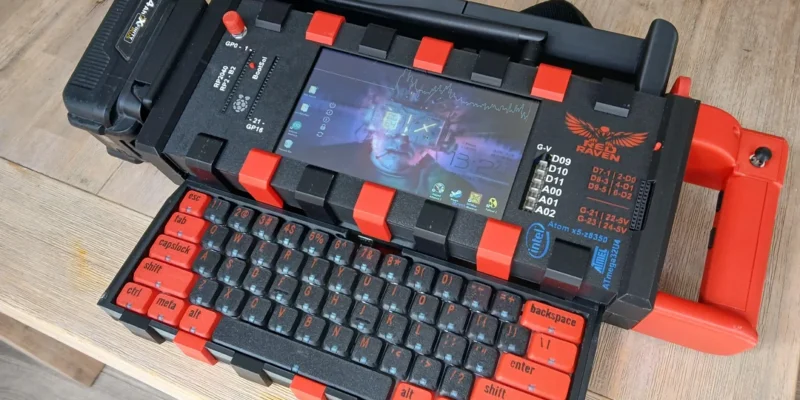
Red Raven cyberdeck
Powered by drills
Read more →
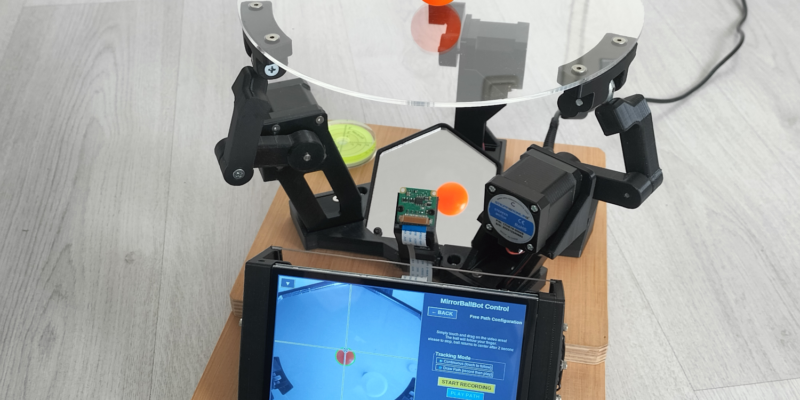
MirrorBallBot
This trick uses no smoke but it does use mirrors
Read more →

Digital Displays in Raspberry Pi Official Magazine 170
Some projects seem more like magic to us than anything else; here’s one of them. This robot by Italian engineer/magician Andrea Favero uses a mirror to widen the field of vision of a Raspberry Pi Camera Module 3, the input from which is processed by Raspberry Pi 4 and used to control three legs to […]
Read more →