Get started with the new Pi camera
By Russell Barnes. Posted

The new 8-megapixel camera is out so here's a refresher on how to use it with your Raspberry Pi Camera Module v2 to take some photos
Higher pixel counts. Smaller pixel sensors. Rounded edges. You’ve seen the specs and stats for the new Camera Module, so how do you go about using it? Well, remarkably like the old camera, in fact. However, as we haven’t done a very basic ‘set up your camera’ tutorial in quite some time, we thought we’d update it for 2016 and beyond.
The full article can be found in The MagPi 45 which will be out on Thursday!
At the moment, the maximum resolution for shots taken is 5-megapixel but an update is coming very shortly that will allow you to take photos at the full resolution.
STEP-01 Connecting the camera
Make sure your Pi is switched off before connecting or disconnecting the camera. Pull out the power cable. Take hold of both ends of the plastic slider of the camera connector on the board, and pull it away from the Pi gently but firmly; it will move up a short distance, opening up the connector.
Insert the ribbon cable, with the connector side facing the HDMI port, with the blue side facing the ethernet/USB ports. Push the plastic slider back down, making sure to put pressure on both sides, so that it gently clicks into place.
STEP-02 Camera software
Plug the Raspberry Pi back in and turn it on. Once it’s booted into the desktop, click on the Program Menu and go down to Preferences. Here you’ll find the Raspberry Pi Configuration menu, which you should now click on. On the tab called Interfaces, you’ll find an option to enable the camera; if this isn’t set to Enabled, do sonow. Raspbian doesn’t have the camera enabled by default, so this is required. Now reboot your Pi.
STEP-03 First shots
Point your camera at something interesting, then open a terminal and type in the following:
raspistill -o firstpic.jpg
You’ll see an image of whatever the camera is pointing at appearing on the screen for a moment. If it’s you, you can use the screen to arrange your best smile during the five‐second pause before the picture is taken. Once snapped, the image can be found in the home directory – /home/pi

STEP-04 Find the image
You can open the picture and view it from the File Manager, but if you don’t have a Pi 2 or Pi 3, you may want to avoid the unnecessary overhead of running that, and just enter this into the terminal:
gpicview firstpic.jpg
If it looks rather blurry, check that you remembered to peel the protective plastic from the Camera Module’s lens!
STEP-05 More advanced commands
The raspistill command has a list of options so long that it borders on the intimidating. Have no fear, though – you won’t need to learn them all, but there are a few that might be useful to you, such as:
raspistill -t 15000 -o newpic.jpg
The -t option changes the delay before the picture is taken, from the default five seconds to whatever time you give it in milliseconds – in this case, a full twenty-five seconds to get your shot arranged perfectly after you press ENTER. You can find the full list of options in the documentation.
STEP-06 A quick fix
One of the problems with a camera at the end of a ribbon cable is getting it positioned properly. You may end up with the camera upside down or slightly askew. Upside-down Camera Modules can be commanded to flip the picture the right way up with –vflip , or -vf for short. –hflip handles horizontal flipping, should you need a mirror image. And if your camera is lying on its side, use –rotation , or -rot , followed by the number of degrees: 90 or 270.

Russell runs Raspberry Pi Press, which includes The MagPi, Hello World, HackSpace magazine, and book projects. He’s a massive sci-fi bore.
Subscribe to Raspberry Pi Official Magazine
Save up to 37% off the cover price and get a FREE Raspberry Pi Pico 2 W with a subscription to Raspberry Pi Official Magazine.
More articles
Make your RAM go further – Raspberry Pi OS memory optimisation tips
In issue 164 of Raspberry Pi Official Magazine we have been playing around with the new Raspberry Pi 5 1GB RAM. While the RAM shortage caused by the demands of AI infrastructure is annoying beyond belief, this has been a great chance for us to really get to grips with RAM. Generating images in Stable […]
Read more →
Mighty Projects – 1GB Computer in Raspberry Pi Official Magazine 164
It’s normal for computers to get faster and more pwerful, but the new-ish Raspberry Pi 5 1GB is a step in the other direction: it has all the processing power and the same GPIO pins of its more costly siblings, but with only 1GB of RAM it’s at a price that’s friendlier on the wallet […]
Read more →
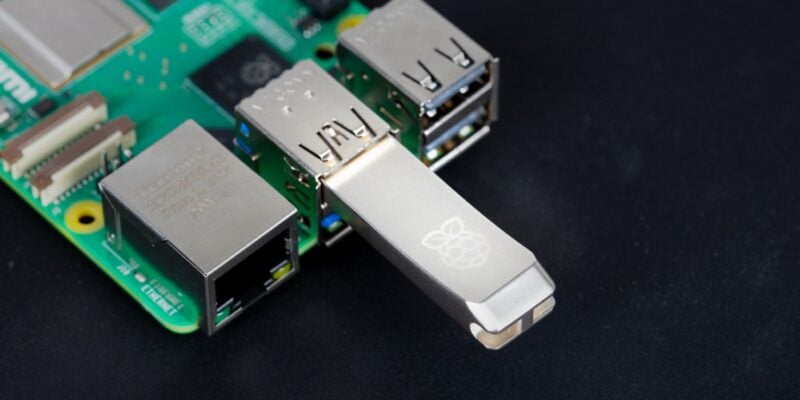
Win one of five 256GB Raspberry Pi Flash Drives
If you’ve been around long enough, you know that every Raspberry Pi accessory is top quality, and the latest Flash Drive is no different. Fancy a big one? We have five up for grabs, and you can enter below… Win 1 of 5 256GB Raspberry Pi Flash Drives
Read more →