How to Create a Polished Finish on 3D Prints
By Gareth Branwyn. Posted
This article was originally published as part of HackSpace magazine, which has since been incorporated into Raspberry Pi Official Magazine.

If you want to get a smooth result from your FDM prints (Fused Deposition Modeling), you need to smooth out all of the layers that can be seen in your final print. To achieve this, Bob (of I Like to Make Stuff) recommends first trowelling on a product like Bondo Glazing and Spot Putty. This is applied in a series of layers that are then sanded until you get a reasonably smooth surface.
To finish off the part, you then apply several coats of automotive spray filler primer (with sanding in-between each application). The results will be a very smooth surface that does not look like a 3D print.

Gareth has been a lifelong practitioner (and chronicler) of DIY tech, media, and culture. He is the author of ten books, including Tips and Tales from the Workshop, and is a former editor for Boing Boing and Wired
Subscribe to Raspberry Pi Official Magazine
Save up to 37% off the cover price and get a FREE Raspberry Pi Pico 2 W with a subscription to Raspberry Pi Official Magazine.
More articles
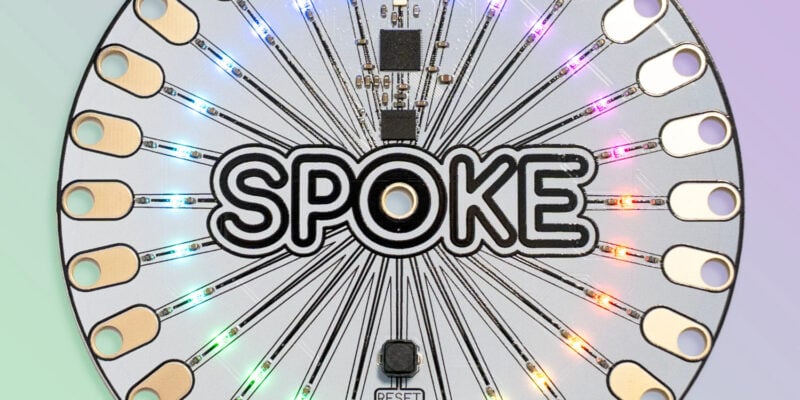
SPOKE review – programmable MIDI controller
An RP2040-powered touch controller for music and a lot more.
Read more →
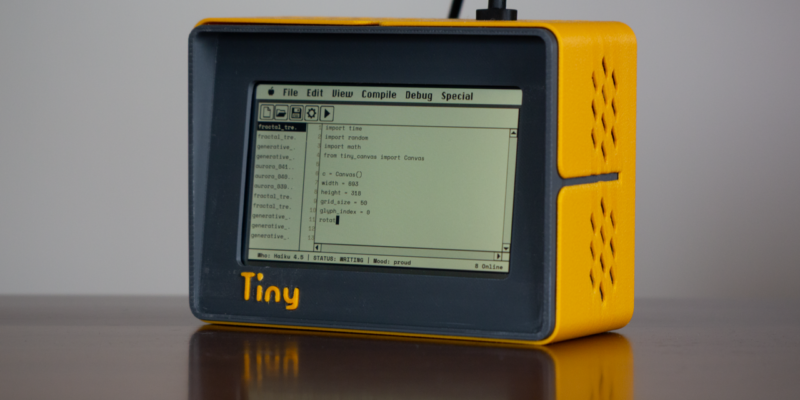
TinyProgrammer
Want a coding companion? TinyProgrammer lets you watch as it tinkers with Python all day. Sean McManus finds out how it works
Read more →
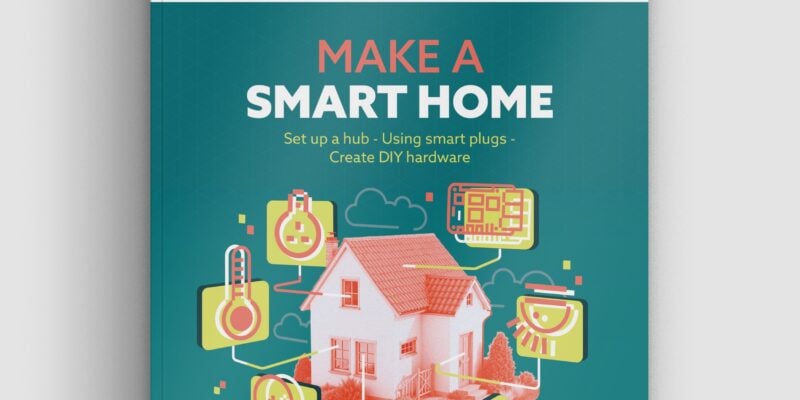
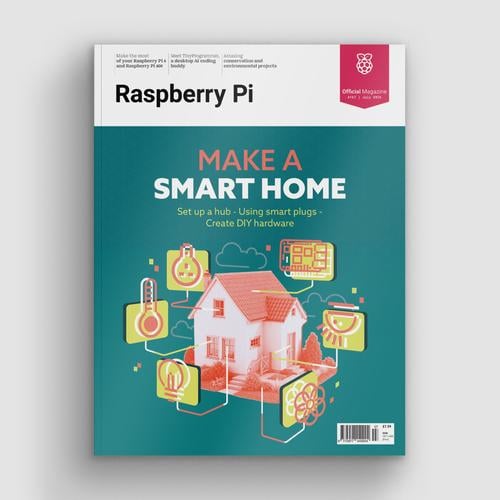
Make a Smart Home in Raspberry Pi Official Magazine issue 167
The dream of smart, connected devices controlling your home automatically, is especialy appealing on a lazy day when we’re trying to get work done in a heatwave. Maybe this will be the year we finally integrate temperature sensors with fans and a drinks dispenser to keep us cool, or maybe not, but we do know […]
Read more →