PiArm review
By Phil King. Posted

We’ve seen entry-level robotic arms for Raspberry Pi before, but PiArm is in a different league when it comes to build quality and precision movement. All the mechanical parts are solid metal, giving the assembled arm a very robust structure. Meanwhile, its six servos are smart ones, giving digital feedback on their angle, temperature, and voltage. As well as the Basic Kit reviewed here, versions are available with a 5- or 7-inch LCD touchscreen and speakers.
You’ll need a spare hour or two to assemble the arm, using a large array of parts and different-sized screws. While the assembly guide booklet is well illustrated (and there’s a video guide online), we found a few confusing discrepancies, including an annoying bit where we assembled a section, only to have to dismantle it again to wire up the servos (as revealed on the next page).
Nor was any servo wiring information supplied – SB Components says a video should be uploaded to the product page soon. Based on the single wiring image shown in the booklet, we daisy-chained the servos in the same way (wire from servo below going into left socket, then wire from right socket to next servo up) and it worked.
The arm is mounted on a metal base with holes to secure a full-size Raspberry Pi. PiArm’s ‘shield’ board can then be mounted on the GPIO header, in which case it supplies power to your Raspberry Pi, or you can connect it via USB. The 7.5 V 5 A DC power supply has a barrel jack with an adapter with two wires that connect to two screw terminals on the shield – a slightly messy solution.
The kit also includes metal mounts to add a sensor (e.g. ultrasonic) and Camera Module (not supplied), although these fit to the base rather than the arm itself. With the arm assembled, you can insert the preloaded 16GB microSD card supplied into the Raspberry Pi to get started. Our card was blank, however, so we needed to install Raspbian and clone the PiArm GitHub repo.
Graphical interface
While the software is based around a PiArm Python library, a GUI interface makes getting started much easier and lets you program command sequences. An image of the arm is shown on screen, with two number fields for each of the six servos. First, you need to input an address in the Port field to open up a serial connection to the arm: ttyS0 if Raspberry Pi is connected via GPIO; ttyUSB0 if via USB.
One way to program the arm is to type in numbers for each servo to set an arm position. A far simpler way, however, is to disable the torque and then manually position the arm to the desired position with your hands and read in the numerical servo data. This enables you to quickly store a sequence of commands (called a ‘group’) which you can then play back; sequences can be saved as text files for future reuse.

Picking it up
The arm rotates smoothly on its base, thanks to ball bearings, and moves fairly quietly. We soon managed to get the arm to pick up a keyring with its claw and then put it back down again elsewhere. We did find the default speed a bit too much, though, with the arm’s more sudden movements sometimes being powerful enough to lift the base suckers off the table!
Fortunately, we were able to reduce servo speed levels to a preferable level, counter-intuitively by raising the setting to 800. Other servo parameters, such as angle and voltage range, may also be altered using another GUI program, although it’s not advisable to do so with the arm assembled.
A PlayStation-style wireless joypad is also supplied, enabling you to control the arm manually; in this case we found it slow to rotate and the arm automatically curled up while rising, but you can always alter the Python code to customise control. Indeed, you could use the PiArm Python library with your own programs.
Verdict
9/10
Excellent metal components and smart servos raise this robotic arm well above the level of cheaper entry-level rivals. The GUI interface makes it easy to program sequences, while advanced users could create their own programs based on the Python library.

When not editing books and contributing to The MagPi, Phil enjoys playing the piano (badly), astronomy, and watching classic sitcoms.
Subscribe to Raspberry Pi Official Magazine
Save up to 37% off the cover price and get a FREE Raspberry Pi Pico 2 W with a subscription to Raspberry Pi Official Magazine.
More articles
Make your RAM go further – Raspberry Pi OS memory optimisation tips
In issue 164 of Raspberry Pi Official Magazine we have been playing around with the new Raspberry Pi 5 1GB RAM. While the RAM shortage caused by the demands of AI infrastructure is annoying beyond belief, this has been a great chance for us to really get to grips with RAM. Generating images in Stable […]
Read more →
Mighty Projects – 1GB Computer in Raspberry Pi Official Magazine 164
It’s normal for computers to get faster and more pwerful, but the new-ish Raspberry Pi 5 1GB is a step in the other direction: it has all the processing power and the same GPIO pins of its more costly siblings, but with only 1GB of RAM it’s at a price that’s friendlier on the wallet […]
Read more →
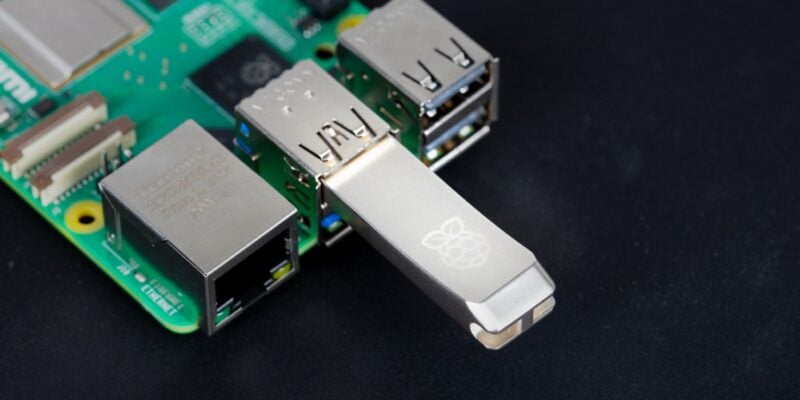
Win one of five 256GB Raspberry Pi Flash Drives
If you’ve been around long enough, you know that every Raspberry Pi accessory is top quality, and the latest Flash Drive is no different. Fancy a big one? We have five up for grabs, and you can enter below… Win 1 of 5 256GB Raspberry Pi Flash Drives
Read more →