Pico RGB Keypad Base
By Ben Everard. Posted
This article was originally published as part of HackSpace magazine, which has since been incorporated into Raspberry Pi Official Magazine.

Adding a button to a microcontroller is fairly straightforward. In fact, it’s one of the first things many people do with microcontrollers after blinking an LED. However, adding lots of buttons can be a little tricky. Very quickly you end up with a rat’s nest of wiring, and a large proportion of your GPIO gone. That’s where Pimoroni’s Pico RGB Keypad Base comes in. There are 16 buttons, but these are connected via the I2C port, so the majority of your GPIOs are still free to use. Each key is slightly squishy silicone rubber, so they don’t click like keys on a keyboard do, but sort of smush down. The keys are translucent, and under each one is an RGB LED. These are APA102 LEDs driven off the SPI bus, so again, only a few GPIOs are used.
This comes in a few pieces, but assembly is straightforward. The silicone keys go on top of the main PCB, and a second bit of PCB holds the silicone in place. Four bolts stop everything from coming apart. The only thing you have to be careful of is getting the tension on the bolts correct: too tight and they hold the keys pressed; too loose and the keys are prone to getting stuck at an angle.
The Pico RGB Keypad Base breaks out all of the pins, so you can include this expansion in any Pico project with external hardware.

Pimoroni supplies libraries for using this with C++ and MicroPython. Both come with a demo that shows off how to use the hardware, and in both cases it’s straightforward. You can set the LEDs and get the button statuses (pressed or not pressed), and that’s about it. What you do with these two capabilities is up to you.
If you want to use it with C, you shouldn’t have difficulty copying and pasting the relevant parts out of the C++ library into C code. Perhaps though, our favourite way of using the Pico RGB Keypad Base is with CircuitPython. This programming language makes it easy to create USB devices such as keyboards or gamepads. Using this, you can use the Pico RGB Keypad Base to create a games controller, short cuts for your favourite apps, a MIDI controller, or loads of other things.
There’s an example, by GitHub user wildestpixel, at hsmag.cc/RGBKeypad. In addition, there’s more documentation on how to create Human Interface Devices (HIDs) in CircuitPython here.

If you prefer your keys a bit clickier and firmer, you may want to wait for the Keybow 2040 (also from Pimoroni). This board holds 16 mechanical switches back-lit by RGB LEDs and, rather than relying on an external Pico, it has a built-in RP2040, so you get all the power of this new processor without the bulk of a full dev board. While we haven’t got our hands on a Keybow 2040 yet, the one downside of this appears to be that the GPIOs of the RP2040 aren’t broken out – so if you need access to these, the Pico RGB Keypad Base may be a better choice.
There’s a lot to like about the Pico RGB Keypad Base. If you need a lot of squishy buttons, it’s a great choice. The LEDs under each key give it the ability to work as an output as well as an input, so you can show the state of the key if you click it on and off. Or, it could change colour depending on the state of a particular thing, or … well, we’ll leave it up to you. There are also a few niggles. It’s not quite as easy as we’d like to mix with other hardware. For example, we’d like to be able to use this alongside the Pico Audio add-on, These don’t fit together using, for example, the Pico Decker, at least not normally. You can flip the Pico and all the add-ons upside down on the Desker, and they both fit in then, but it’s easy to make a mistake which may result in damage to your Pico or one of the addons doing this. A few mounting holes would also make some projects a little tidier. These are minor complaints, though, and won’t impact many projects. If you want colourful lights and 16 squishy buttons, the Pico RGB Keypad is a great addition to Pico, and it makes a whole host of projects easy and cost-effective.

Ben is the Editor of HackSpace magazine. When not wrangling words, he enjoys cycling, gardening, and attempting to identify wild mushrooms.
Subscribe to Raspberry Pi Official Magazine
Save up to 37% off the cover price and get a FREE Raspberry Pi Pico 2 W with a subscription to Raspberry Pi Official Magazine.
More articles
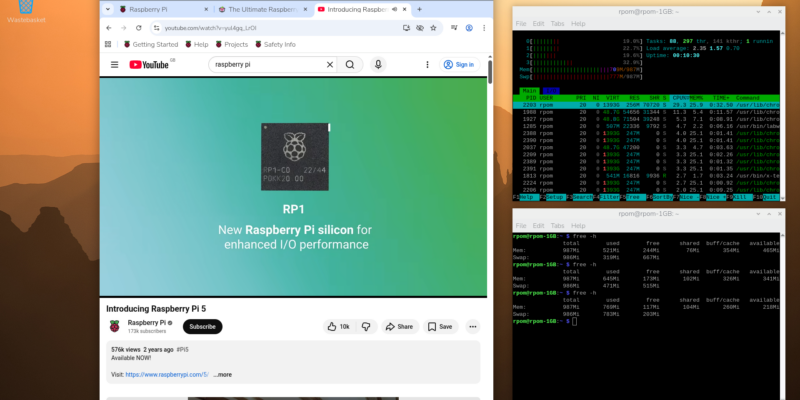
Make your RAM go further – Raspberry Pi OS memory optimisation tips
In issue 164 of Raspberry Pi Official Magazine we have been playing around with the new Raspberry Pi 5 1GB RAM. While the RAM shortage caused by the demands of AI infrastructure is annoying beyond belief, this has been a great chance for us to really get to grips with RAM. Generating images in Stable […]
Read more →
Mighty Projects – 1GB Computer in Raspberry Pi Official Magazine 164
It’s normal for computers to get faster and more pwerful, but the new-ish Raspberry Pi 5 1GB is a step in the other direction: it has all the processing power and the same GPIO pins of its more costly siblings, but with only 1GB of RAM it’s at a price that’s friendlier on the wallet […]
Read more →
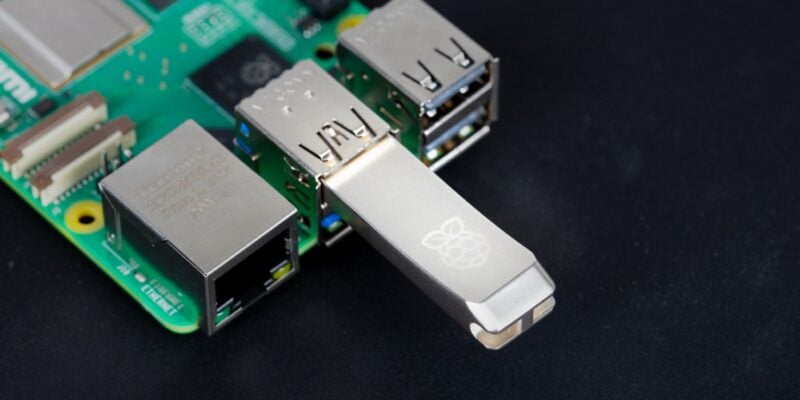
Win one of five 256GB Raspberry Pi Flash Drives
If you’ve been around long enough, you know that every Raspberry Pi accessory is top quality, and the latest Flash Drive is no different. Fancy a big one? We have five up for grabs, and you can enter below… Win 1 of 5 256GB Raspberry Pi Flash Drives
Read more →