Raspberry Pi Ri
By Rob Zwetsloot. Posted

While we love our Raspberry Pi 400, we find ourselves using a regular Raspberry Pi for electronics projects, so we’re never too far away from the GPIO pins. Elijah Horland, a young maker who you may know from MythBusters Jr., came up with a clever solution for just this purpose: “It’s an ‘underpinned’ clip-on breadboard for Raspberry Pi 400, sort of a pin-pad for the keyboard form factor,” says Elijah.
Advertisement
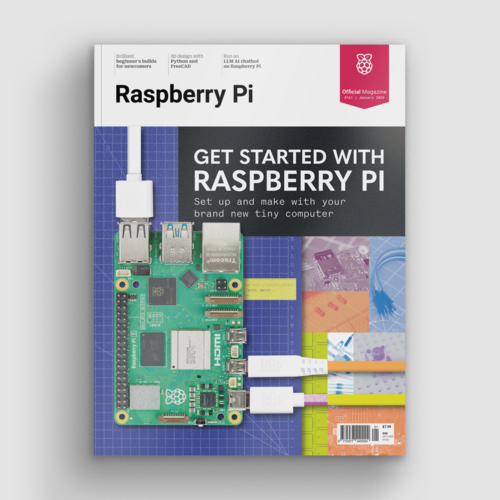
Get started with Raspberry Pi – everything you need to know to start your journey!
“I was using Raspberry Pi 400, and I had a small problem with the placement of the GPIO,” he tells us. “I couldn’t reach it without turning the entire thing, and it would stop my workflow to plug things in. The lack of labelling on a breadboard is also a problem for me. I keep GPIO pinouts up on my walls, but that’s really just a patch, not a solution.”
Elijah also managed to spread out the GPIO pins in the process, retaining some ‘real-estate’ on the breadboard.

Hidden benefits
“While it does help me work faster, it would also help a beginner who does not know what GPIO pins are what, because it has a label on it,” Elijah reckons. “On top of that, it hides the T-connector under the breadboard, which saves pins one-to-three on each side of the breadboard. When there are only five pins that directly connect with the GPIO pins, every saved space counts.”
Apparently it also stops the whole thing sliding around a bit – the ribbon cable is stiff and has a habit of moving the breadboard around as it flexes and moves.

“The Ri fixes that by keeping the breadboard where a ‘numpad’ would usually be on a full-sized keyboard,” Elijah explains. “If the normal breadboard size is too small for the project that you are doing, you can always just swap it out for a bigger breadboard, because it used the standard side pins of the breadboard to hold itself to the 3D print.”
Now and then
While it’s helped Elijah with productivity, he isn’t finished with the project yet, and has some future plans for it.

“I plan to uncover the two vent holes by having the 3D print connect using the GPIO pins instead of clipping to the side of the board,” Elijah says. “Underpinned trays for a breadboard for Pico, [Raspberry Pi Zero] W, and [Model] B form factors are also planned for after the school year.”
If you want to make your own, Elijah has put the 3D model for the little underpinned holder up on Thingiverse.

Rob is amazing. He’s also the Features Editor of Raspberry Pi Official Magazine, a hobbyist maker, cosplayer, comic book writer, and extremely modest.
Subscribe to Raspberry Pi Official Magazine
Save up to 37% off the cover price and get a FREE Raspberry Pi Pico 2 W with a subscription to Raspberry Pi Official Magazine.
More articles
Get started with Raspberry Pi in Raspberry Pi Official Magazine 161
There’s loads going on in this issue: first of all, how about using a capacitive touch board and Raspberry Pi 5 to turn a quilt into an input device? Nicola King shows you how. If you’re more into sawing and drilling than needlework, Jo Hinchliffe has built an underwater rover out of plastic piping and […]
Read more →

Win one of three DreamHAT+ radars!
That’s right, an actual working radar for your Raspberry Pi. We reviewed it a few months ago and have since been amazed at some of the projects that have used it, like last month’s motion sensor from the movie Aliens. Sound good? Well we have a few to give away, and you can enter below. […]
Read more →
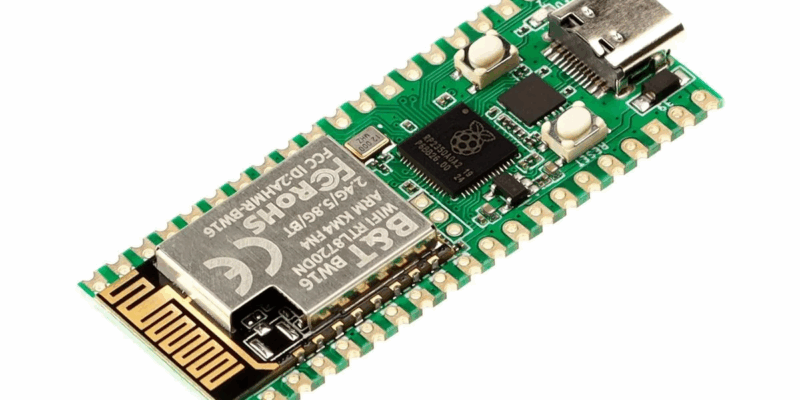
RP2350 Pico W5 review
It’s Raspberry Pi Pico 2, but with a lot more memory
Read more →