Ultimate Box Maker
By Ben Everard. Posted
This article was originally published as part of HackSpace magazine, which has since been incorporated into Raspberry Pi Official Magazine.

The final stage of a project is usually finding a box to house everything. There are loads available from online stores – or, if you have access to a laser cutter, some online services to help you design one. However, for many makers, a 3D printer is the go-to tool for digital fabrication, and that’s where the Ultimate Box Maker comes in.
This is a parametric design in OpenSCAD, so you’ll first need to download and install this bit of software. Once you’ve got this, you can grab the file from Thingiverse at hsmag.cc/fLtADy. This version is by user jbebel, and it’s built upon the work of a user who goes by the name Heartman.
When you open it up in OpenSCAD, you should see the customizer panel on the right-hand side of the window, and this will let you enter the details you need for your box. The box is made of four parts: top and bottom shells that clip together and also make two sides of the box, and front and back panels that are flat pieces which slot into grooves. The whole thing is held together with four M2 screws (or there is an experimental screwless version). Inside the box, there is the option to add four mounting holes for PCBs.
The Ultimate Box Maker does some things really well. With a set of callipers (or a detailed specification), you can design a box to hold your PCB really quickly, and the front and back panels are easy to customise by adding raised text or holes (you have to edit the OpenSCAD code to do this, but this is quite straightforward).

The two main limitations are the restriction to exactly four PCB mounts (unless you modify the source code), which is limiting for more complex projects, and it’s quite hard to include holes in the sides of the box rather than the front and back panels. For many projects, these two limits won’t present a problem – but, for projects that do find these an issue, you can modify the STLs created in another CAD program, or modify the OpenSCAD code to get the box you need. This is an excellent resource, and just a few minutes entering sizes will leave you with a 3D-printable STL to keep your project safe when being knocked about.
By jbebel
Price: Free
VERDICT
A great tool, but with some limitations for more complex projects.
8/10

Ben is the Editor of HackSpace magazine. When not wrangling words, he enjoys cycling, gardening, and attempting to identify wild mushrooms.
Subscribe to Raspberry Pi Official Magazine
Save up to 37% off the cover price and get a FREE Raspberry Pi Pico 2 W with a subscription to Raspberry Pi Official Magazine.
More articles
Make your RAM go further – Raspberry Pi OS memory optimisation tips
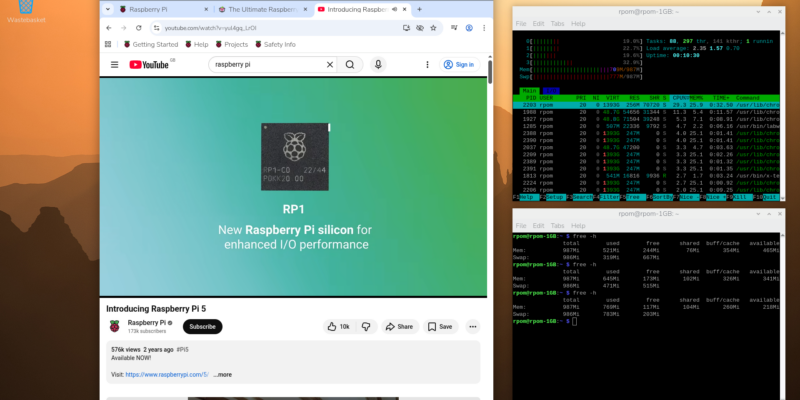
In issue 164 of Raspberry Pi Official Magazine we have been playing around with the new Raspberry Pi 5 1GB RAM. While the RAM shortage caused by the demands of AI infrastructure is annoying beyond belief, this has been a great chance for us to really get to grips with RAM. Generating images in Stable […]
Read more →
Mighty Projects – 1GB Computer in Raspberry Pi Official Magazine 164
It’s normal for computers to get faster and more pwerful, but the new-ish Raspberry Pi 5 1GB is a step in the other direction: it has all the processing power and the same GPIO pins of its more costly siblings, but with only 1GB of RAM it’s at a price that’s friendlier on the wallet […]
Read more →

Win one of five 256GB Raspberry Pi Flash Drives
If you’ve been around long enough, you know that every Raspberry Pi accessory is top quality, and the latest Flash Drive is no different. Fancy a big one? We have five up for grabs, and you can enter below… Win 1 of 5 256GB Raspberry Pi Flash Drives
Read more →