xTool Screen Printer review
By Ben Everard. Posted
This article was originally published as part of HackSpace magazine, which has since been incorporated into Raspberry Pi Official Magazine.

When you think of printing, you probably think of hitting a button, then waiting while a perfect replica of the thing you have on screen pops out of a machine. That’s how it works with paper printers, and these days it’s pretty common for 3D printers as well. Our experiences with screen printing, however, have been a bit different. It’s a more creative process that gives you plenty of scope for producing interesting, or terrible, results.
Screen printing has been around for a long time. The basic idea is that you have a fine mesh of fabric. You cover most of this mesh with some sort of impermeable barrier, but the bit where you want ink (or paint) to get through, you leave uncovered. You then hold this screen against the thing you want to print onto and squeegee the ink (or paint) through it. If all goes well, you should have a perfect replica of your design on the surface below.
That’s screen printing in general. The xTool Screen Printer is a pretty standard screen printing setup. It has a frame for holding the screens in, which mounts onto the system for moving it up and down, to allow you to place your subject below before pressing the screen down on top. All this works well and is easy to use. The thing that makes the xTool Screen Printer unique is the stainless steel mesh that’s used. This is compatible with laser cutting, so you can etch out the design you want using a laser cutter (as opposed to a more common light-exposure technique). You can etch your screens using a regular laser cutter and don’t need any additional equipment.
We made a mistake with our first few and etched the screens before putting them in the frame. This made it much harder than it needed to be to position the different colours in the correct place on the final object. Once we realised our mistake, and etched the screens in their frames, this got much easier. It’s fairly easy to get your designs in the same place consistently, provided you have a little tolerance. If your design requires millimetre-level accuracy, then it might be hard to get it perfect every time.

This is an easy machine to use – at least by screen printing standards. We could create a design in Inkscape and etch it onto a screen using xTool Creative Space (the default laser cutting settings for the S1 laser worked perfectly, though there is a calibration design you can use for different laser cutters). This slots into the screen printer and it all works well together. You can apply and squeegee it across. The whole process can be done in under an hour. At this point, you can be as creative as you like. You can use a single block of ink, or mix colours to get a marbling effect. There are glitter inks, glow-in-the-dark inks, and other options you can try out.
It is quite a messy affair, so if you’re planning on trying this in a home (rather than a workshop), you probably want to make sure you have some old newspaper or dust sheets to keep the ink off things that it shouldn’t be on.
A Medium-scale medium
Screen printing is a medium-run manufacturing technique. If you just want one T-shirt, it’s far easier to use another option, such as heat-transfer vinyl, sublimation printing, or getting a T-shirt printed commercially. However, if you want a few of them done, screen printing gives you a time- and cost-effective way of making them.

The creative control you have with mixing inks gives you capabilities unlike almost any other printing technique, and can create really beautiful results. It also lets you print onto a wide range of materials. If you already have access to a laser cutter, then this is by far the easiest and cheapest way into screen printing.
Verdict
10/10
The best screen printer for hobbyists – if you own a laser cutter.

Ben is the Editor of HackSpace magazine. When not wrangling words, he enjoys cycling, gardening, and attempting to identify wild mushrooms.
Subscribe to Raspberry Pi Official Magazine
Save up to 37% off the cover price and get a FREE Raspberry Pi Pico 2 W with a subscription to Raspberry Pi Official Magazine.
More articles
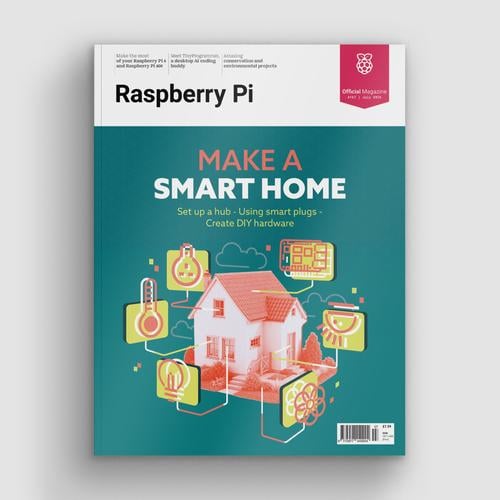
Make a Smart Home in Raspberry Pi Official Magazine issue 167
The dream of smart, connected devices controlling your home automatically, is especialy appealing on a lazy day when we’re trying to get work done in a heatwave. Maybe this will be the year we finally integrate temperature sensors with fans and a drinks dispenser to keep us cool, or maybe not, but we do know […]
Read more →
Win 1 of 3 Pironman 5 Pro Max cases!
Transform your Raspberry Pi with this amazing case
Read more →

Learning to code in an AI age
A new Raspberry Pi Foundation course helps young people learn to code.
Read more →