Alpakka 3D printed controller review
By Ben Everard. Posted
This article was originally published as part of HackSpace magazine, which has since been incorporated into Raspberry Pi Official Magazine.

Making a games controller is easy – you just need a handful of buttons, a Raspberry Pi, and about 20 lines of CircuitPython. We’ve done it many times. However, making a good games controller is a different challenge entirely. Subtle changes in the form factor affect how it feels in your hand. The code has to relay the inputs accurately and with very low latency. What’s more, if you want to make it reproducible by other people, you need a design that’s easy to copy and good documentation to go with it. The team at Input Labs took on this challenge with the Alpakka gaming controller.
The design files are open-source, so you can start completely from scratch if you like, but we took the easier option of buying the base PCB that comes with one side of surface-mount components already soldered on. We also got the additional components directly from Input Labs to make sure we got the correct parts.
The remaining soldering is a mix of surface-mount and through-hole, but it’s all very straightforward. There are no parts that should tax someone who’s soldered before, and it would also make a reasonable first project, though given the cost of the PCB, it’d probably be prudent to get a practice board for your first few joints before taking this on. The assembly instructions take you through the process, and there’s even a 3D-printable jig to hold the PCB steady while you solder.
With everything soldered into place, the next step is 3D printing the physical parts. The parts are designed to be printed in two different colours, but obviously this is up to you. A couple of the parts need specific slicer settings, and this is in the documentation. There is one part that should be printed in conductive filament because it acts as a touchpad. Printing in conductive PLA isn’t particularly difficult; however, it is expensive to get even a small spool for just one part. There are a few hacks people have used, including putting a bolt through the case somewhere else and soldering this onto the touchpads, or covering a non-conductive PLA part in tinfoil. You can also purchase the part printed in conductive PLA but, at 16 euros, it’s not cheap.

Tolerances on the 3D-printed parts are tight, and there aren’t currently any different fit options for anything other than the touch-sensitive part. We found we had quite a bit of difficulty getting the parts together. It took some shaving, sanding, and a bit of lubricant to get everything moving nicely. The problem’s made worse by the fact that some of the switches that move the 3D-printed parts have very little push-back, so unless everything is moving freely, the buttons will stick. If you’re thinking of building one, we’d recommend printing out a few of the parts (perhaps the bottom section and the trigger buttons), and see how the tolerances work on your printer.
Once you’ve bought, soldered, and printed all your parts, it’s just a case of screwing everything together, and again, here the documentation walks you through the process.
In your hands
Once you’ve built an Alpakka, it feels great in your hand. It’s sturdy and just weighty enough to feel solid. The most unusual feature of the controller is the gyroscope. If you touch the conductive hexagon, the controller emulates a mouse, with the tilt of the controller defining the mouse position. This is pretty intuitive, and we found it quick and easy to get used to. This kind of sits the controller between a traditional gamepad (which typically has two thumb-sticks) and a keyboard-and-mouse desk setup. We found we got much more control with the gyro setup than a regular gamepad, but mouse-and-keyboard players might find it harder to get the same level of control.
Alpakka is almost endlessly hackable. Everything is based around the PCB, so unless you plan on respinning that, the button position is fixed, but the software and 3D design is all available for you to do what you want to with it. You don’t have to dive all the way into the source code to do that – there are profiles that allow you to set different functions to different features on the controller.
Perhaps the most obvious missing feature from Alpakka is wireless support. This is something the team are working on with Pico W. If this is important to you, then it might be worth holding back and watching development until this is ready.
We love the idea of an open, hackable controller, and the Alpakka is well on its way to being this. Once wireless support is added, it’ll compare favourably to any of the commercial controllers we’ve used.
Verdict
8/10
A great, hackable controller. We’d just like a few tolerance options.

Ben is the Editor of HackSpace magazine. When not wrangling words, he enjoys cycling, gardening, and attempting to identify wild mushrooms.
Subscribe to Raspberry Pi Official Magazine
Save up to 37% off the cover price and get a FREE Raspberry Pi Pico 2 W with a subscription to Raspberry Pi Official Magazine.
More articles
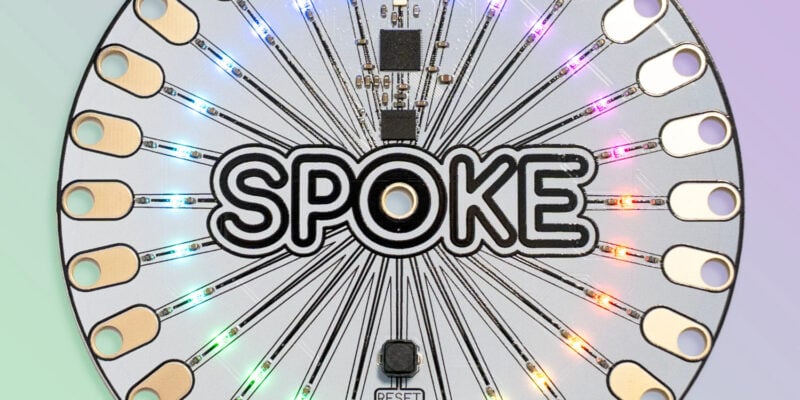
SPOKE review – programmable MIDI controller
An RP2040-powered touch controller for music and a lot more.
Read more →
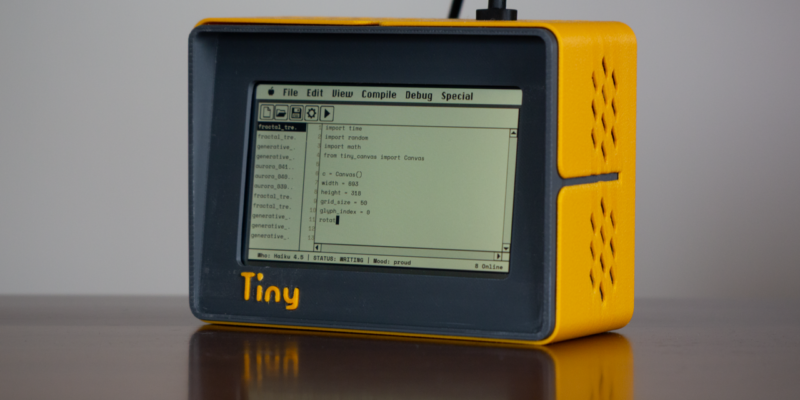
TinyProgrammer
Want a coding companion? TinyProgrammer lets you watch as it tinkers with Python all day. Sean McManus finds out how it works
Read more →
Make a Smart Home in Raspberry Pi Official Magazine issue 167
The dream of smart, connected devices controlling your home automatically, is especialy appealing on a lazy day when we’re trying to get work done in a heatwave. Maybe this will be the year we finally integrate temperature sensors with fans and a drinks dispenser to keep us cool, or maybe not, but we do know […]
Read more →