DreamHAT+ review
By Lucy Hattersley. Posted

DreamHAT+ (£100 / $135) is a Hardware Attached on Top (HAT) kit that gives Raspberry Pi a 60GHz millimetre-wave radar for you to play with.
The full-size HAT packs an Infineon BGT60TR13C chip featuring a single transmitter antenna and three receivers (TX/RX), connecting to Raspberry Pi 4 or 5 via GPIO pins and SPI.
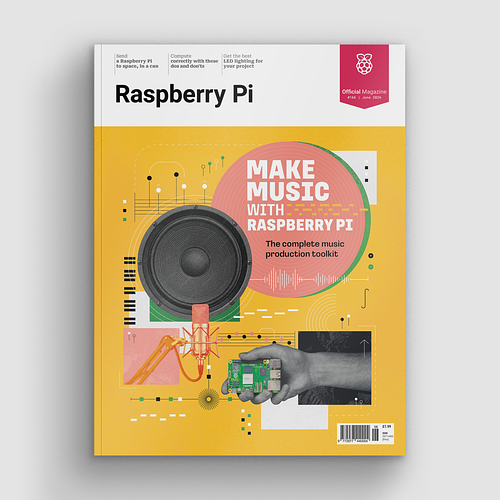
Make beautiful beats with the complete Raspberry Pi music production toolkit.
Dream RF also manufactures ApRESS (Autonomous Phase-sensitive Radio Echo Sounder), a device that uses Frequency-Modulated Continuous Wave (FMCW), as used to monitor ice loss in Greenland. While that device operated on the 2–8GHz frequency, DreamHAT+ is operating on a much shorter wavelength: 60GHz. This gives it a much higher resolution, making it ideal for human detection and gesture recognition-type projects.
As well as using it to research personal radar (a perfectly fun and relatively low-key technology), it can be used to add situational awareness to robotics, security systems, and wildlife monitors. There are also health and industrial uses (mostly involving monitoring breathing patterns or equipment vibrations).
The latter use case is beyond our scope, but we had a lot of fun experimenting with DreamHAT+.

Get started
Setup – like most HATs – was relatively simple. We connected DreamHAT+ to a test Raspberry Pi 5 and set up the software. Dream RF supplied us with a preconfigured microSD card, which you can flash yourself using the link on Dream RF’s GitHub.
You can also start from a Raspberry Pi OS installation and follow the instructions to install the various packages and download the example projects. We recreated both approaches and found flashing the microSD card easier.
On the resources section of the DreamBoards site is a setup guide, product brief, and schematics. You can also look at some real-world examples on Dream RF’s YouTube channel. There are currently the 2D Cartesian Plot and Range Doppler examples. It’s a good idea to read the documentation and watch the videos first so you get an understanding of the screen output.

Software stack
There are a range of example projects in the GitHub repository. These include a range-Doppler plot (the classic radar visualisation), an xy plot with tracking and persistence, a Doppler-azimuth plot (that detects objects around the device), and an offline processing example.
Beyond that, you can look at the Python modules to start your own implementations:
BGT60TR13C.py: This module manages SPI communication with the Infineon BGT60TR13C chip.
udp_streaming.py: This streams radar data over User Datagram Protocol (UDP).
gui.py: Provides a graphical user interface for visualising radar data, including range-Doppler plots and heatmaps, facilitating intuitive analysis.
offline_processing.py: For post-processing of recorded radar data.
While these modules provide a solid Python-based application programming interface API, the documentation around the API isn’t as solid as the setup. “This is more than enough to get you started and on the way to creating your own unique 60GHz radar project!” states the GitHub page, somewhat optimistically. Your mileage may vary.
Verdict
8/10
We thoroughly enjoyed our time experimenting with DreamHAT+ and the Infineon BGT60TR13C. The hardware and example projects are first-rate. The documentation is in development and a more detailed API reference guide would be helpful for moving beyond the initial projects.
Specs
Operation: Frequency at 58–63.5GHz; Bandwidth at 5GHz
Range: Distance: 0.1–15m; Resolution: 3cm, Field of view: 40° horizontal, 65° vertical
Integrated Antennas: 1 × TX antenna, 3 × RX antennas, 5dBi (max) gain

Lucy is Editor of Raspberry Pi Official Magazine.
Subscribe to Raspberry Pi Official Magazine
Save up to 37% off the cover price and get a FREE Raspberry Pi Pico 2 W with a subscription to Raspberry Pi Official Magazine.
More articles
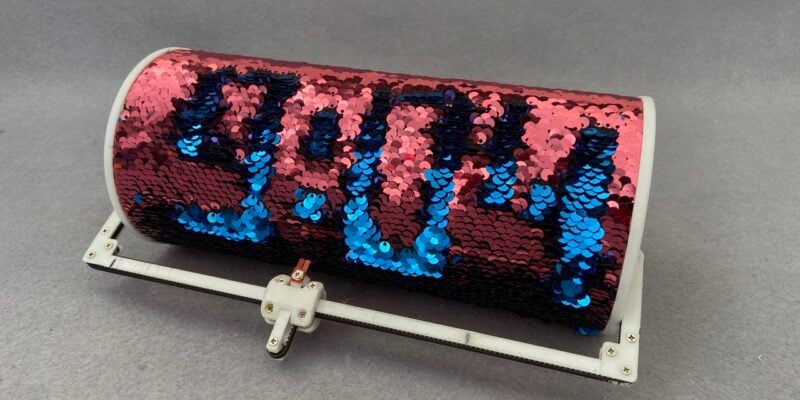
Sequino clock
This tricky build was inspired by a child’s t-shirt
Read more →
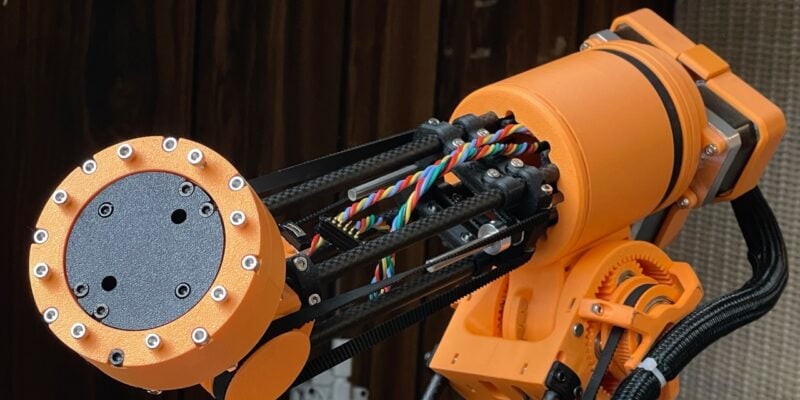
Use a robot to build a robot
This glorious, (mostly) 3D printed robot has six degrees of freedom.
Read more →
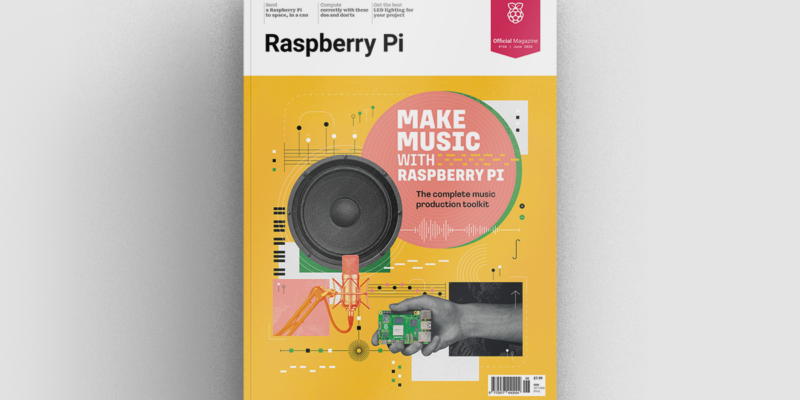
Make Music With Raspberry Pi in Official Raspberry Pi Magazine issue 166
Music production is an esoteric world of chin stroking and arguing over what kind of valve makes the best sound in a guitar amplifier – at least, it can be. Load up on software, bring your friends, and record your latest masterpiece on Raspberry Pi. We bring news from the world of 3D printing, where […]
Read more →