Drill Press Camera
By Nicola King. Posted

Experienced at etching PCBs in his garage, John McNelly found that one of the most frustrating and time-consuming parts of fabricating two-sided boards was drilling the through-holes. Keen to speed up the process, he created the Drill Press Camera, a clever piece of kit that makes his life so much easier.
“I got tired of squinting at a teeny-tiny drill bit attached to a benchtop drill press,” John explains, “so I built this project so that I can squint at a teeny-tiny screen attached to a benchtop drill press instead. The microscope camera has an HDMI output that I’ve been meaning to hook up to a larger display, but even with the small built-in screen, the magnified image has made drilling much faster and more accurate.”
Practicalities
John’s project works by using an angled, mirrored periscope to point a microscope camera at the underside of a drilling platform. “The position of the Drill Press Camera is adjusted until the crosshairs on its screen are lined up with the centre of the drill bit,” he says. “Once a PCB is placed on top of the drilling platform, the user can see a magnified view of the traces and intended drilling location.” Since the position where the drill bit will make a hole is indicated by the crosshairs on the camera screen, “lining up holes with the centre of the drill bit is about as easy as point and shoot.”

A Raspberry Pi Pico is used to control the LED strips that illuminate the underside of the PCB, and John has written a simple MicroPython script that “reads brightness and hue values from two potentiometers on the control board, and sends the corresponding NeoPixel commands to the high-density LED strips embedded in the periscope.” John wanted the ability to dim the LEDs and also added colour control: “With some experimentation, I found out that controlling the colour of the LEDs was a cool way to improve contrast on some material types.”
Reviving concepts
John estimates that he is now twice as fast at drilling holes than when he was aligning by eye, and “my holes are also much more accurate.” Unsurprisingly, the project has garnered a good deal of enthusiastic reaction, especially regarding the periscope configuration. “One [Hackaday] user pointed out that I had pretty much reinvented something from the 1970s called a ‘Target Drill’, which is pretty cool.”

John is more than happy to have reintroduced a drilling concept to a new generation: “There’s a lot of really neat fabrication equipment from the good old days, when people made PCBs by hand, that has since faded away.” After taking this project to Open Sauce in San Francisco earlier this year, he found that “lots of maker types were curious about it, and then quite enthusiastic about the concept once they saw how it worked! Drilling precise holes in flat things is apparently not a problem that is unique to PCB fabrication.”

If you’d like to build your own, John is more than encouraging, claiming this design is easy to build if you have access to a 3D printer and some soldering supplies. “Most of the stuff is pretty easy to get, but I’ve only been able to find one supplier for 2-inch glass circles of the right thickness. Since the microscope camera’s field of view passes almost entirely through the hole drilled in the glass disc, I think that a 3D-printed disc with a hole in it could substitute for the custom glass part just fine.” Go forth and create, as John would love to see what you come up with.

Subscribe to Raspberry Pi Official Magazine
Save up to 37% off the cover price and get a FREE Raspberry Pi Pico 2 W with a subscription to Raspberry Pi Official Magazine.
More articles
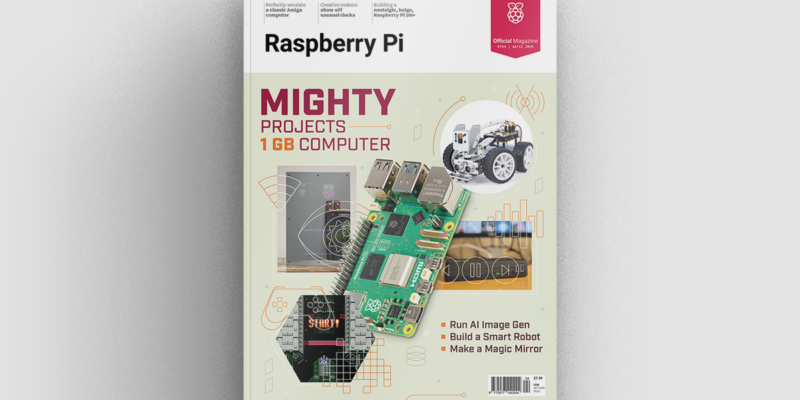
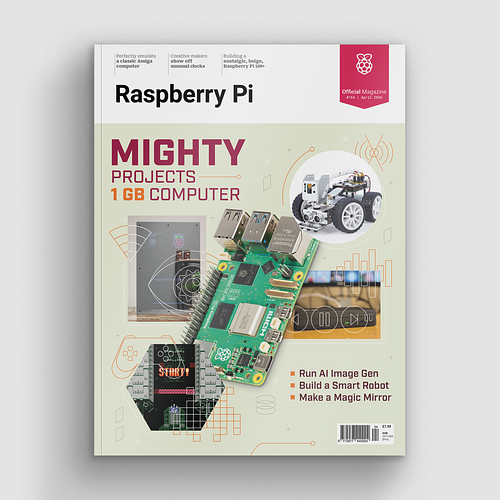
Mighty Projects – 1GB Computer in Raspberry Pi Official Magazine 164
It’s normal for computers to get faster and more pwerful, but the new-ish Raspberry Pi 5 1GB is a step in the other direction: it has all the processing power and the same GPIO pins of its more costly siblings, but with only 1GB of RAM it’s at a price that’s friendlier on the wallet […]
Read more →
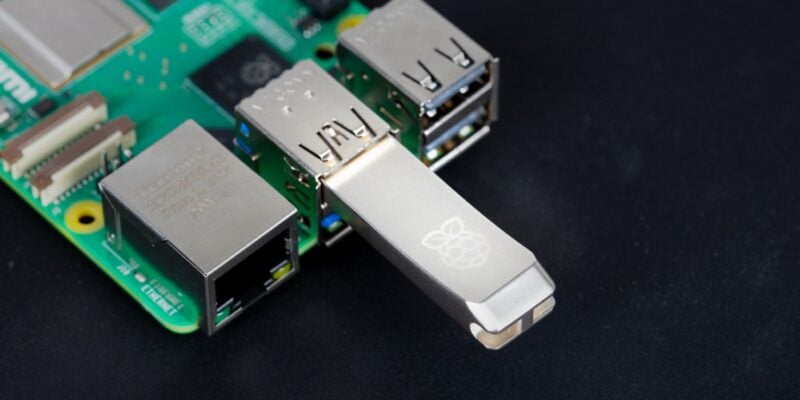
Win one of five 256GB Raspberry Pi Flash Drives
If you’ve been around long enough, you know that every Raspberry Pi accessory is top quality, and the latest Flash Drive is no different. Fancy a big one? We have five up for grabs, and you can enter below… Win 1 of 5 256GB Raspberry Pi Flash Drives
Read more →
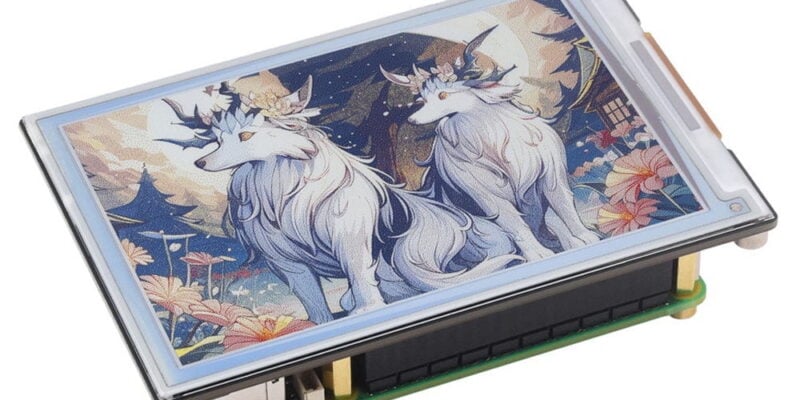
Full-Colour ePaper Display HAT+
A spectacular Spectra 6 display for your Raspberry Pi
Read more →