Hubble Pi
By Rosemary Hattersley. Posted

When physics student Santiago Rodriguez learned about the possibilities of Python for numerical physics, he immediately recalled a conversation with a friend about a new product from Raspberry Pi, the HQ Camera.
This camera would work with Santiago’s beloved, but rather small, Maksukov telescope. Having been a huge fan since childhood of all things space-related, and with plans to study astrophysics and masters and PhD level, Santiago suddenly saw how coding might just fit in… and the idea for Hubble Pi was born.
Mapping the sky
Santiago’s goal was to use a Raspberry Pi 4 and HQ Camera to take pictures with his telescope of planets, stars, and maybe even DSOs (deep-sky objects). He also decided to load his Raspberry Pi with established astronomy programs such as KStars, which can display a live map of the night sky directly on the telescope using an attached display.
Santiago realised that the HQ Camera’s “bigger, exposed sensor would allow it to essentially use the telescope as a big mirror lens. It was quite cheap for the quality it could offer.” When it came to controlling the sensor for astrophotography, the flexible, open-source nature of Raspberry Pi appealed too.

To achieve this, Santiago developed AstroCam, a Python GUI for controlling the camera for astrophotography. “Using it, I can control ISO, shutter speed and exposure time (with some limitations due to the digital nature of the rolling shutter),” he explains.
AstroCam can also take multiple exposures automatically, and capture RAW image files – both important capabilities for astrophotography. Controls are triggered locally via a touchscreen or through a remote desktop connection from a laptop connected via Ethernet or a wireless LAN hotspot hosted by Raspberry Pi. He was reasonably confident the project would work, having seen similar endeavours based around Raspberry Pi 3B.
Santiago had never used Python before, so he began by learning what the sensor could do from the HQ Camera documentation, after which the main challenge was coding the GUI program with Tkinter and adapting it for his astrophotography needs. “I based my AstroCam script’s main loop and the image preview code on that of a Python programmer who had developed it for a normal camera use,” he says. The source is credited in the documentation in Santiago’s GitHub repo.
Although others had posted similar projects on GitHub, no one had written about using the C-mount adapter for the HQ Camera for astrophotography at the time. Fortunately, C-mount-to-telescope adapters are fairly common and Raspberry Pi itself could simply be mounted using a simple phone adapter.
Shooting stars
Santiago is reasonably pleased with the results from Hubble Pi. “Most good USB cameras for astrophotography start at about €200 and require a connected computer at all times. Hubble Pi can also work wirelessly or as a standalone if needs be,” he notes.

Raspberry Pi 4 and HQ Camera sensor work very well, but photos are limited by the optical limitations of his telescope, while humidity and light pollution are also factors. “Planets and stars look alright, but somewhat blurry without stacking (atmospheric distortion), and DSOs are very difficult to capture due to the f14 aperture ratio from the small Maksutov (brighter/bigger optics should deliver better results here),” discloses Santiago.
“My friend’s DSLR doesn't perform much better when attached to my telescope at prime focus,” he says. “The only real limitation from the sensor side of things is its digital rolling shutter, which means it can't do hour-long exposures like DSLRs.” But an expensive star tracker (to compensate for the drift during the lengthy exposure) costs upwards of €300.
When finances allow, Santiago intends to develop Hubble Pi in this direction. For now, he’s pretty pleased with his first Raspberry Pi project. “This may have been the first, but it certainly won't be the last!”

Rosie has worked for consumer tech titles such as PC Advisor, Computeractive, CNET and Macworld and written For Dummies books on using iPads, Androids and tablets
Subscribe to Raspberry Pi Official Magazine
Save up to 37% off the cover price and get a FREE Raspberry Pi Pico 2 W with a subscription to Raspberry Pi Official Magazine.
More articles
SPOKE review – programmable MIDI controller
An RP2040-powered touch controller for music and a lot more.
Read more →
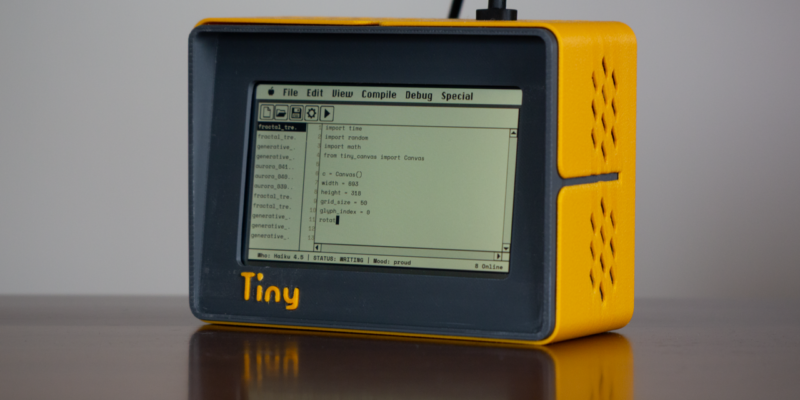
TinyProgrammer
Want a coding companion? TinyProgrammer lets you watch as it tinkers with Python all day. Sean McManus finds out how it works
Read more →
Make a Smart Home in Raspberry Pi Official Magazine issue 167
The dream of smart, connected devices controlling your home automatically, is especialy appealing on a lazy day when we’re trying to get work done in a heatwave. Maybe this will be the year we finally integrate temperature sensors with fans and a drinks dispenser to keep us cool, or maybe not, but we do know […]
Read more →