Build a number plate reader – part two
By Russell Barnes. Posted

Following on from our previous tutorial, we use a Camera Module to recognise the number plates of the cars passing by
Advertisement
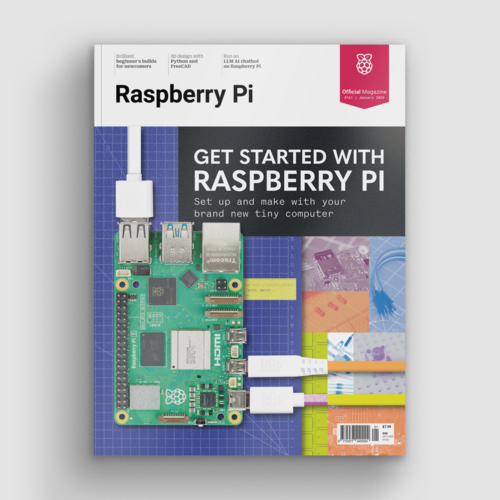
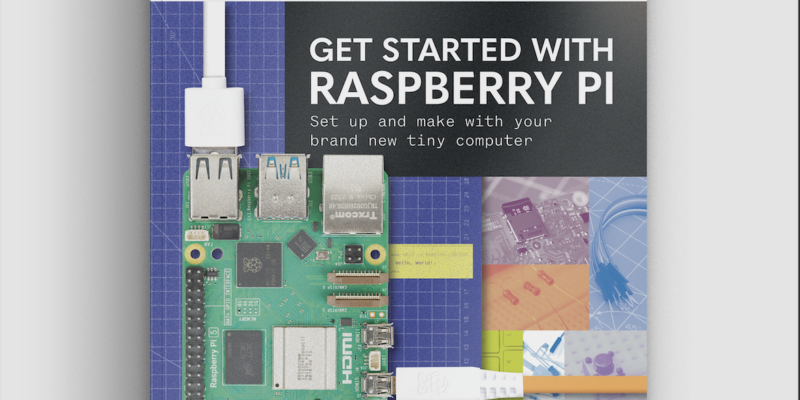
Get started with Raspberry Pi – everything you need to know to start your journey!
It’s time to take the previously built traffic monitoring system and spice it up by making it really smart. We’ll connect it to the internet and, by accessing an open-source image processing service, we’ll display the number plate of the detected car. The project continues on from part one, simply by adding the Camera Module.
The full article can be found in The MagPi 50 and was written by Ioana Culic.
You’ll need
- Wyliodrin STUDIO
- SS441A Hall sensor
- Camera Module
- 220Ω resistor
- 16×2 LCD
- Potentiometer
- Jumper wires
- Breadboard
STEP-01 Connect the Camera Module
First of all, we will start with the previously built system that detects cars passing by using the Hall sensor (see part one). The next step is to connect the camera in order to take a picture of each car passing by the sensor.
The Raspberry Pi board has a port specially designed to connect the camera. It’s located between the HDMI port and the 3.5mm headphone jack. We need to place the side of the cable with the silver connections towards the HDMI side of the port.
STEP-02 Create an OpenALPR account
For this application, we’ll use a web service in order to extract the number plate from the pictures taken with the Pi Camera. The web service is OpenALPR; it allows us to upload pictures and get details such as the car model, colour, and licence plate.
In order to use the service, we need to create an account on openalpr.com, which requires a valid email address. We have to confirm the email address, then we can log in and use the service.
Once logged in, we go to Cloud API and check the Cloud API credentials. We will need the secret key later on.
STEP-03 Update the application
We will start with the streams application that we created previously.
To make the code more modular, we’ll create our own new subflow. Go to the Options menu in the top-right of the workspace and select Subflows > Create Subflow. Once the subflow is created, we select the edit properties option and name it car passed. We also set the number of outputs to 1.
The code we have to insert in the subflow is the one created in the previous article, except the counter, which is missing. The final behaviour is that each time a car passes, the node outputs a message.
STEP-04 Take a picture of the car
The node connected to car passed is a Python node. It’s similar to the function node, but it allows us to write code in Python instead of JavaScript. The Python code initialises the connection to the Pi camera, waits for five seconds to finish initialising and calibrating the camera, then it takes the picture and stores it as /home/pi/image.jpg.
The piece of code uses the PiCamera module. However, this module is not installed on the Pi by default. In order to install it, we need to open a terminal window and type the following command: sudo pip install picamera

STEP-05 Recognise the number plate
Once the picture is saved, we’ll access a web service to process it. The read image file node parses the file and, further on, sends a message storing the file’s contents in a buffer.
Next, we send a POST request to OpenALPR. For this, we use a function node. There, we store the image file in a variable under Base64 encoding, then we create a new payload consisting of a JSON structure.
The JSON asks for the secret_key and for a list of processing tasks you need the service to do. After the payload is created, it goes to the http request node, which will do a POST request at the following address: api.openalpr.com/v1/recognize.

STEP-06 Print the number plate
The request returns a JSON structure under a string format. We use the JSON node to obtain a structure containing the plate.results property. That is a list of possible plate numbers, the first element being the most likely to be correct.
Next, we create a function to extract the first element of the list and get the plate property. That is a string representing the plate number. We use the print function to display it on the LCD.
We can test the prototype by placing a picture of a number plate in front of the camera, while passing a magnet next to the Hall sensor.
Code listing
You can download the new code from GitHub. You'll need to add this to part one's code


Russell runs Raspberry Pi Press, which includes The MagPi, Hello World, HackSpace magazine, and book projects. He’s a massive sci-fi bore.
Subscribe to Raspberry Pi Official Magazine
Save up to 37% off the cover price and get a FREE Raspberry Pi Pico 2 W with a subscription to Raspberry Pi Official Magazine.
More articles
Get started with Raspberry Pi in Raspberry Pi Official Magazine 161
There’s loads going on in this issue: first of all, how about using a capacitive touch board and Raspberry Pi 5 to turn a quilt into an input device? Nicola King shows you how. If you’re more into sawing and drilling than needlework, Jo Hinchliffe has built an underwater rover out of plastic piping and […]
Read more →

Win one of three DreamHAT+ radars!
That’s right, an actual working radar for your Raspberry Pi. We reviewed it a few months ago and have since been amazed at some of the projects that have used it, like last month’s motion sensor from the movie Aliens. Sound good? Well we have a few to give away, and you can enter below. […]
Read more →
RP2350 Pico W5 review
It’s Raspberry Pi Pico 2, but with a lot more memory
Read more →