Puppet Kit review
By Russell Barnes. Posted

Your Raspberry Pi pulls all the strings with this innovative puppet kit project
The Puppet Kit by esteemed maker Simon Monk caught the attention of everybody at The MagPi. This quirky project has you detaching the strings from a traditional marionette and hooking them up to servo motors. These are then used with Python code to control the doll.
The full article can be found in The MagPi 51 and was written by Lucy Hattersley.
“How cool,” said many team members; “Waah, clowns are creepy,” said even more. Maybe it’s Halloween coming, or the craze for dressing up as Killer Clowns on the news every night, but we certainly felt this puppet had a touch of Psychoville to it.
A fear of psychotic circus performers has never stopped us from building before, and this doll’s creepy clown make-up isn't going to stop us now. We quickly had ‘Mr Jelly’ out of his box and on the operating table.
There’s a lot of promise in this build. With everything set up, you can make the puppet walk, wave, and even perform killer dance moves. You can get him to spot your wave and wave back, thanks to the included PIR sensor.
Master of puppets
The central part of the Puppet Kit is its four 9g servos to control the strings of the marionette. The strings are detached from the usual wooden cross and hooked up to little wooden arm extensions.
A Servo Six board is wired directly to the GPIO pins on the Raspberry Pi (not included). Aside from the Pi and micro SD card, everything you need is in the box.
Opening the kit reveals a plywood board, with holes marked for various components. To start the build, you screw in your Raspberry Pi and the Servo Six board to this plywood board. We found this first step the fiddliest part of the build, with each screw using a wooden washer and small nut.
Then you move on to the battery box and servo motors. These are all attached using self-adhesive foam blocks, with the servos hanging over the edge of the plywood board. The idea is that you place the board on the edge of a desk or on top of a box, so that the puppet can dangle below.
Everything is wired up using the ten female-to-female jumper cables. You connect the servos to the Servo Six board, and the latter directly to the Raspberry Pi. The instructions are clear and include a photograph for each step. It’s an ideal project for novice makers.
We only had one slight hiccup during the build. We didn’t have the micro SD card inserted into the Pi when we started, and couldn’t access the card slot when it was time to test the servos (the position of the Servo Six board made it impossible to get in). So we had to remove the Pi, slot in the card, and reinsert it. So make sure you set up Raspbian Jessie with PIXEL before you get started.

Puppet on a string
The software side of things is easy thanks to Simon Monk’s Servo Six Python library, available from his GitHub. The instructions use Git to download (clone) the files.
Attaching the puppet to the servos requires you to cut the strings. But if you’re careful, they can be easily reconnected to the wooden cross to give you back the original puppet. Then we hung the puppet over the edge of a desk and ran the test program. Our marionette sprang to life, just like Chucky from Child’s Play, and started to walk.
With the build complete, you can head into the two projects. The first is an animation program where you use keyboard commands to control the puppet directly. The second project involves using the PIR sensor to detect motion. As you wave to the puppet, he waves back.
Spending a day with the puppet was highly entertaining. It’s an ideal way to introduce young students to Raspberry Pi coding.
Last word
4/5
A great project for novices that teaches the basics of servo motor control in a friendly environment. Not for the coulrophobes, though.

Russell runs Raspberry Pi Press, which includes The MagPi, Hello World, HackSpace magazine, and book projects. He’s a massive sci-fi bore.
Subscribe to Raspberry Pi Official Magazine
Save up to 37% off the cover price and get a FREE Raspberry Pi Pico 2 W with a subscription to Raspberry Pi Official Magazine.
More articles

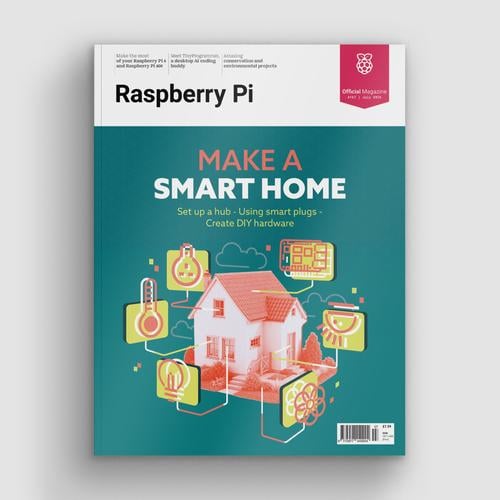
Make a Smart Home in Raspberry Pi Official Magazine issue 167
The dream of smart, connected devices controlling your home automatically, is especialy appealing on a lazy day when we’re trying to get work done in a heatwave. Maybe this will be the year we finally integrate temperature sensors with fans and a drinks dispenser to keep us cool, or maybe not, but we do know […]
Read more →

Win 1 of 3 Pironman 5 Pro Max cases!
Transform your Raspberry Pi with this amazing case
Read more →

Learning to code in an AI age
A new Raspberry Pi Foundation course helps young people learn to code.
Read more →