Unusual tools: corner‑cutting shear
By Dr Andrew Lewis. Posted

Cutting a radius onto a sheet of metal, paper, or card is surprisingly difficult to do well. You mark the corners as accurately as you can with a scribe, cut with a sharp tool, or even grind away slowly with an abrasive sheet. When you’re finished, the corner still looks slightly crooked, and the more corners you cut, the worse the effect seems to get. For professional results, you need a machine that cuts the perfect corner every time.
The aptly, though not particularly imaginatively named, industrial corner-cutting machine (or corner radius cutter) lets you make repeated cuts in paper and thin metal sheet. While it’s not as powerful as a hydraulic press with a corner-cutting die fitted, it can still do a surprising amount of work for a small machine. The machine is essentially a modified arbor press and jig, with a moving shaped blade in the top and a matching fixed blade surface at the bottom. Pulling the lever on the machine lowers the top blade down so that the moving blade cuts into the sheet and removes the corner. The offcut drops out of the bottom of the machine, leaving your piece of material neatly radiused.

Typically, a corner-cutting machine will come with more than one blade so that you can cut different-sized corner radii. Changing the blade isn’t complicated, but it can be a little bit fiddly to get right if you’re not used to working with this type of machine. There are three important parts of the machine to consider when you are changing the blades: the upper (moving) blade, the lower blade (sometimes called a button or anvil), and the jig. The upper and lower blades are a matched pair, so if you’re going to fit a 10mm radius upper blade, you’ll also be fitting a 10mm radius lower blade. The cutting edges of the blades should match up perfectly when the cutting lever is pulled down. Fitting the upper blade is usually just a matter of removing a machine bolt and swapping the blade over. The lower blades sometimes perform multiple duties, with a single button being radiused to match two different blades. You’ll have to make sure these are the right way around and positioned correctly by fitting the lower blade in place loosely, slowly bringing the upper blade down, and then adjusting the fit to match the curve of the upper blade. Once the upper and lower blades are properly aligned, tighten the bolts and double-check nothing has moved.

With the upper and lower blades aligned, you need to adjust the fit of the jig. The purpose of the jig is to hold the piece that you want to cut in the right position as the blade comes down. This position will change whenever you change the radius of the cutter. Normally, for right-angled pieces, you’ll want the angle between the two sides of the jig to be 90 degrees, with a 45-degree angle to the direction of the blade. That means the point of the corner should hit the midline of the blade. You’ll also need to make sure that the jig is set so that the edge of the blade contacts at the edge of the material. The easiest way to do this is to use a square to set a 45-degree angle on your jig, and then set one side by eye so that the point of the material touches the midpoint of the blade. Slide the material forward and nibble away at the corner using the blade, until the blade touches the outer edge of the material. Then without moving the material, lock both sides of the jig into place flush with the edges of the material. It can be a bit fiddly and some fine adjustment might be needed, but the end results are well worth the effort.
Warning!Sharp blades
As well as plastic and paper, a corner-cutting shear will carve a neat radius into human flesh if you use it without due care. Watch your fingers!

Subscribe to Raspberry Pi Official Magazine
Save up to 37% off the cover price and get a FREE Raspberry Pi Pico 2 W with a subscription to Raspberry Pi Official Magazine.
More articles

SPOKE review – programmable MIDI controller
An RP2040-powered touch controller for music and a lot more.
Read more →
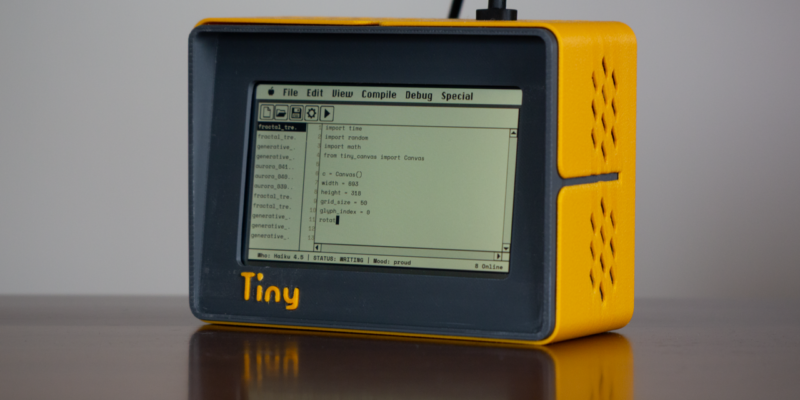
TinyProgrammer
Want a coding companion? TinyProgrammer lets you watch as it tinkers with Python all day. Sean McManus finds out how it works
Read more →

Make a Smart Home in Raspberry Pi Official Magazine issue 167
The dream of smart, connected devices controlling your home automatically, is especialy appealing on a lazy day when we’re trying to get work done in a heatwave. Maybe this will be the year we finally integrate temperature sensors with fans and a drinks dispenser to keep us cool, or maybe not, but we do know […]
Read more →