Become a Raspberry Pi Genius
By Lucy Hattersley. Posted

There’s nothing like the excitement of getting hold of your first Raspberry Pi, especially with the seemingly endless possibilities for projects and builds to explore. Getting to grips with it all can be a little daunting, especially for those new to the world of Linux. SSH – why are you telling me to be quiet? Sudo – isn’t that a board game? Headless – I want one with a head, please!
You’d be forgiven for wondering what all these new terms are, but read on and you’ll not only learn what they mean, you’ll become a Raspberry Pi genius in the process!
Identify your Raspberry Pi hardware
With a range of Raspberry Pi computers to choose from, the first step to becoming a Raspberry Pi genius is to understand the differences between each model, as each has its own strengths depending on your project. You should identify your model of Raspberry Pi before checking for help and advice.
If you want to know the precise version and revision of your Raspberry Pi, check the printed text on the board.
See the Raspberry Pi product page for more information on each version sold.

Fix Raspberry Pi boot problems
This is one of the most frequently asked questions! If your Raspberry Pi refuses to boot, there are a couple of things to try.
First the good news. Your new Raspberry Pi is almost certainly not broken. Every Raspberry Pi is tested before it leaves the factory, so you can be confident that your Raspberry Pi has booted successfully at least once. While it is technically possible that your Raspberry Pi has a hardware fault, the chances are extremely slim. It’s almost certainly a problem you can fix. Try these things in order:
You might be booting but not getting video output. First, check that your cables are connected properly. Take them all out and reconnect them. Try a different HDMI cable if you have one.

Try a different power supply. It’s best to use an official power supply if you are in doubt – see Power Supply & Cables on Raspberry Pi’s product page.
Take out the microSD card and use Raspberry Pi Imager to flash a new installation of Raspberry Pi OS to it (see magpi.cc/imager).
Try a different microSD card. Make sure your SD card is fit-for-purpose, and not a fake. Some SD cards are unsuitable; if your card fails, it may be a good idea to try a different type. Get your microSD cards from a trusted source like The Pi Hut.
Raspberry Pi has full instructions for setting up your Raspberry Pi, but if it still will not boot, you will find a great post packed with advice on Raspberry Pi’s forum.
Understand LED warning flash codes
Every Raspberry Pi has LED lights on the board. The LED lights are a visual indicator of what Raspberry Pi is doing. The on-board red LED indicates that your Raspberry Pi is on, signifying power (PWR). This will flash if the voltage drops too low too, so check your power supply if this happens.
The on-board green LED, labelled ACT, indicates microSD card activity and flashes during a read or write, but on Raspberry Pi Zero this indicates power and usually flashes a lot during boot. There are LED lights within the Ethernet ports too – the green LNK LED will be on when an Ethernet cable is connected, and flashing indicates network activity. The 100/1000 LED will be yellow if gigabit networking is working, otherwise it will be off.
If Raspberry Pi fails to boot, in many cases an LED will be flashed a specific number of times to indicate what happened. Usually, the pattern will repeat after a two-second gap. See this page for more info.
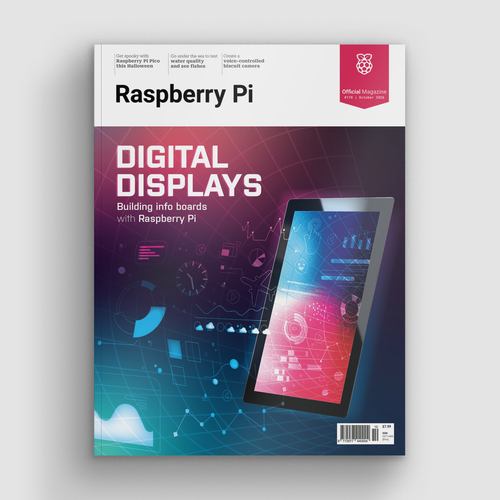
This is just a few of the things you can learn in the latest issue to help you become a Raspberry Pi Genius. Download The MagPi #107 and head to page 32 for much more.

Lucy is Editor of Raspberry Pi Official Magazine.
Subscribe to Raspberry Pi Official Magazine
Save up to 37% off the cover price and get a FREE Raspberry Pi Pico 2 W with a subscription to Raspberry Pi Official Magazine.
More articles
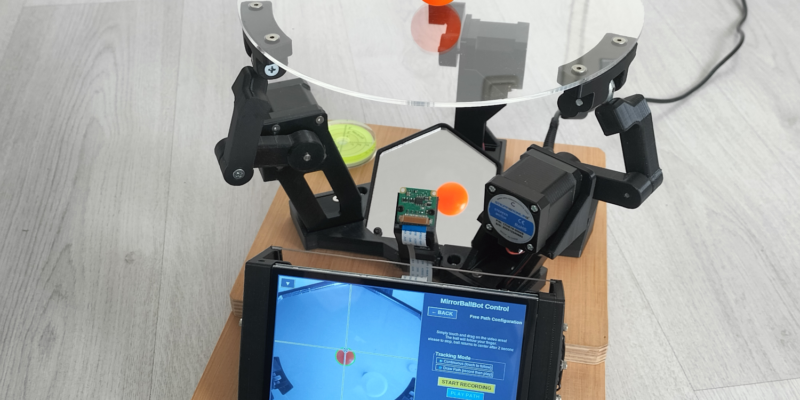
MirrorBallBot
This trick uses no smoke but it does use mirrors
Read more →
Digital Displays in Raspberry Pi Official Magazine 170
Some projects seem more like magic to us than anything else; here’s one of them. This robot by Italian engineer/magician Andrea Favero uses a mirror to widen the field of vision of a Raspberry Pi Camera Module 3, the input from which is processed by Raspberry Pi 4 and used to control three legs to […]
Read more →
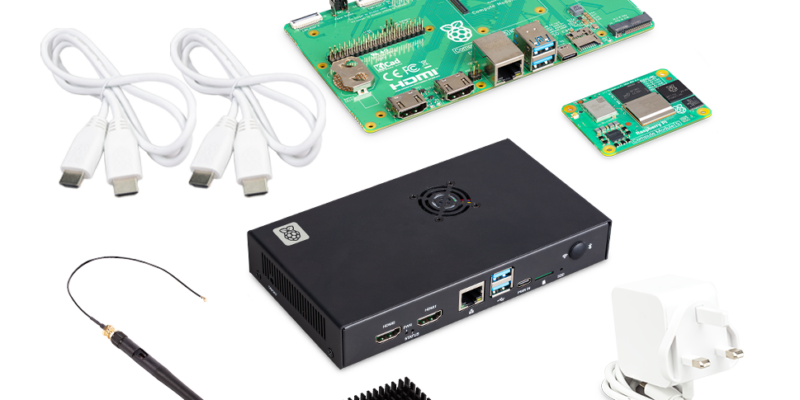
Win a Development Kit for Compute Module 5
Make CM5 development easier with our competition
Read more →