Review: Inky Impression
By Phil King. Posted

The Inky Impression (£66 / $75) is a super-size e-ink display that gives a great first impression as soon as you take it out of the box. Ours came with a beautiful impressionist painting by Lilla Cabot Perry as the default image.
Its 5.7-inch display is much bigger than Pimoroni’s previous e-ink boards, the Inky wHAT and pHAT. Indeed, it's considerably larger than a full-size Raspberry Pi board, for which an extra female header (to boost height) and metal standoffs are supplied. Care is needed to hold it by the edges when mounting, so as not to push down on the glass panel. Alternatively, it fits flush on a Raspberry Pi Zero without the extra header, for a reduced overall depth – great for putting it in a wooden frame for wall mounting. If using a Raspberry Pi 400, you’ll need a GPIO extender cable.
The slimline board even features some breakout GPIO pins on the underside, including I2C and SPI, along with four tactile buttons on its left edge – these could be handy for switching between images or sets of them in a headless picture frame setup.
Now in full colour

In addition to its size, the other major plus point about the Inky Impression is that it now uses ACeP (Advanced Color ePaper) to deliver seven colours: black, white, red, green, blue, yellow, orange. This means it can display standard RGB images without the hassle of having to alter the colour mode to a special indexed palette in an image editor, as is required on the Inky wHAT and pHAT. So it's far easier to download or transfer images to use straight away; they just need to be 600×448 pixels, so may need scaling and/or cropping. Most major file formats are supported.
We found that simpler images, without too much detail, tended to work best. In particular, the Inky Impression is ideal for showing pop art, comic-book panels, and pixel art. Most standard photos will look fine on it, although you may find that the colours are a little washed out compared to the original image – this can be alleviated somewhat by altering the contrast and colour saturation of the photo.
As with all e-ink displays, it takes a few seconds to change to a new image (so it's no use for animations or videos), with some flashing as it refreshes the different colour layers. There is also the possibility of some ‘ghosting’ as strong elements from the previous image may sometimes be noticeable – the best way to solve this is to show an all-white image between them.

Code examples
To use the Inky Impression, you’ll need to download the Inky Python library (as used by previous boards), either using a one-line installer or cloning/downloading the GitHub repo – the latter may be more up to date. This includes a ‘7color’ folder of Inky Impression code examples to get you started and demonstrate some of its use-cases.
Along with code to display a selected image, there's a nice example for a simple HTML webpage, which offers a convenient way of showing styled text on the screen. There's also a neat graphing example that plots coloured circles for data, illustrating how the Inky Impression could be useful for showing sensor or weather data in colourful charts. If using using battery/portable power, a big advantage over a conventional display is the extremely low energy drain: it only draws power when changing images, which otherwise stay on screen even with the power disconnected.
Verdict
8/10
While its lengthy screen refresh time means it’s not suitable for every project, it’s ideal for use as a digital art/picture frame or for displaying data in graphical form.

When not editing books and contributing to The MagPi, Phil enjoys playing the piano (badly), astronomy, and watching classic sitcoms.
Subscribe to Raspberry Pi Official Magazine
Save up to 37% off the cover price and get a FREE Raspberry Pi Pico 2 W with a subscription to Raspberry Pi Official Magazine.
More articles
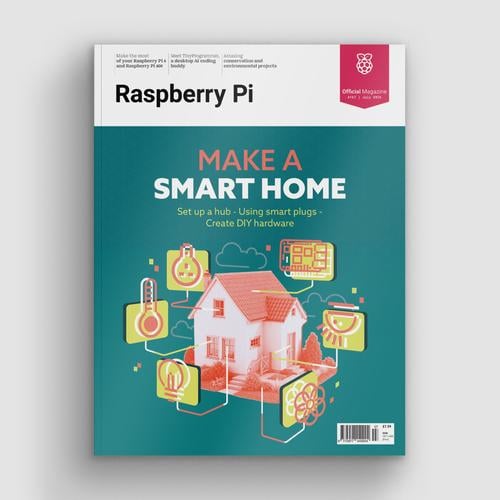
Make a Smart Home in Raspberry Pi Official Magazine issue 167
The dream of smart, connected devices controlling your home automatically, is especialy appealing on a lazy day when we’re trying to get work done in a heatwave. Maybe this will be the year we finally integrate temperature sensors with fans and a drinks dispenser to keep us cool, or maybe not, but we do know […]
Read more →
Win 1 of 3 Pironman 5 Pro Max cases!
Transform your Raspberry Pi with this amazing case
Read more →

Learning to code in an AI age
A new Raspberry Pi Foundation course helps young people learn to code.
Read more →