LED Cube
By Nicola King. Posted

At the end of 2019, when Sebastian Staacks gave a talk at the annual Chaos Communication Congress, he found inspiration from fellow makers and hackers who had created and exhibited their versions of LED cubes. Sebastian left the conference desperate to make his own cube, and initially just envisaged crafting a stationary mood light for his living room, but explains that his plans soon changed. “When it did not get living room clearance from my wife, I turned it into something useful for my office by creating a parametric animation reflecting the status of my [PC’s] CPU”, he says.
Sebastian spent some time working on the design and aesthetic of the cube, although ‘technically’ it’s not a cube, as he explains. “Since the cube is designed to be stationary and usually only viewed from one side, it is not actually a complete LED cube, but only has three sides with LED matrix panels. Those panels consist of 64×64 RGB LEDs across a side length of 128mm. They are held by a 3D-printed frame, which also holds a Raspberry Pi 2 and an LED Matrix Bonnet from Adafruit.”
Glorious graphics
Sebastian arranged the three panels so that they are daisy-chained to the Matrix Bonnet, which also distributes the 50W from the power supply (5V, 10A). This was the more straightforward element of the whole design, as he tells us. “One could say that I mostly put together a few parts that were meant to be assembled just like this. The trickier part was software, because I did not just want simple pixel graphics or a pre-rendered animation. Even at only 3×64×64 pixels, it soon became clear that the CPU cannot deal with all the pixels in sequence, but that I had to use OpenGL.”

The glowing visual element of the Cube is stunning, with the background colour determined by his PC’s Ryzen 5 CPU temperature, and the thickness of the ring changing in relation to usage of threads on the CPU. Sebastian achieved these graphics by using OpenGL Shader: “Instead of iterating over each pixel, one writes a fragment shader – a small (and rather limited) piece of code that is executed independently for every single pixel. With this independent execution, every pixel can be done in parallel as much as the hardware supports this. I did not end up with a particle system, but this allows for an animation that covers all pixels and with something going on in every part of the image.”
Power management
Sebastian had very little fine-tuning to do, once he’d figured out how to use OpenGL. “I had to be careful about the maximum brightness because the power supply is a bit too weak to handle full white for all LEDs. So, I had to avoid getting too close to a white cube as the Raspberry Pi would become unstable at this point,” he reveals.

He also made the Raspberry Pi file system read-only in order to avoid the possibility of data corruption when unplugging the cube. “This way, I could just cut the power at any time without worrying about file corruption. The cube is now simply plugged into a socket strip which turns off whenever the PC does not draw any power on a controlling socket.”
Sebastian’s colourful creation has garnered much interest from others, which surprised him initially as he was aware that such a cube was not a new concept. “I got extremely positive reactions and a much wider coverage than I expected,” he says. “I think that my presentation in the video was good and that there is a slightly different appeal to it as it has some kind of function, while having very fascinating visuals.”

Subscribe to Raspberry Pi Official Magazine
Save up to 37% off the cover price and get a FREE Raspberry Pi Pico 2 W with a subscription to Raspberry Pi Official Magazine.
More articles
Make your RAM go further – Raspberry Pi OS memory optimisation tips
In issue 164 of Raspberry Pi Official Magazine we have been playing around with the new Raspberry Pi 5 1GB RAM. While the RAM shortage caused by the demands of AI infrastructure is annoying beyond belief, this has been a great chance for us to really get to grips with RAM. Generating images in Stable […]
Read more →
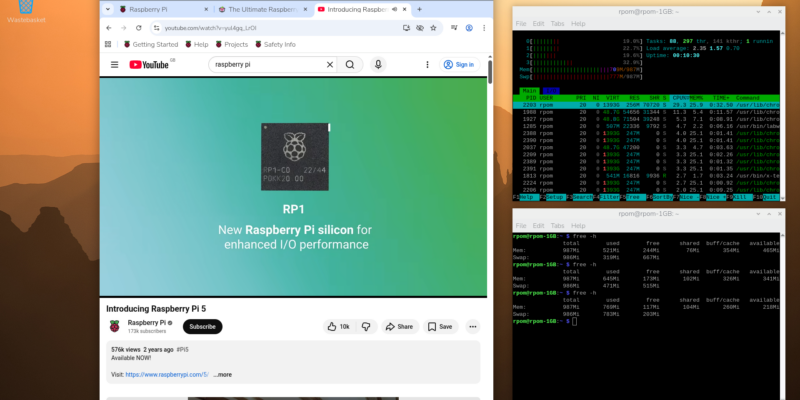
Mighty Projects – 1GB Computer in Raspberry Pi Official Magazine 164
It’s normal for computers to get faster and more pwerful, but the new-ish Raspberry Pi 5 1GB is a step in the other direction: it has all the processing power and the same GPIO pins of its more costly siblings, but with only 1GB of RAM it’s at a price that’s friendlier on the wallet […]
Read more →
Win one of five 256GB Raspberry Pi Flash Drives
If you’ve been around long enough, you know that every Raspberry Pi accessory is top quality, and the latest Flash Drive is no different. Fancy a big one? We have five up for grabs, and you can enter below… Win 1 of 5 256GB Raspberry Pi Flash Drives
Read more →