Build a number plate reader – part one
By Russell Barnes. Posted

Thinking about monitoring cars passing by? Prototype your own number plate recognition system with a Camera Module connected to your Pi
Make beautiful beats with the complete Raspberry Pi music production toolkit.
Ever wondered how the systems monitoring the traffic flow work? This article will guide you through the first part of building a mock-up system that monitors cars passing by your Camera Module. By using a simple magnetic sensor, you can detect the presence of a magnet and display its traffic rate on an LCD, all by using a data flow approach which makes programming fun and intuitive.
You’ll need
- Wyliodrin STUDIOS
- S441A Hall sensor
- 220Ω resistor
- 16×2 LCD
- Potentiometer
- Jumper wires
- Breadboard
STEP-01 Connect the Hall sensor
The SS441A sensor is a device that reacts to magnetic fields; its behaviour can be compared to that of a push button. The sensor outputs HIGH in the normal state and LOW when a magnet is near it.
We insert the sensor into the breadboard with the smaller side facing the board, then connect the right leg to the 3.3V pin, the middle one to the GND, and the left leg to a GPIO pin of the Raspberry Pi.
We also need to connect the 220Ω resistor between the 3.3V pin and the GPIO pin. Refer to the Fritzing diagram below for how to do this.

STEP-02 Connect the LCD
For the LCD, the first two pins on the right are used to power it up. The next four pins, the ones connected by green cables, are the four data pins, and finally there are two control pins.
There are also three pins used for contrast. Two of them are used to power on the backlight and there’s one more pin directly connected to the potentiometer, which will output a different voltage depending on its angle. This way, we can control the contrast just by rotating it. Again, you can refer to the Fritzing diagram to make sure it’s wired up properly.
STEP-03 Create a Node-RED application
We will program the Raspberry Pi using Wyliodrin STUDIO. First, we must download the application and follow the steps to connect the Raspberry Pi. For more details on how to get started with Wyliodrin STUDIO, read the Pi thermometer article from issue 45 of The MagPi.
Once connected, we create a new Streams application, which allows us to write applications using Node-RED. This language is based on events; it uses nodes which are connected and transmit messages to each other. Once a node receives a message, it processes it and sends it forward.
STEP-04 Initialise the LCD
The first stream of nodes initialises the LCD connection. This stream needs to function only once. It starts with a run node which we double-click and set to Fire once at the start. Then, we drag the trigger node and set it to wait until reset.

Next, the function node initialises the LCD. First of all, we must require the wyliodrin module. Afterwards, we call the LiquidCrystal constructor, which gets the following pin numbers as parameters: RS, Enable, D5, D6, D7, and D8 (the four data pins).

Finally, we call begin and setBacklight and the LCD is ready to be used.
STEP-05 Display the number of cars
The second stream of nodes runs every 10 minutes, Fires once at the start, and sets context.global.count to 0. Any variable prefixed by context.global can be accessed from any node.
For the third stream, we set the run node to send a message every 0.1 seconds and activate the digital read node, which reads the value coming from pin 23. We only want to take into account the changes in the system, which is why we use the rbe node.
Finally, we implement the ‘print on LCD’ function which verifies if the value read is 0, increases the counter, and displays the value on the LCD.

STEP-06 Count the cars
All that’s left to do is to run the code and simulate the passing cars by bringing a magnet towards the Hall sensor. To create a system that really monitors the traffic, the Hall sensor needs to be replaced by a coil which is usually located under the pavement.
In the second part of the tutorial, we will take a picture of the cars passing by and use a web service to identify the number plate. Look out for it soon!


Russell runs Raspberry Pi Press, which includes The MagPi, Hello World, HackSpace magazine, and book projects. He’s a massive sci-fi bore.
Subscribe to Raspberry Pi Official Magazine
Save up to 37% off the cover price and get a FREE Raspberry Pi Pico 2 W with a subscription to Raspberry Pi Official Magazine.
More articles

Mermaid in the shell
Satin and real freshwater pearls complete the look for the mermaid who needs root access in style
Read more →
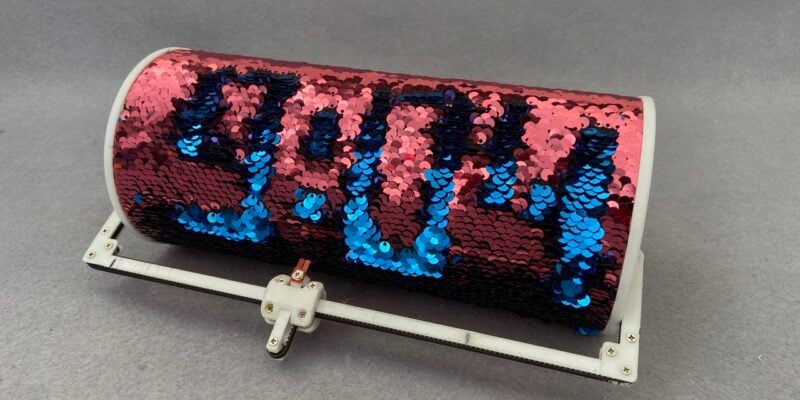
Sequino clock
This tricky build was inspired by a child’s t-shirt
Read more →
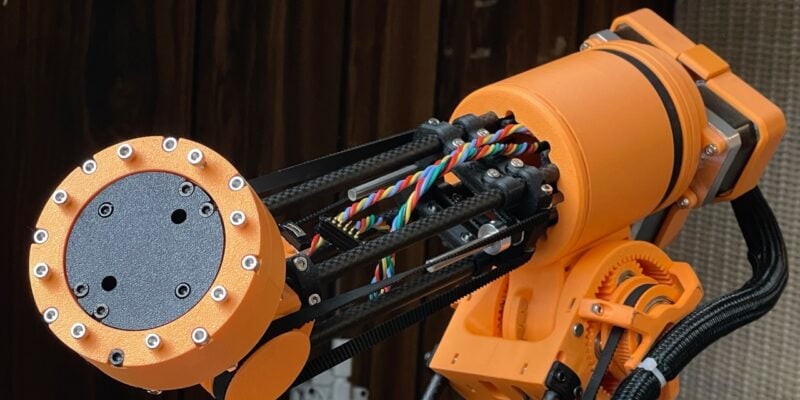
Use a robot to build a robot
This glorious, (mostly) 3D printed robot has six degrees of freedom.
Read more →