Burn SD cards with Etcher
By Russell Barnes. Posted

In our Raspberry Pi 101 series, learn how to create Pi SD cards with Etcher

Copying operating system (typically Raspbian) image files to a micro SD card is an essential part of getting started with a Raspberry Pi. It can be a long-winded process, and is often difficult for newcomers to grasp.
Mac and Linux users typically use the dd command in the terminal, while Windows users require a program such as Win32DiskImager.
So we were pleased to come across Etcher. Etcher turns the whole process of flashing an OS image file into three simple steps: Select Image, Select Drive, and Flash Image.
More importantly, the same program, with the same interface, is available on all three types of computer – Windows, Mac, and Linux – which makes it easy for everybody to understand.
Etcher takes a lot of the stress out of flashing a drive. Etcher won’t write to your hard drive volumes unless you check Unsafe Mode in Settings. Unsafe Mode is handy if you want to flash a USB thumb drive or other internal drive, but it’s disabled by default, making the process safer for newcomers.
We like Etcher so much, we thought we’d create this guide to installing and using it. Follow these steps for hassle-free SD card flashing.
STEP-01 Install in Windows or Mac
Download and install Etcher from the website. Double-click the .exe file in Windows and follow the Etcher setup wizard. Drag the Etcher app to your Applications folder on a Mac and double-click to open it. In Windows, run Etcher in Administrator Mode: right-click on Etcher and choose ‘Run as administrator’.
STEP-02 Install on Linux
Download the AppImage file from the Etcher website. Open a terminal window and enter:
cd Downloads
chmod a+x Etcher-linux-x64.AppImage
./Etcher-linux-x64.AppImage
STEP-03 Download your OS image
Download a copy of the latest Raspbian image from the Downloads page (or the OS image you want to install). Unzip the file after it has downloaded. Double-click the file in Mac or Linux (or use unzip in a terminal window). In Windows, right-click the file and choose Extract All. Etcher can install directly from a ZIP file, but the process takes a lot longer.
STEP-04 Select the image
Click Select Image in Etcher. Use the file manager window and locate the image you unzipped in the previous step. Click Open. The image will appear under Select Image, and Connect a drive will highlight red.
STEP-05 Insert your SD card
Attach your SD card to the computer. Etcher will select it automatically. Etcher won’t write to your hard drives by default, but check that the SD card is listed correctly. Now click Flash! to write the image file to the SD card.
STEP-06 Writing the image
Etcher will format the SD card, before writing and verifying the image; this is shown by a progress bar. When done, remove the SD card, insert it into your Raspberry Pi, and power it up. If you want to flash another SD card with the same image, insert it and click Use Same Image.
Subscribe and never miss an issue
Get a a brand new Raspberry Pi Zero W, a case for it, and a selection of adapter cables with a twelve-month print subscription to The MagPi!

Russell runs Raspberry Pi Press, which includes The MagPi, Hello World, HackSpace magazine, and book projects. He’s a massive sci-fi bore.
Subscribe to Raspberry Pi Official Magazine
Save up to 37% off the cover price and get a FREE Raspberry Pi Pico 2 W with a subscription to Raspberry Pi Official Magazine.
More articles

Make a Smart Home in Raspberry Pi Official Magazine issue 167
The dream of smart, connected devices controlling your home automatically, is especialy appealing on a lazy day when we’re trying to get work done in a heatwave. Maybe this will be the year we finally integrate temperature sensors with fans and a drinks dispenser to keep us cool, or maybe not, but we do know […]
Read more →
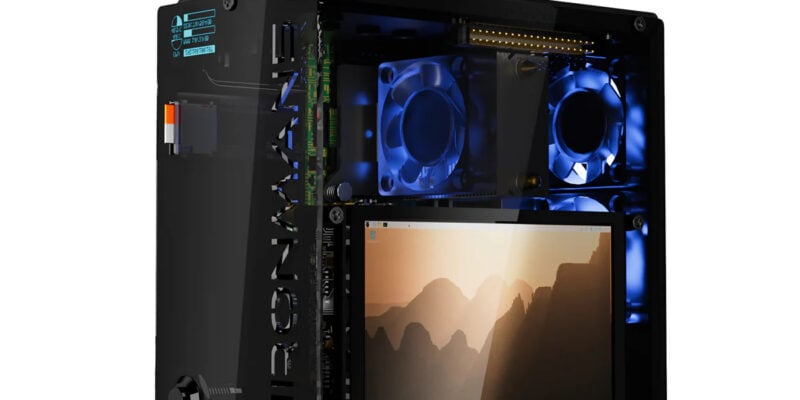
Win 1 of 3 Pironman 5 Pro Max cases!
Transform your Raspberry Pi with this amazing case
Read more →

Learning to code in an AI age
A new Raspberry Pi Foundation course helps young people learn to code.
Read more →