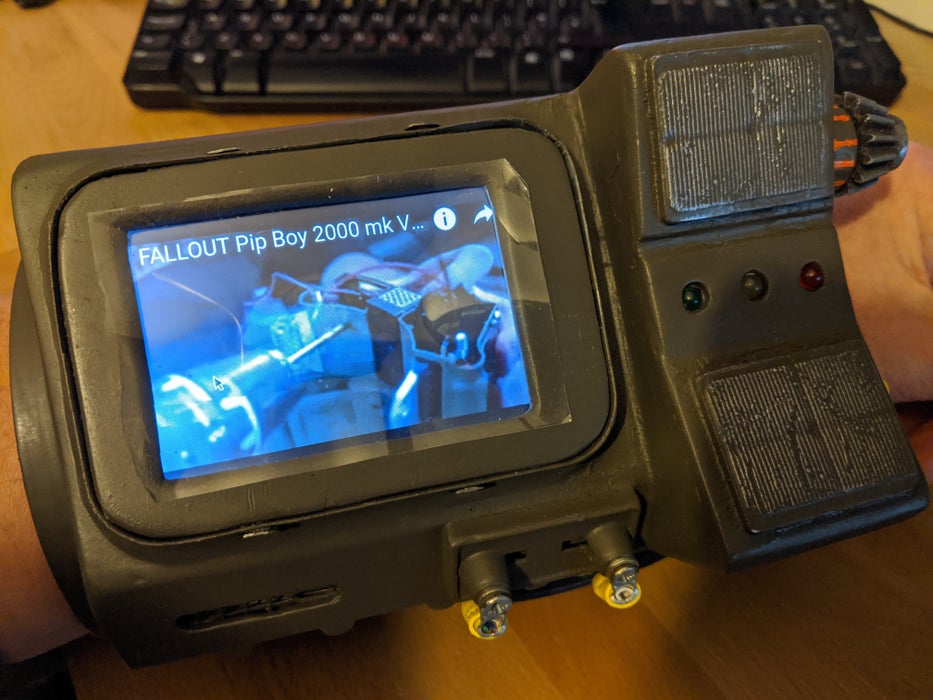
Pip-Boy
By Lucy Hattersley. Posted

Raspberry Pi Pip-Boy builds are not at all uncommon – something about a cross-section of nerds and the fact it has ‘Pi’ in its name probably helps. We particularly like this version that uses scrap to make one from scratch.
01: Prototype
As you’re making a lot of parts from scratch, prototyping with cardboard or paper on each step is a great way to make sure your patterns and cuts and modifications will work in real life. Remember: gluing stuff back together ranges from ‘a big pain’ to ‘impossible’.

02: Test
As with most projects, you should probably get your Raspberry Pi and custom software up and running before installing it. Testing as you go is always a great way to fix mistakes before you seal something into a case.

03: Wear
If you plan to wear it for a costume or at an event, do a trial run around your home during a normal day. You’ll quickly learn the best way to wear it without either damaging it or other things around your home, and find out how dexterous you still are.
Materials
-
Wide-bore pipe (such as a piece of drainpipe)
-
Scrap plastics
-
Small container
-
Foam floor mat
-
3.5˝ display
-
KY040 rotary encoder
-
3 × LEDs
-
2 × push-buttons
-
Power bank
-
Wiring

Lucy is Editor of Raspberry Pi Official Magazine.
Subscribe to Raspberry Pi Official Magazine
Save up to 37% off the cover price and get a FREE Raspberry Pi Pico 2 W with a subscription to Raspberry Pi Official Magazine.
More articles
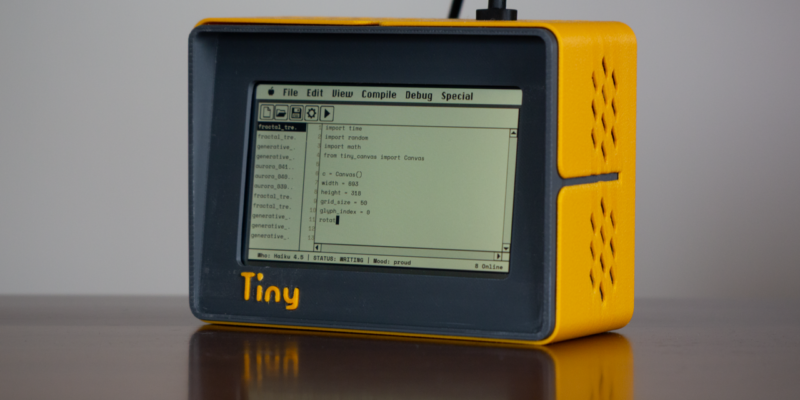
TinyProgrammer
Want a coding companion? TinyProgrammer lets you watch as it tinkers with Python all day. Sean McManus finds out how it works
Read more →
Make a Smart Home in Raspberry Pi Official Magazine issue 167
The dream of smart, connected devices controlling your home automatically, is especialy appealing on a lazy day when we’re trying to get work done in a heatwave. Maybe this will be the year we finally integrate temperature sensors with fans and a drinks dispenser to keep us cool, or maybe not, but we do know […]
Read more →
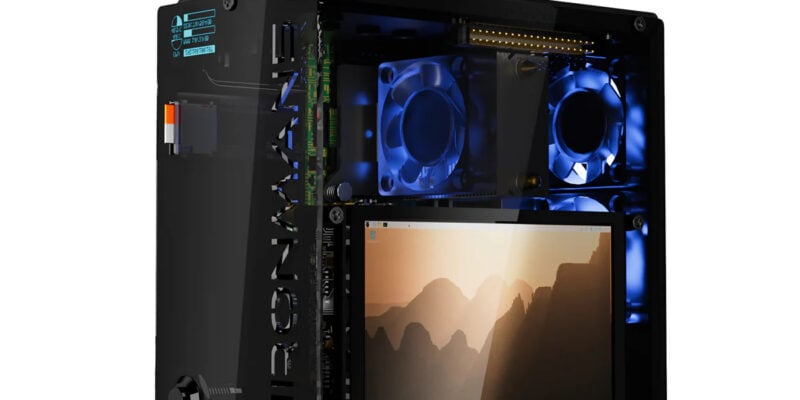
Win 1 of 3 Pironman 5 Pro Max cases!
Transform your Raspberry Pi with this amazing case
Read more →