Raspberry Pi 5 and Raspberry Pi Pico
By Phil King. Posted

By connecting Raspberry Pi 5 to Raspberry Pi Pico, you get the best of both worlds: a single-board computer linked to a low-cost, compact microcontroller. Pico can be programmed in the MicroPython language using the Thonny IDE on Raspberry Pi 5. It is then able to run a program automatically when powered up on its own, so can be used in all sorts of portable projects.
Here we’ll show you how to set up Pico with Raspberry Pi 5, install the MicroPython firmware on it, and write a program to flash Pico’s on-board LED.
Program a robot arm, with Raspberry Pi and Python code
Raspberry Pi 5 and Thonny IDE
The easiest way to program Raspberry Pi Pico is with MicroPython, a Python-compatible programming language developed to run on microcontrollers. With Pico connected to Raspberry Pi 5 via USB, you can use the Thonny IDE (integrated development environment) application to write MicroPython programs and run them on Pico. Packed with features, Thonny is very user-friendly and its ‘Shell’ pane will show you any output from the running Pico program, or error messages if something goes wrong. It also features a built-in debugger which lets you walk through a program step by step to show what’s happening at each stage, helping you to find bugs.
Programming Pico
We’ll connect Pico to Raspberry Pi 5 and write a MicroPython program to blink its on-board LED.
1. To program Pico using MicroPython, we’ll use the Thonny IDE. With Raspberry Pi 5 connected to a monitor, open Thonny – found in (top left) Menu > Programming.

2. Connect the larger end of the cable to any free USB Type A port on Raspberry Pi 5. While holding Pico’s BOOTSEL button, connect the other end of the cable to Pico’s micro-USB port to mount it as a drive.

3. We need to install the MicroPython firmware on Pico. In Thonny, click ‘Local Python 3’ at the bottom right of the window. Select ‘Install MicroPython’ from the pop-up menu.
4. In the next menu, click the ‘variant’ drop-down and select your Pico model type to get the correct version. Finally, click the ‘Install’ button to flash the MicroPython firmware to Pico.
5. A message in the Shell pane will confirm the version of MicroPython installed on the connected Pico. You are now ready to start programming it.
6. To use Pico’s GPIO pins, we need to import the Pin class of the machine MicroPython module. Add this code to Thonny’s main pane:
from machine import Pin

7. Next, we assign a variable (we’ve named it led) to the LED’s GPIO pin on Pico and set it as an output:
led = Pin(“LED”, Pin.OUT)
8. To toggle the LED on/off, we add the line:
led.toggle()
Click Thonny’s Run button to run the program and turn Pico’s LED on. Run it again to turn it off.
9. To save your program, click Thonny’s Save button and name the file with a .py suffix – we called ours blink.py – and opt to save it on Raspberry Pi Pico.
10. To toggle the LED at regular intervals, we’ll alter the code. Under line 1, add the following to import the time module’s sleep class:
from time import sleep
11. Before led.toggle, add a new line to create an infinite loop:
while True:
Indent led.toggle by four spaces (so it becomes part of the loop).
12. Add another indented line to the loop to add a one-second time delay each time:
sleep(1)
Now run the code and the LED should toggle on and off every second.

When not editing books and contributing to The MagPi, Phil enjoys playing the piano (badly), astronomy, and watching classic sitcoms.
Subscribe to Raspberry Pi Official Magazine
Save up to 37% off the cover price and get a FREE Raspberry Pi Pico 2 W with a subscription to Raspberry Pi Official Magazine.
More articles

Cyberdeck
We can’t imagine the looks you’d get using this machine on your daily commute, but apparently the maker of this wonderful machine does just that.
Read more →

Programming station
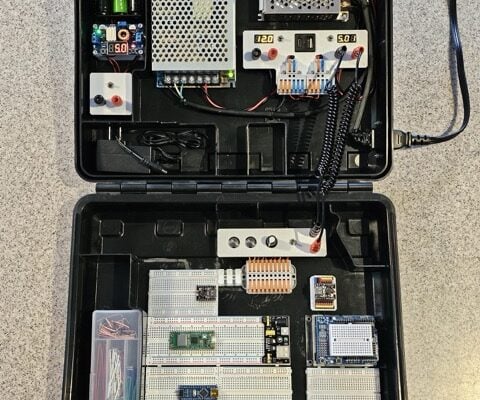
Spot the microcontroller: we can see an Arduino Uno, Arduino Nano, a pair of ESP32 boards, and a Raspberry Pi Pico, all waiting to be played with.
Read more →

Solder fume extractor
This device has adjustable fan speeds and light levels, courtesy of Raspberry Pi Pico.
Read more →
