Raspberry Pi Photo Booth
By Russell Barnes. Posted

Need a wedding photo booth? You could always build your own…
As first Raspberry Pi projects go, building a photo booth for your own wedding is an ambitious and potentially stressful one, but that’s just what Jack Barker did for his and fiancée Pam’s big day. “I’ve always been fascinated with tinkering and programming but, in truth, the primary motivation came when I saw how much it cost to hire a photo booth!” After getting quotes upwards of A$500 (£300), and struggling to stay within their wedding budget, Jack realised he could build his own booth for considerably less money.
The full article can be found in The MagPi 60 and was written by Phil King.
“When I first mentioned the idea to Pam, she was a bit nervous that it might be another project that wouldn’t eventuate!” admits Jack. The booth took him 20 hours to complete, spread across a number of weekends. This included writing all the code from scratch – available on his GitHub page. “Certainly a lot of that time was spent trying out different ideas, and deciding on which features to include.” As the wedding date drew closer, Jack had to de-scope some ideas that weren’t absolutely essential, including a printer to produce instant copies of the photos.

Since the venue had no WiFi connection, Jack’s plan to run a live backup of photos to the internet also had to be shelved. “My low-tech solution was to simply write the images to the Pi’s SD card (and hope for the best). The following day I was very glad to see that they had all been saved without issue, and I was then able to post them online for the guests to view.”
Building the main booth structure from plywood, Jack cut out a section for the LCD screen and drilled holes for a large arcade button below and the Raspberry Pi Camera Module above. Jack used a 3D-printed part to align the camera perfectly with the hole, but he says this is optional. The Pi itself was also taped to the rear of the front panel. For improved lighting of indoor shots, Jack placed a strip of white LEDs across the top, later adding a simple light diffuser using an angled piece of wood.
Jack set up the Python software so that when a guest presses the button, a seven-second countdown is started. “During the first four seconds of the countdown, an instructional slide is shown (‘Get ready for photo 1’). For the final moments of the countdown, the participants can see themselves live on the screen and they can also see the timer counting down. This helps the participants to position themselves in front of the shot, before the photo image is taken.” Once the first photo is taken, the cycle repeats to capture a total of four images.
So, how did it work out on the big day? “The guests were impressed that I’d been able to build it myself,” says Jack. “It served as a great topic of conversation, and helped get some of the guests mingling. Oh, and yes, there has been interest from people asking to borrow it.”


Russell runs Raspberry Pi Press, which includes The MagPi, Hello World, HackSpace magazine, and book projects. He’s a massive sci-fi bore.
Subscribe to Raspberry Pi Official Magazine
Save up to 37% off the cover price and get a FREE Raspberry Pi Pico 2 W with a subscription to Raspberry Pi Official Magazine.
More articles
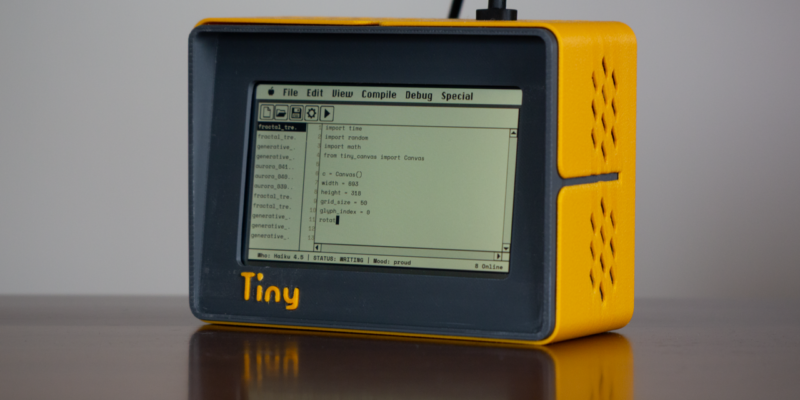
TinyProgrammer
Want a coding companion? TinyProgrammer lets you watch as it tinkers with Python all day. Sean McManus finds out how it works
Read more →
Make a Smart Home in Raspberry Pi Official Magazine issue 167
The dream of smart, connected devices controlling your home automatically, is especialy appealing on a lazy day when we’re trying to get work done in a heatwave. Maybe this will be the year we finally integrate temperature sensors with fans and a drinks dispenser to keep us cool, or maybe not, but we do know […]
Read more →
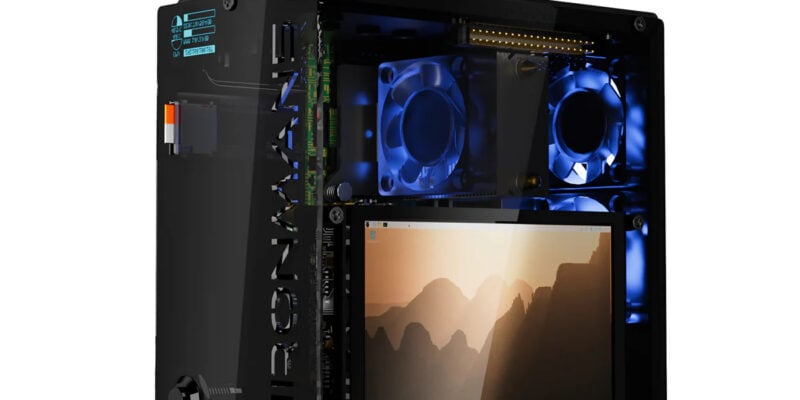
Win 1 of 3 Pironman 5 Pro Max cases!
Transform your Raspberry Pi with this amazing case
Read more →