Review: Grove Starter Kit for Raspberry Pi Pico
By Lucy Hattersley. Posted

Exploring the world of electronics is one of the fundamental joys of using a microcontroller such as Raspberry Pi Pico. The GPIO pins on Pico can be wired up to an array of sensors, buttons, LEDs, and displays enabling a wide array of projects.

Make beautiful beats with the complete Raspberry Pi music production toolkit.
At the heart of the Grove Starter Kit for Raspberry Pi Pico is a Grove Shield ($4). This board has ten different Grove Connectors: three analogue ports, two digital ports, three UART ports, and four I2C ports. It also has a 3 V/5 V power switch to adjust the voltage output, and a six-pin SPI interface.
Raspberry Pi Pico slots into the header on the Grove Shield and Grove parts are snapped straight into the white Grove connectors. This enables you to prototype projects quickly and easily.

You will need to have soldered pins on to your Pico (or you can pick up a pre-soldered Pico). But from that point on, you don’t need to solder parts or figure out circuits and jumper wires. You just connect the Grove part to the Grove Shield using one of the included Grove Universal 4-Pin cables. Grove itself says this “simplifies the learning system, but not to the point where it becomes dumbed down”.
Each Grove cable has four wires: typically one for power, another for ground, and two for input and output (the exact nature of each wire depends on the part it’s connected to; you can read more here.
This does, indeed, make it extremely easy to hook up components to Raspberry Pi Pico. And to that end, the kit comes with a wide range of parts to play with. There is an LED pack, RGB LED display, light sensor, sound sensor, rotary angle sensor, temperature and humidity sensor, passive buzzer, button, servo, mini fan (with DC motor), relay, and a 16×2 character LCD.
Learning curve
The Grove Shield for Pi Pico wiki page has a range of tutorials that use the parts found in the kit.

The tutorials use all the parts found in the Starter Pack and give a good overview of what you can do. You typically need to download a Python module for each part. And analysing the code will give you a good overview of what each component can do. We programmed the LCD to respond to light and sound; a fan and servo movement detector; and played around with lights, buttons, and the relay.
Thanks to the Python support files, introductory wiki tutorials, and the click-and-play nature of the kit, it is ridiculously easy to move from having an idea to getting it working.
There is an argument that replacing the pure jumper wires and breadboard with a custom connector removes part of the learning curve. And it’s hard to take a prototyped circuit and wire components directly to Pico so you remain attached to the Grove Shield and its ecosystem of parts. But, for the sheer joy of attaching a component and getting it to work, this is hard to beat.

Lucy is Editor of Raspberry Pi Official Magazine.
Subscribe to Raspberry Pi Official Magazine
Save up to 37% off the cover price and get a FREE Raspberry Pi Pico 2 W with a subscription to Raspberry Pi Official Magazine.
More articles
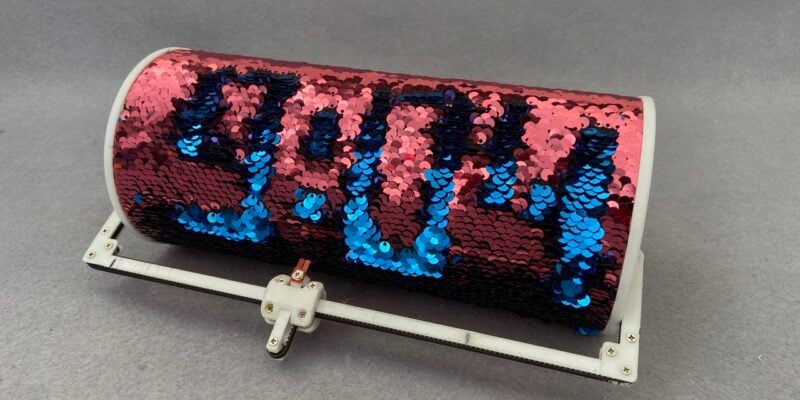
Sequino clock
This tricky build was inspired by a child’s t-shirt
Read more →
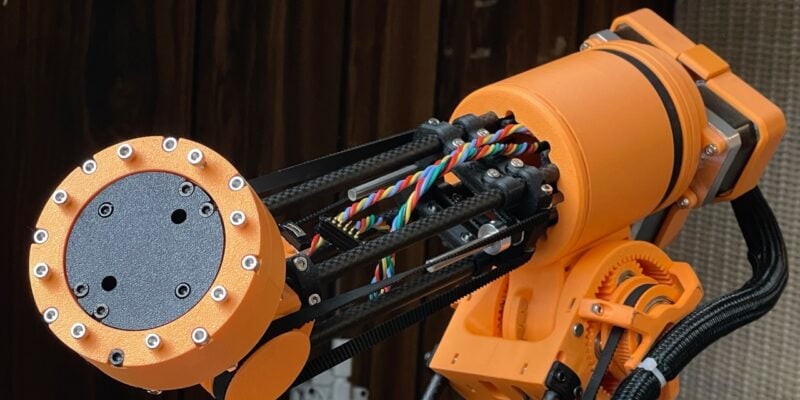
Use a robot to build a robot
This glorious, (mostly) 3D printed robot has six degrees of freedom.
Read more →

Make Music With Raspberry Pi in Official Raspberry Pi Magazine issue 166
Music production is an esoteric world of chin stroking and arguing over what kind of valve makes the best sound in a guitar amplifier – at least, it can be. Load up on software, bring your friends, and record your latest masterpiece on Raspberry Pi. We bring news from the world of 3D printing, where […]
Read more →