Set up Raspberry Pi Pico
By Lucy Hattersley. Posted

1. Drag and drop Pico
Raspberry Pi Pico is a miniature marvel, capable of running code and connecting to electronic devices via its GPIO (general-purpose input/output) pins. You program Pico by connecting it to a computer via USB, then transferring code files to it (or coding and debugging directly using an IDE – integrated development environment).
Scroll for steps two and three.
2. Switch to MicroPython
Raspberry Pi Pico is set up, by default, for use with the C/C++ Software Development Kit (SDK). The C/C++ SDK is an extremely flexible and powerful way to interact with your Raspberry Pi Pico. However, there’s a more beginner-friendly method: MicroPython.
Hold down the small button on your Raspberry Pi Pico marked ‘BOOTSEL’ and connect Pico to your computer using the USB cable. (We are using a Raspberry Pi). Wait a few seconds, then let go of the BOOTSEL button. You will see your computer mount a removable drive. Click OK in the ‘Removable medium is inserted’ window to open Raspberry Pi Pico’s on-board storage.
3. Install the UF2 firmware
Double-click the INDEX.HTM file shown in Pico’s mounted storage. Your browser will open and display the Raspberry Pi Documentation web page. Select ‘MicroPython’, then click the option to download the correct MicroPython firmware for your board (Pico or Pico W). It’s a small file, so it’ll only take a few seconds.
Open File Manager and locate the.uf2 file in the Downloads folder. Drag-and-drop the UF2 file to the Raspberry Pi Pico’s removable drive (named ‘RPI-RP2’). After a few seconds, the drive will disappear as the new MicroPython firmware is recognised and installed.
You'll need:
-
Computer (Raspberry Pi, Mac, or PC)
-
Micro-USB cable

Lucy is Editor of Raspberry Pi Official Magazine.
Subscribe to Raspberry Pi Official Magazine
Save up to 37% off the cover price and get a FREE Raspberry Pi Pico 2 W with a subscription to Raspberry Pi Official Magazine.
More articles
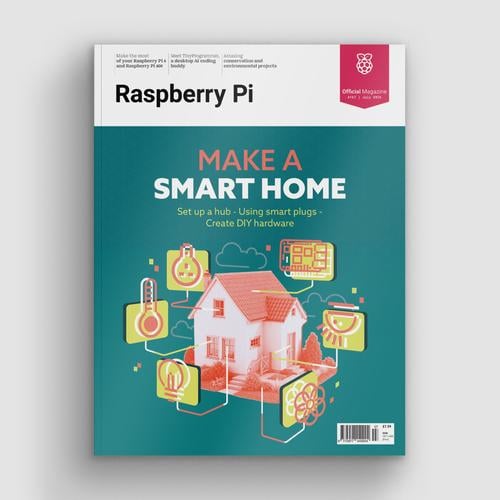
Make a Smart Home in Raspberry Pi Official Magazine issue 167
The dream of smart, connected devices controlling your home automatically, is especialy appealing on a lazy day when we’re trying to get work done in a heatwave. Maybe this will be the year we finally integrate temperature sensors with fans and a drinks dispenser to keep us cool, or maybe not, but we do know […]
Read more →
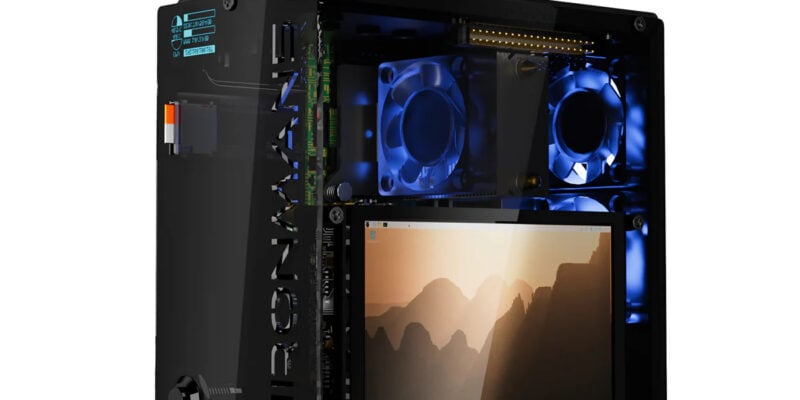
Win 1 of 3 Pironman 5 Pro Max cases!
Transform your Raspberry Pi with this amazing case
Read more →

Learning to code in an AI age
A new Raspberry Pi Foundation course helps young people learn to code.
Read more →