Super GameGirl
By Russell Barnes. Posted

Want a better handheld games console? The answer may be to make one yourself with a Raspberry Pi and a 3D printer
In the past, we’ve covered a handful of retro gaming projects of varying types: a refurbished SNES, a 3D-printed NES, a Power Glove running games, and so on. While these are all definitely cool projects, you know what’s really cool? A portable retro gaming machine! In the past, this spot has typically been taken up by the very hackable Sony PSP, but Chris Duerden made the decision to go down a much more homebrew route by making his machine from scratch using the same Raspberry Pi that powers those other retro gaming projects.
The full article can be found in The MagPi 39
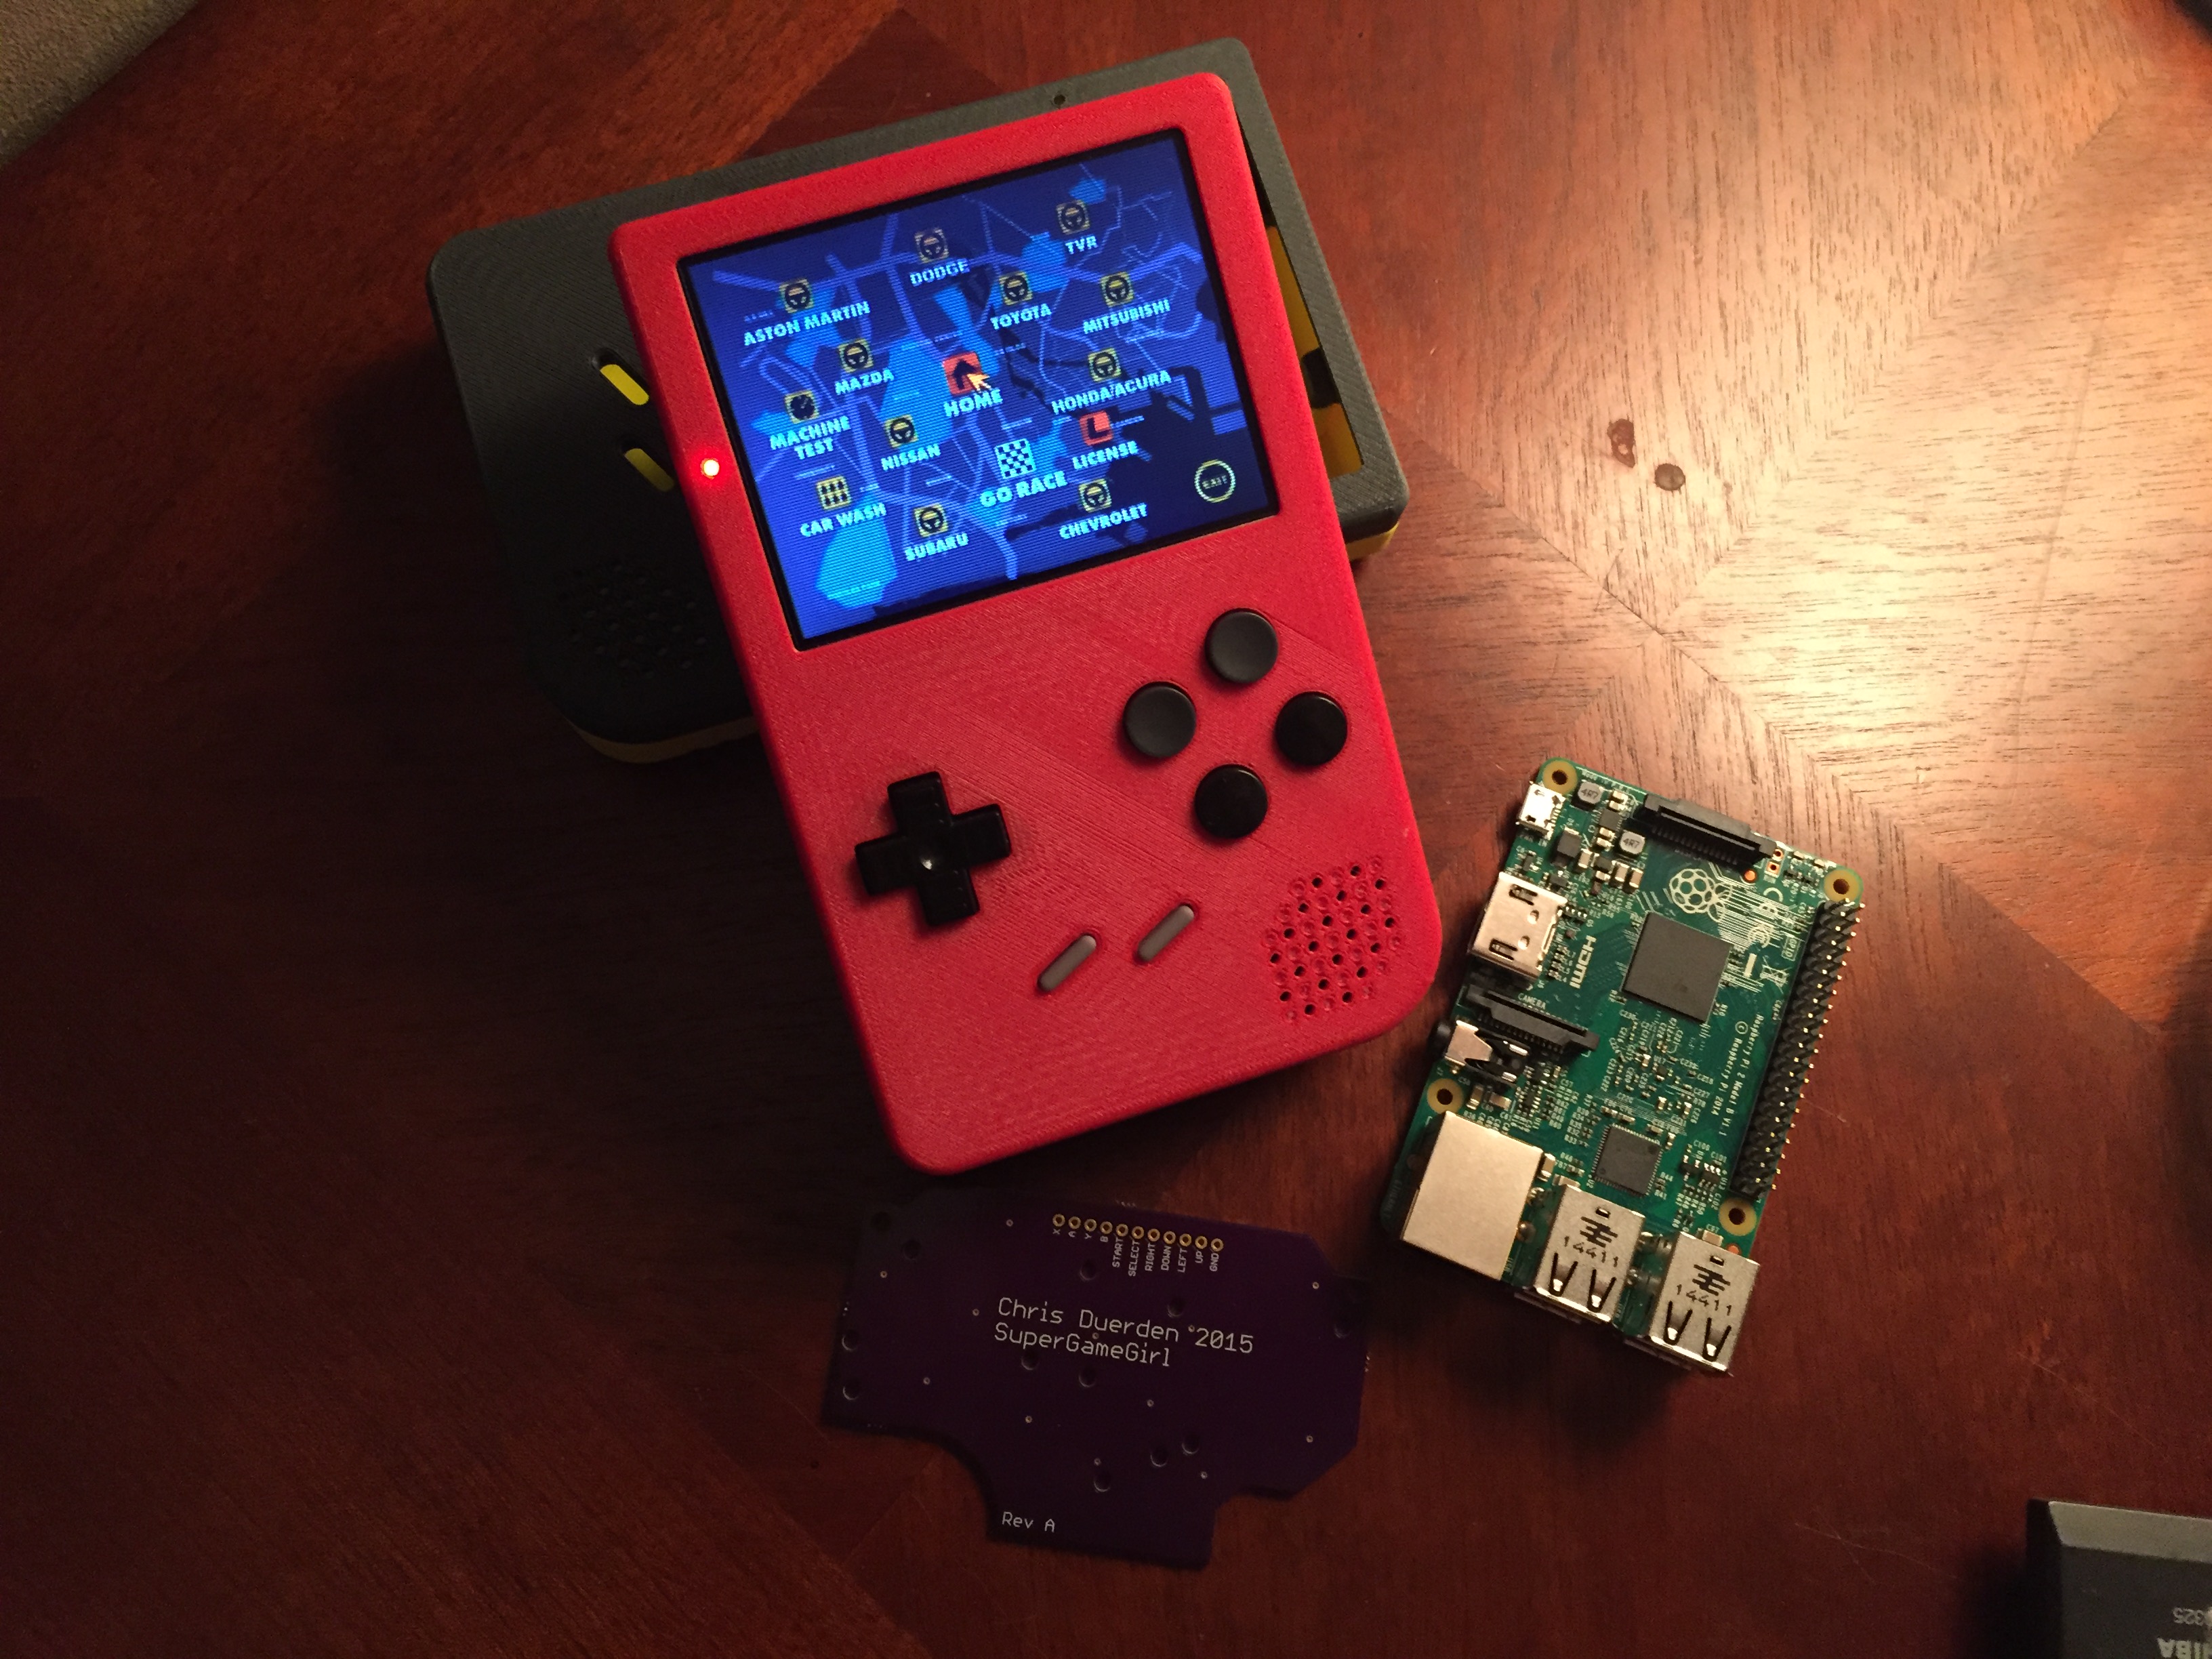
“My project is a Raspberry Pi 2-powered Game Boy-looking thing,” Chris tells us. “It runs RetroPie, so it can play games from a lot of different systems. The goal was to have enough buttons to support PlayStation games, have a 3.5˝ screen, and enough battery life for seven hours of play while being smaller than the original Game Boy!”
The seven hours requirement is so it can survive a long plane trip, something modern handhelds can’t quite handle. “I love retro gaming and wanted something to do while travelling,” Chris explains. “I didn’t want to have to bring a case full of game cartridges or AA batteries with me everywhere, and wanted it all-in-one and easy to use for anyone that would play it.”
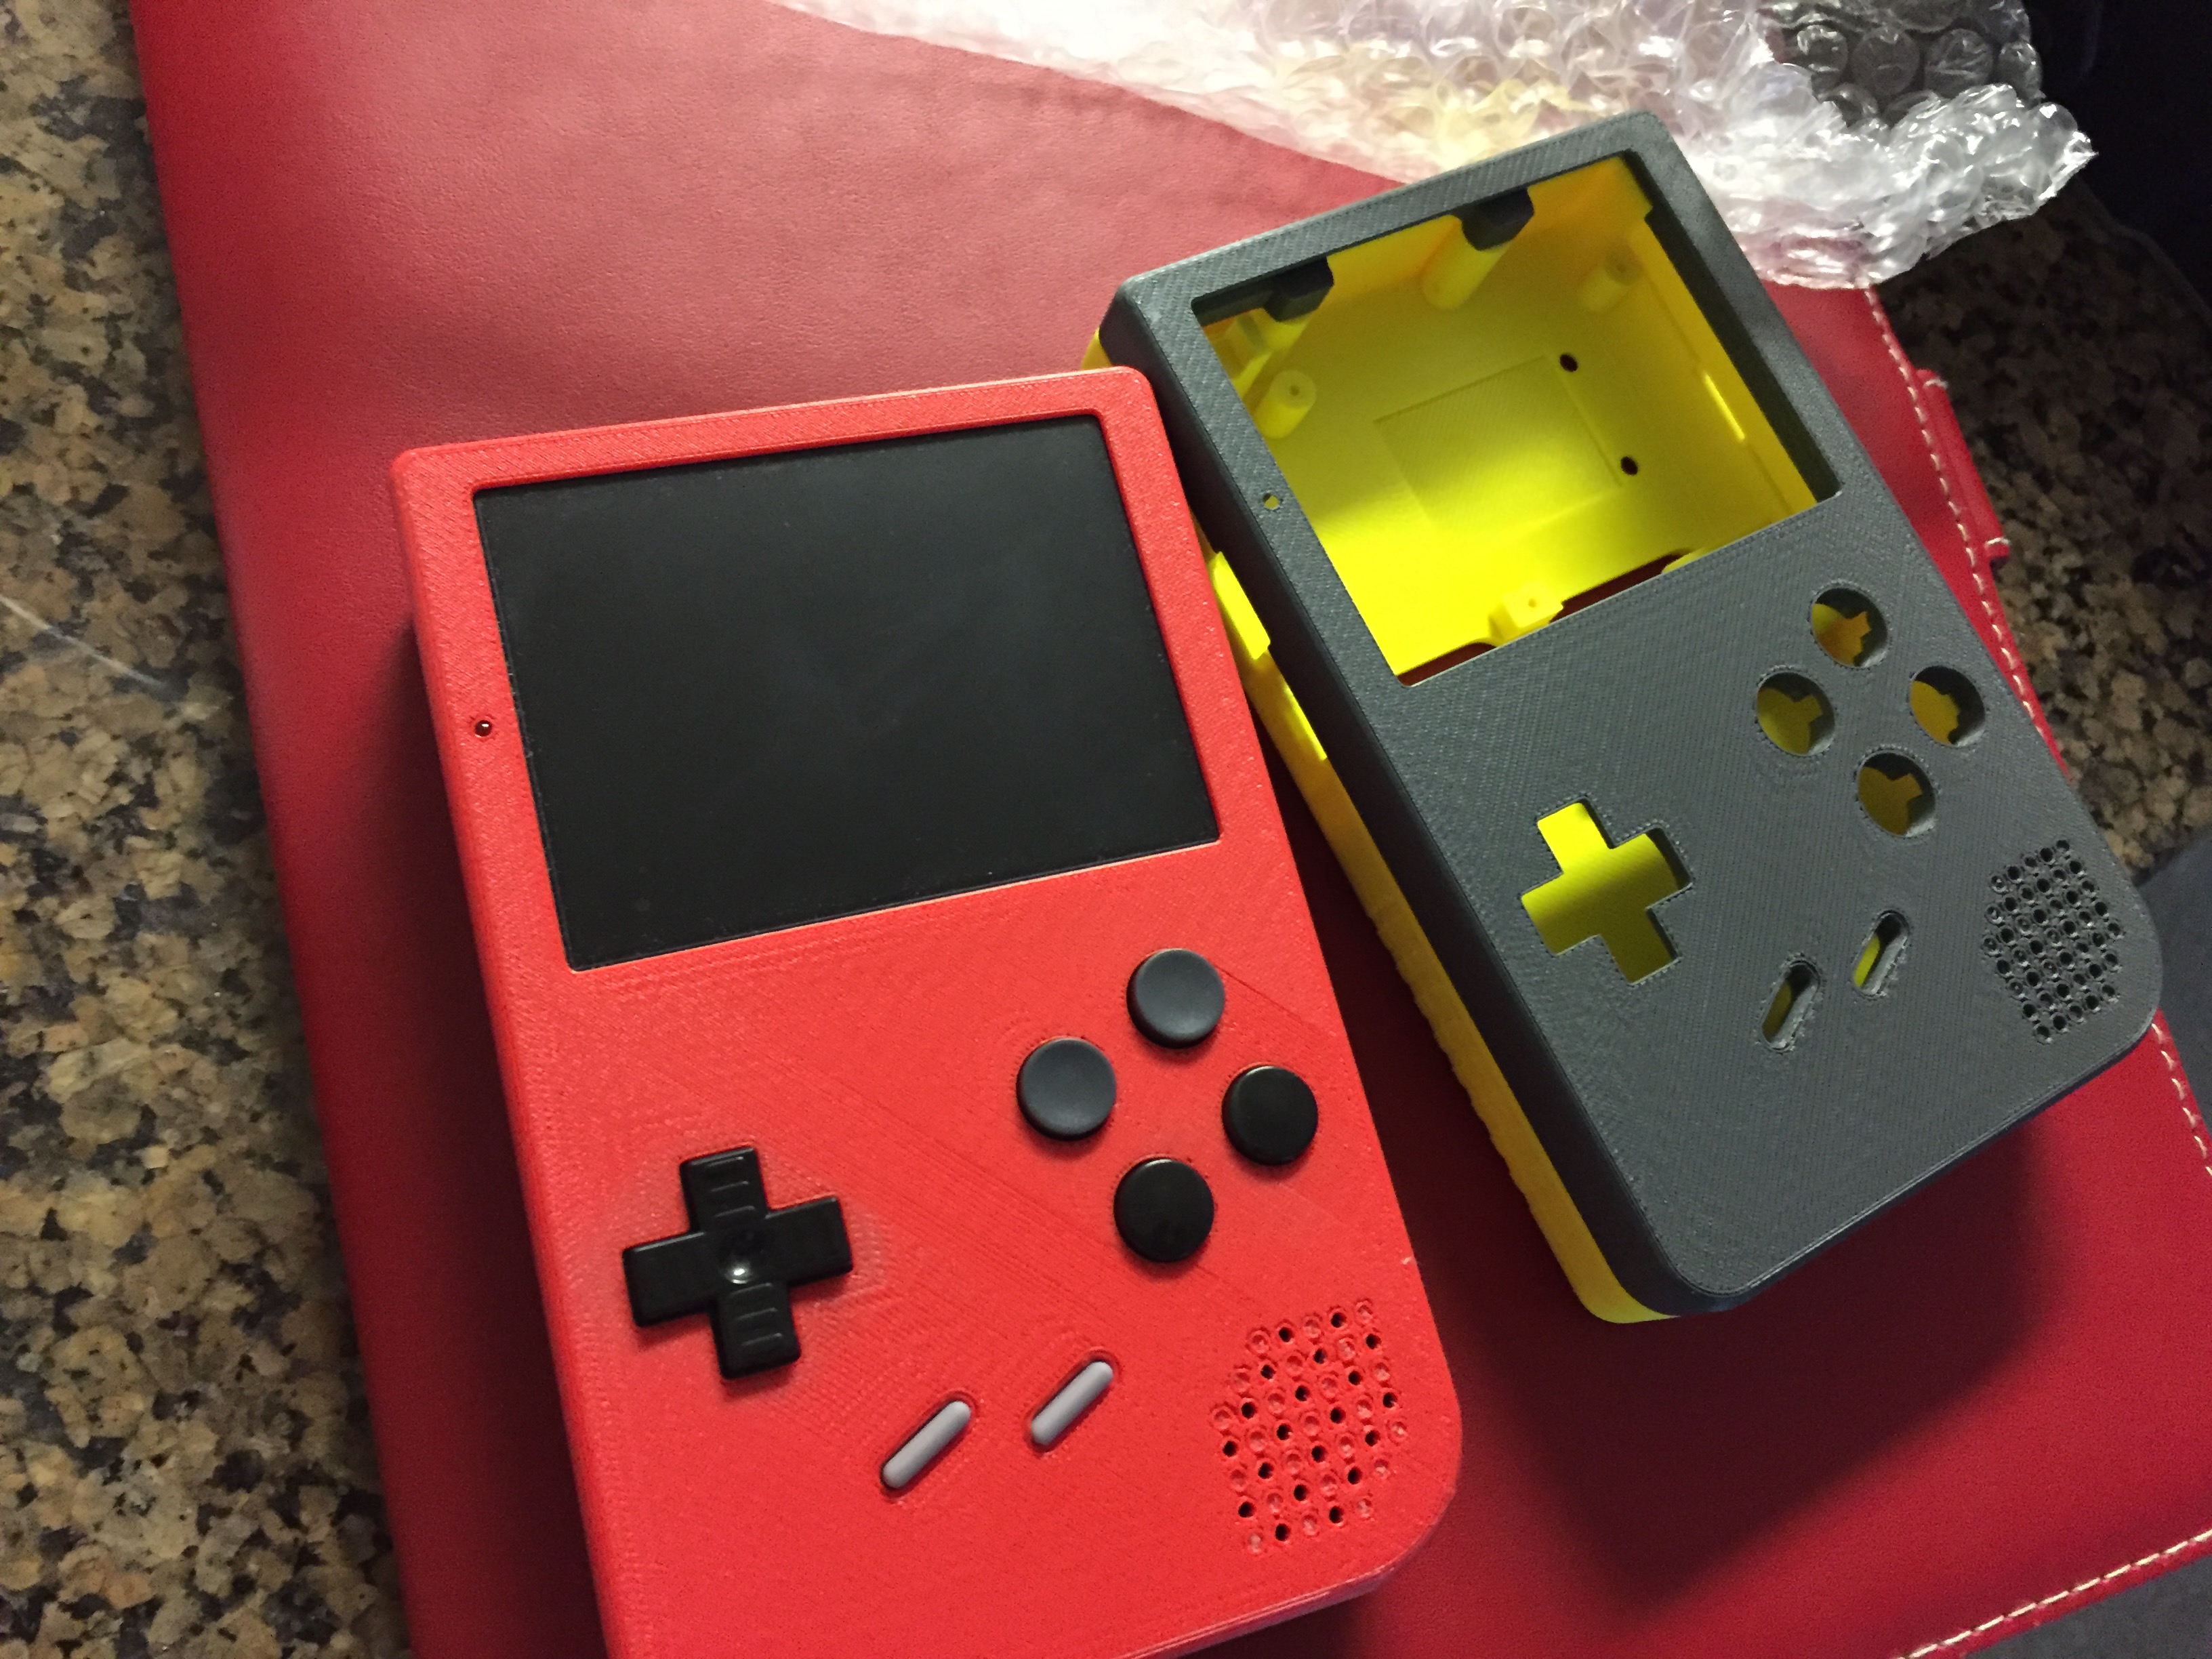
The idea came to him after learning about RetroPie, and he began to tinker with the Raspberry Pi. The whole thing is custom-made, and it starts with a Raspberry Pi 2 and a 3D-printed case. The case takes the Game Boy as its base inspiration, adding more face buttons as well as shoulder buttons to accommodate PlayStation (and other console) games. There’s a 3.5˝ screen, a 6000mAh portable battery, amps, speakers, jacks, LEDs, and various buttons and switches cannibalised from a NES and several Game Boys.
“It was complex to get everything to fit and work together,” Chris admits. “I designed the housing in SolidWorks, wrote programs for the Pi in Python, programmed the AVR in C, designed custom circuit boards, lots of breadboard time, some talking to Adafruit to see what their products can and can’t do, etc. But it was relatively easy to build.”
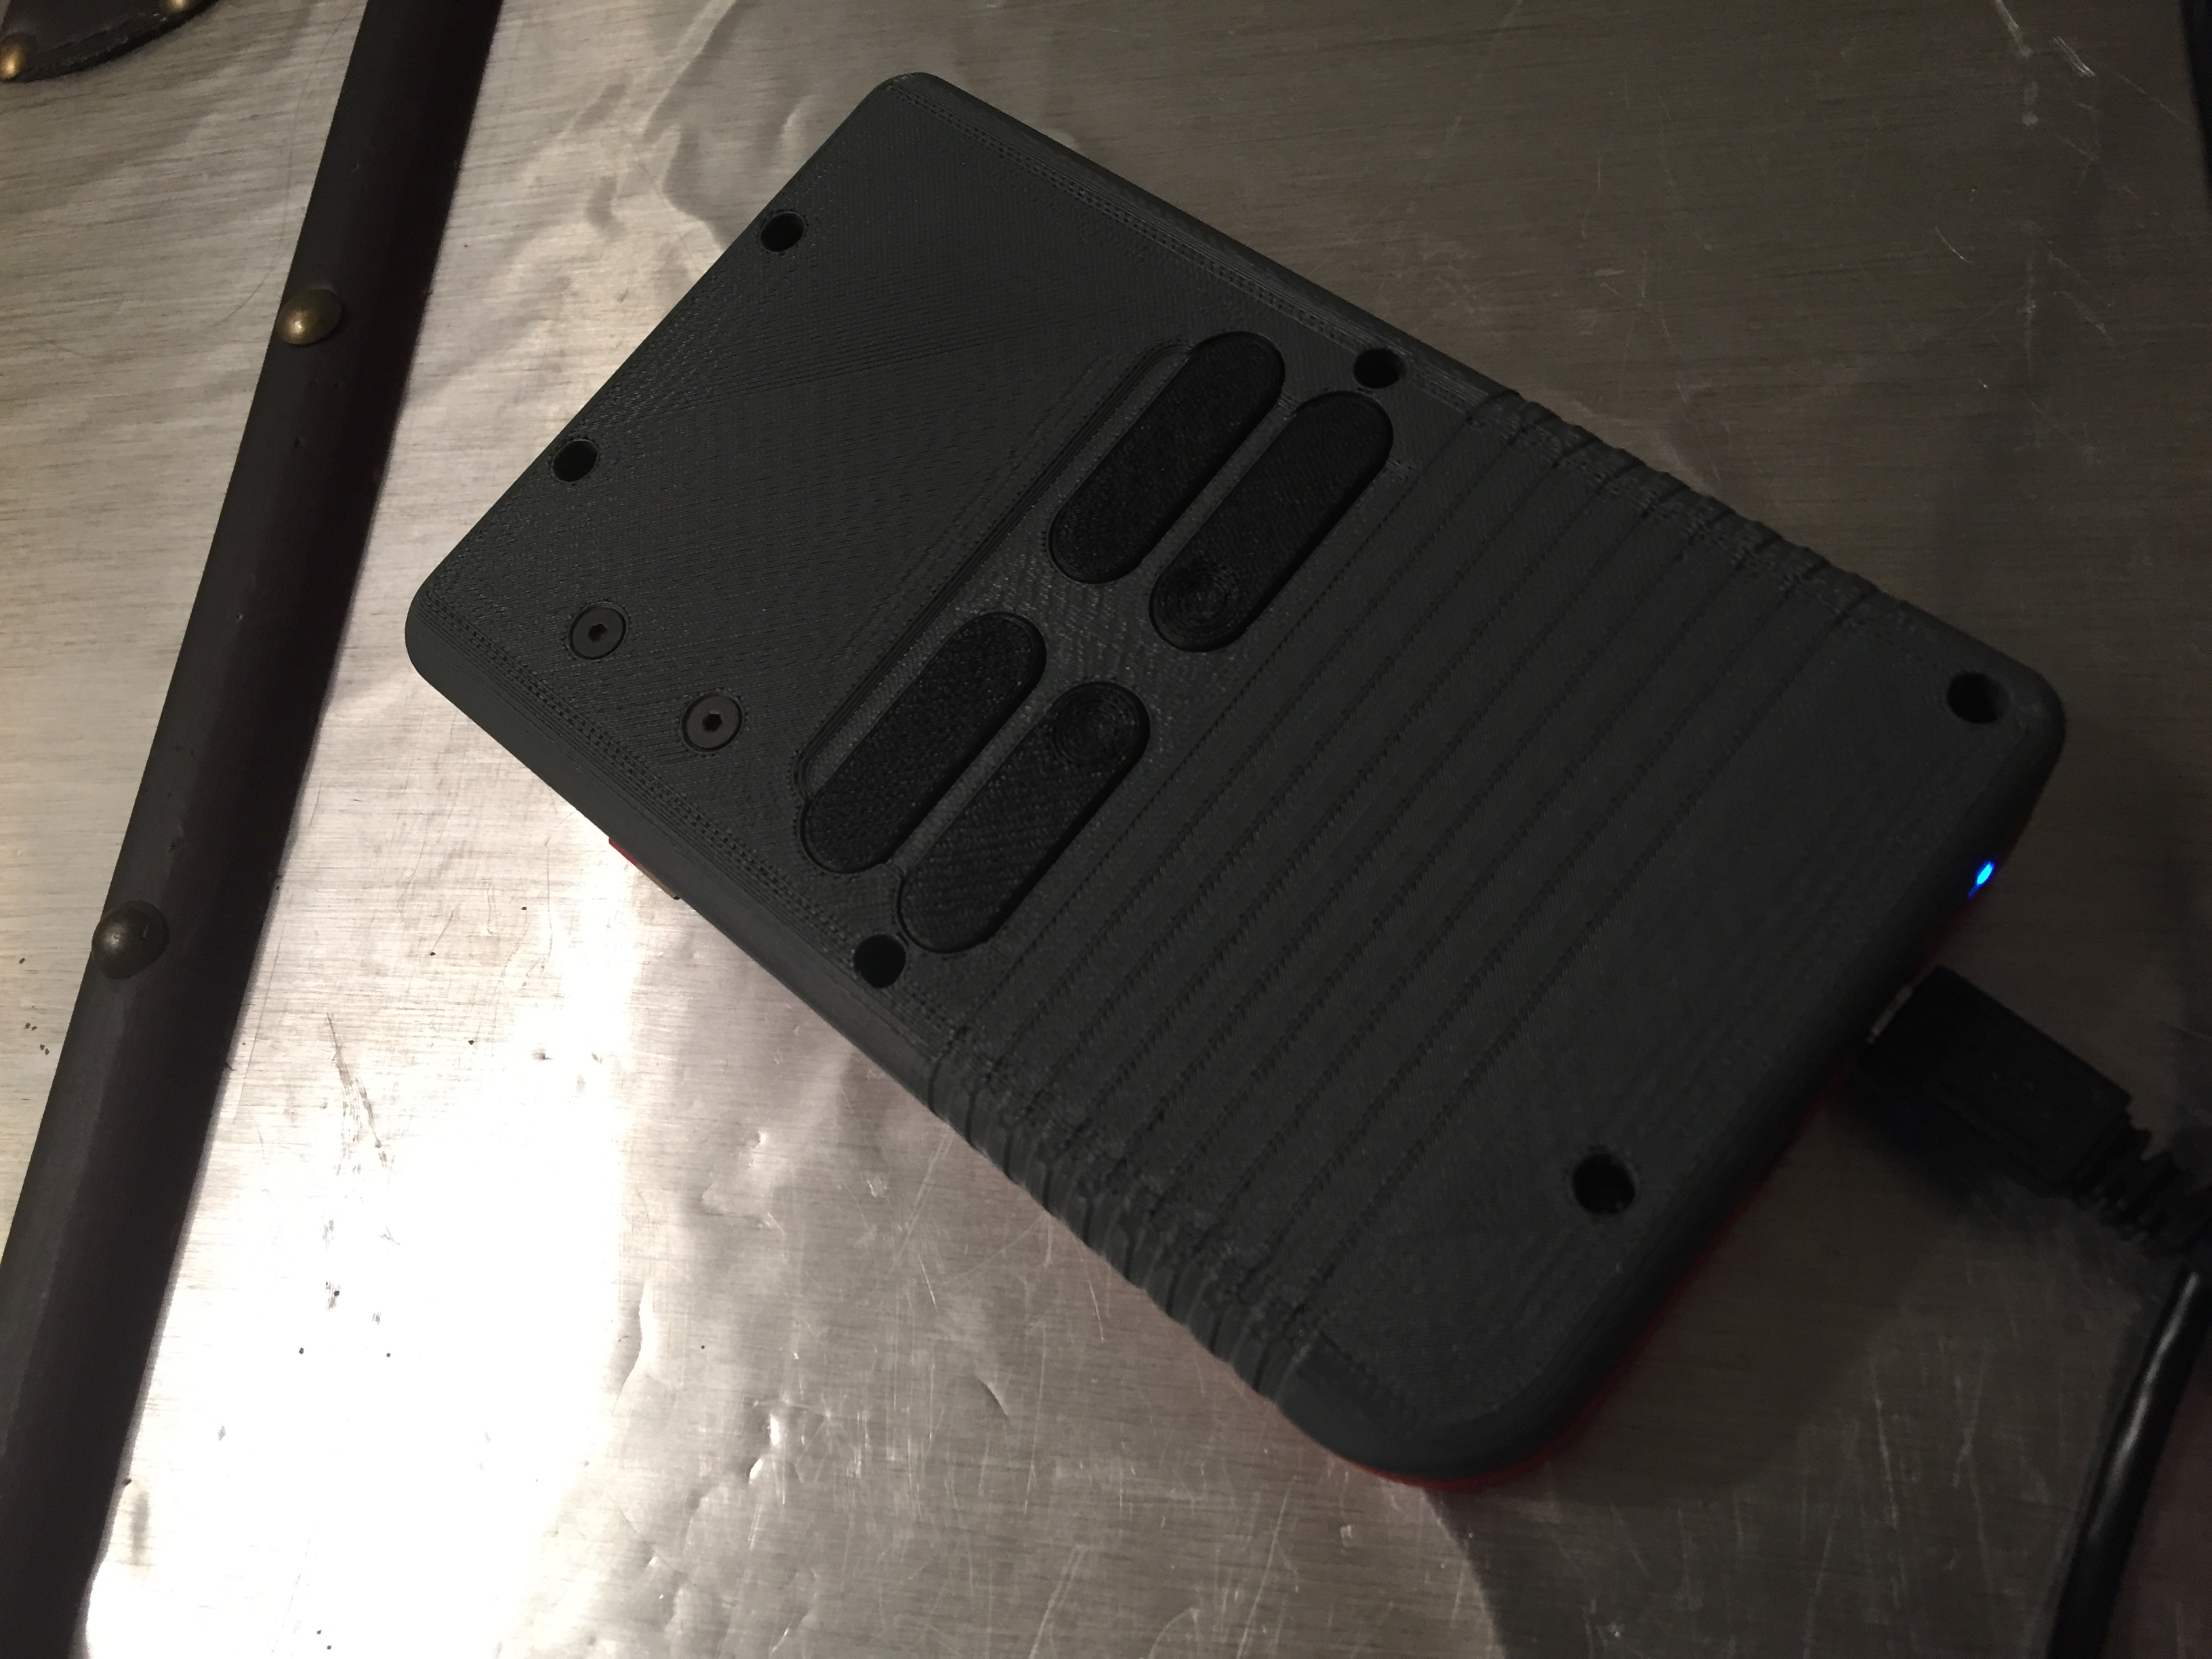
The result works well enough for Chris, with power on and off switches, games loading from a USB port on the side, and the ability to charge the battery from the bottom of the case with a micro-USB cable.
Right now, Chris is making a second one for his girlfriend and will eventually write up a full rundown on how to make your own, including slightly improved plans for the circuit boards. Soon you’ll be able to make long trips much more interesting.

Russell runs Raspberry Pi Press, which includes The MagPi, Hello World, HackSpace magazine, and book projects. He’s a massive sci-fi bore.
Subscribe to Raspberry Pi Official Magazine
Save up to 37% off the cover price and get a FREE Raspberry Pi Pico 2 W with a subscription to Raspberry Pi Official Magazine.
More articles

SPOKE review – programmable MIDI controller
An RP2040-powered touch controller for music and a lot more.
Read more →
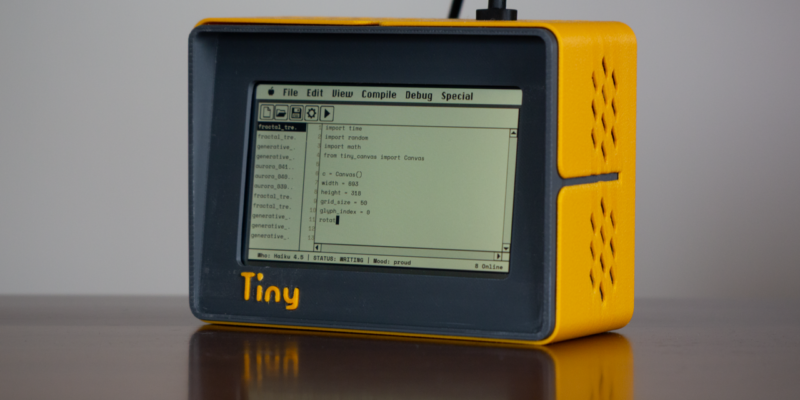
TinyProgrammer
Want a coding companion? TinyProgrammer lets you watch as it tinkers with Python all day. Sean McManus finds out how it works
Read more →
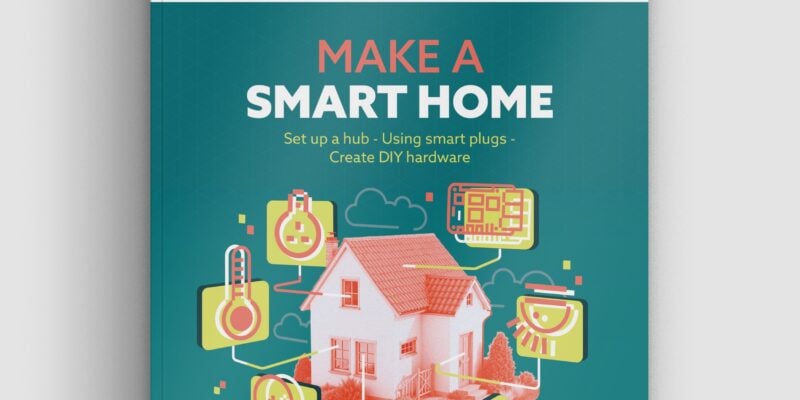
Make a Smart Home in Raspberry Pi Official Magazine issue 167
The dream of smart, connected devices controlling your home automatically, is especialy appealing on a lazy day when we’re trying to get work done in a heatwave. Maybe this will be the year we finally integrate temperature sensors with fans and a drinks dispenser to keep us cool, or maybe not, but we do know […]
Read more →